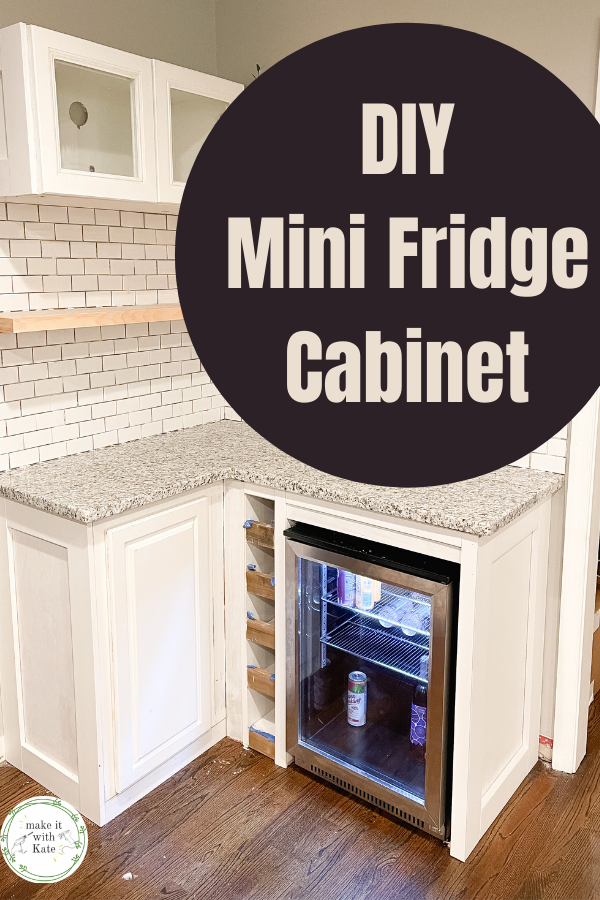
This DIY mini fridge cabinet is a very easy build with plywood and pocket holes. It will make your fridge look completely built in.
This mini fridge cabinet surround DIY was the perfect pairing to the blind corner cabinet that I made to go next to it. In this DIY coffee bar build I needed space for wine storage too.
If you want a fridge in your coffee or wine bar, there is an easy way to make a DIY mini fridge cabinet to make it look built in with the rest of your cabinetry.
*This post contains affiliate links.
How to Make a DIY Mini Fridge Cabinet
Building a cabinet surround for a mini fridge isn’t a complicated process, but there are a couple of things to consider to make this a successful built in.
When choosing a mini fridge for your space, the choices will feel endless. If you are going to make it built in like this one, you need to choose one that has a vent at the bottom.
Many other mini fridges will have the vent in the back, but since this will not have the space behind it, a vent at the bottom will be essential.
Additionally, the height and depth of mini fridges can vary greatly, so make sure you double check the dimensions of yours before purchasing. The exact one I purchased isn’t available anymore, but it’s similar to this one on Amazon.
Build the cabinet surround
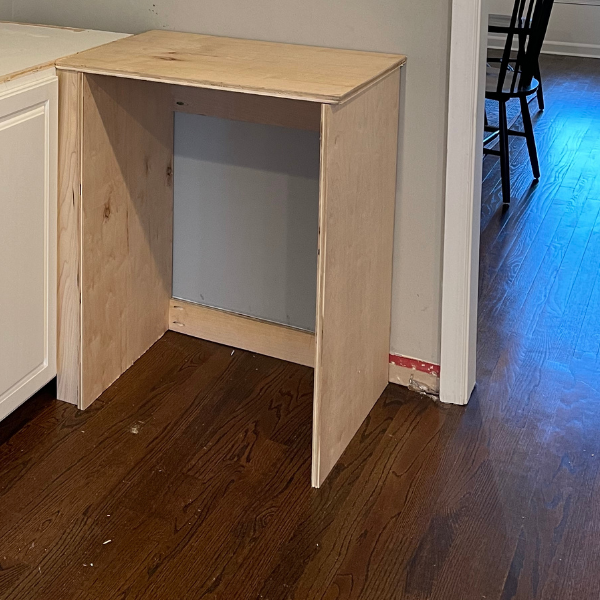
A cabinet surround is basically a box that will surround an appliance. In this case I made it the same height and depth of the other cabinets in this DIY corner coffee bar.
Using 3/4″ sanded plywood, cut the sides and the top to the lengths you need and secure using wood glue and pocket holes.
Once you have a 3 sided box, add supports to the back to act as braces. I like to use 1×4 common board for these and secure one to the top and the bottom of the surround with pocket holes.
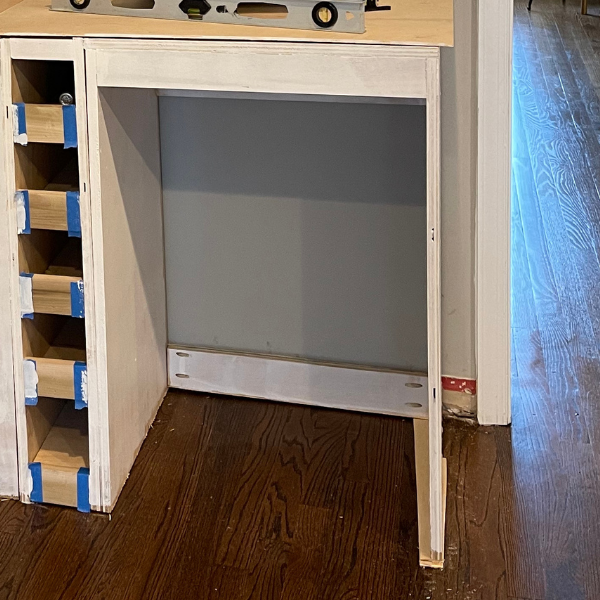
Then to really make this look built in, add trim to the top front of the surround depending on the height of the fridge. Add the trim about an inch above the top of the fridge.
Use wood filler and sandpaper to fill in and smooth all of the seams to your box and attach it to the cabinetry in your space, and to the wall through the back braces.
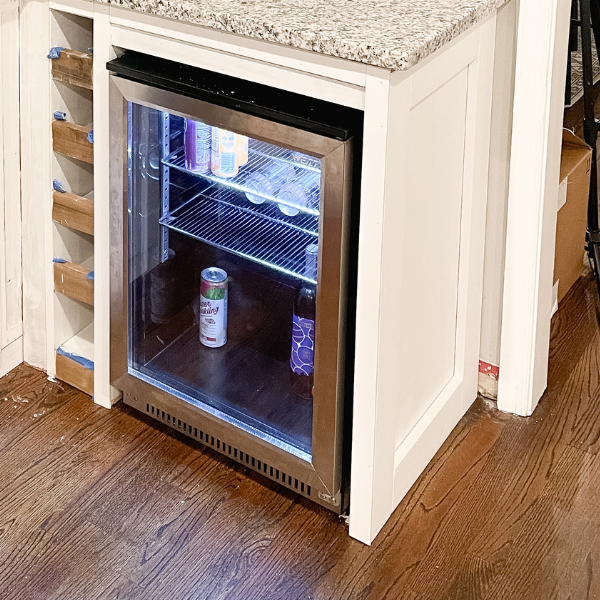
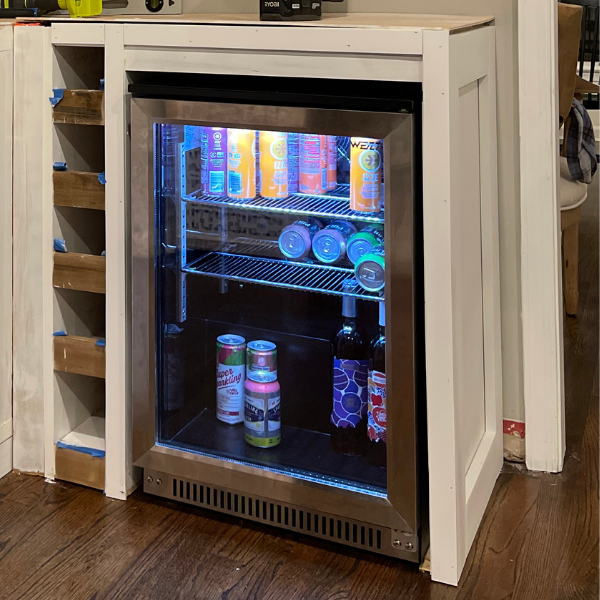
Then, simply slide your mini fridge in! If there isn’t an outlet directly behind the mini fridge, you can use a hole bore to create a hole in the side of the cabinet surround to feed the power cord through.
Once this is installed, add any trim that you are using on the rest of the cabinetry. If you aren’t using any face trim, the front edges of your plywood will be exposed. Use iron on edge banding here to hide this!