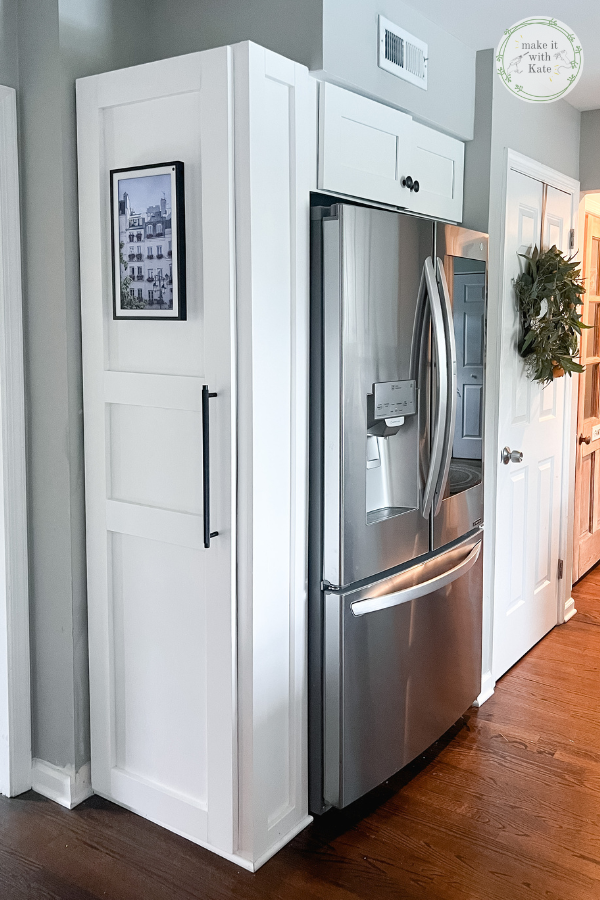
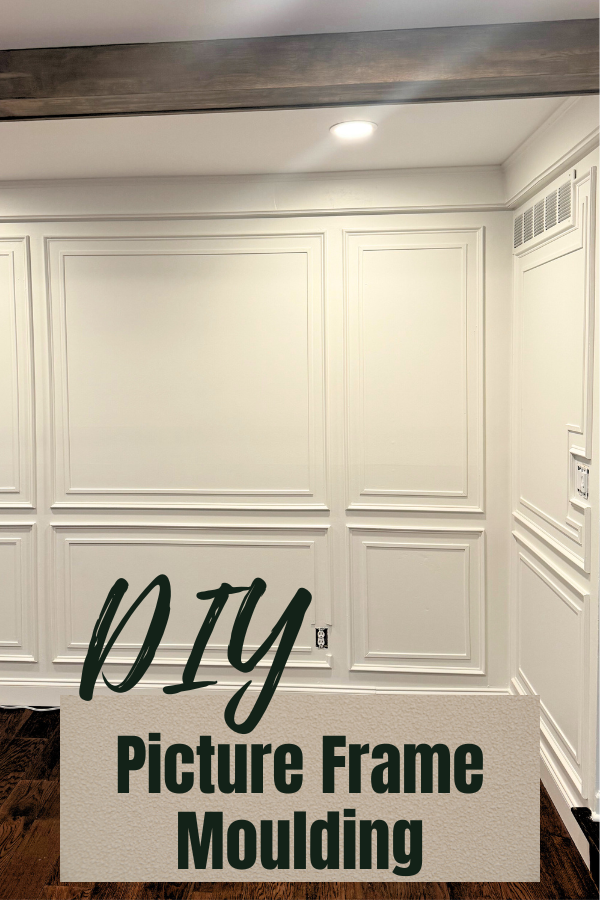
This DIY double picture frame moulding is great in any empty walls of your house. Follow this simple method do to it yourself!
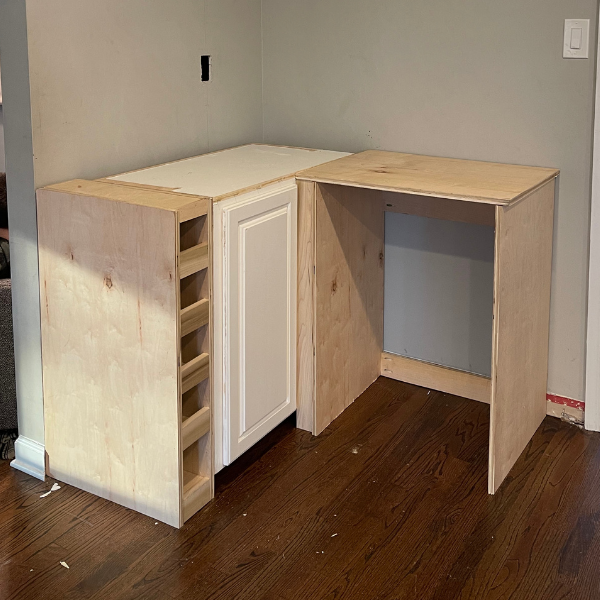
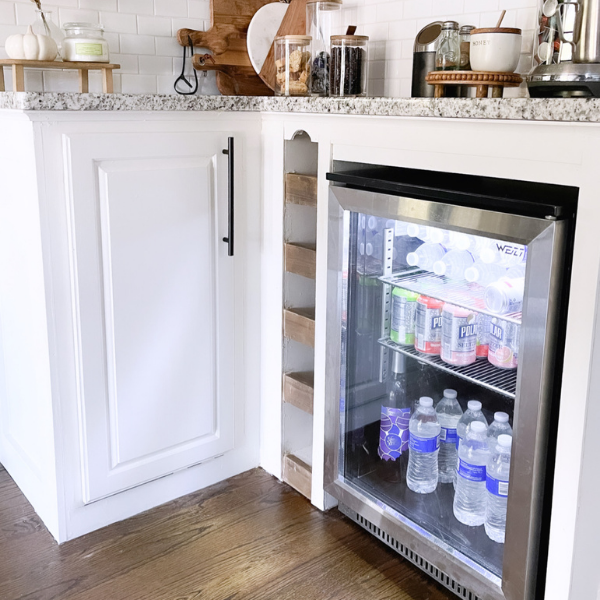
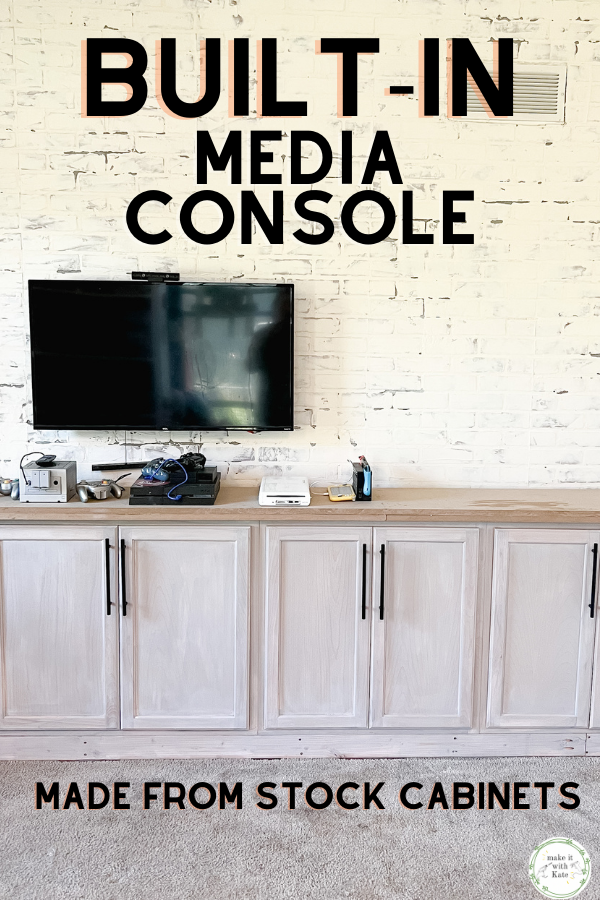
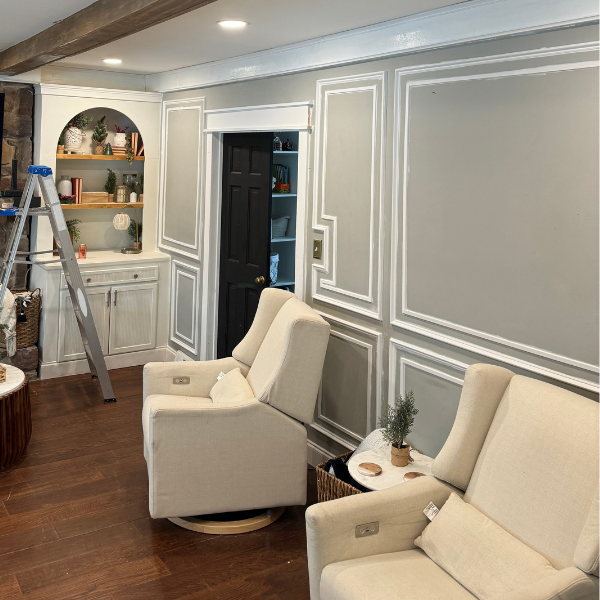
I’ve been working in this living room for 3 years now, one DIY project after another. The living room is almost where I want it! After adding my own built ins using stock cabinets and replacing the flooring, I’m ready to move on to the walls. I’m a sucker for wall treatments. I love accent walls, board and batten, moulding and trim, I love it all. This is an easy double picture frame moulding that makes a big impact.
Double Picture Frame Moulding
Picture frame moulding looks complicated, but it’s a great beginner friendly DIY project. Having the right tools makes it a breeze. And after the first few boxes, the rest seem to go up pretty easily.
The most important things to pay attention to are keeping the first piece of your box level, and keeping everything evenly spaced to be pleasing to the eye.
I’ve done picture frame moulding in my dining room, so followed a similar process, just chose to double up on my boxes to give it a grander appearance.
What you need for double picture frame moulding
I’m adding a miter saw to this list because depending on the size of your trim, it’s the easiest way to make a lot of cuts quickly. But, if you don’t have a miter saw and aren’t ready to invest in one yet, miter snips will get the job done at a fraction of the cost. If you have a miter saw and want to add one more tool to your inventory, grab a pair of miter snips. At around $20 they will definitely come in handy for when you don’t want to haul everything back and forth to the miter saw!
- Miter saw/miter snips
- level
- tape measurer
- nail gun
- wood filler
- caulk
- base cap trim (outer box)
- screen moulding (inner box)
*I use PVC trim because it’s typically cheaper than wood trim and looks fine once it’s all painted
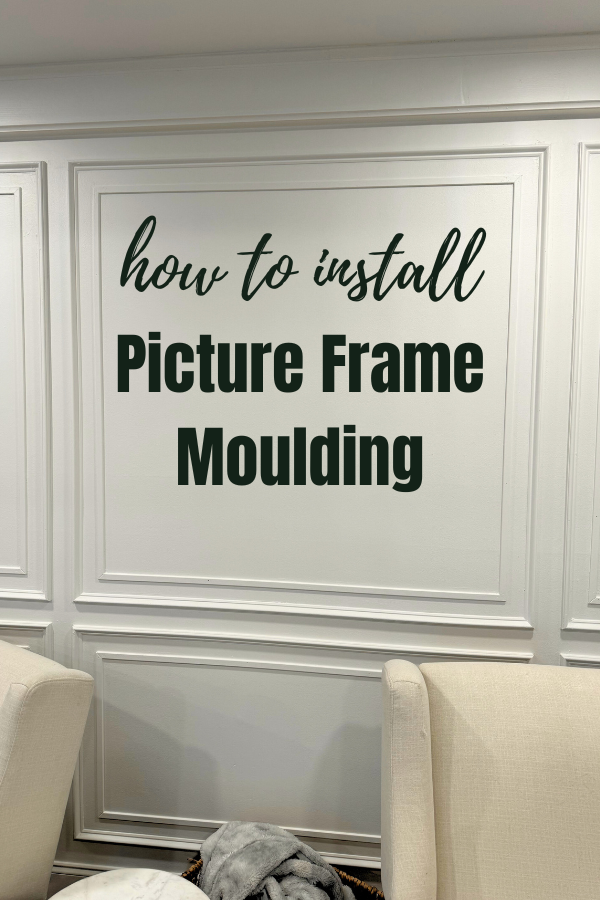
How to install double picture frame moulding
I like to start with a few rules for myself to keep everything uniform and then base all of the dimensions off of the size of the room and what each wall looks like. For this project I made a rule of 3″ spacing for the outer boxes. So 3″ from ceiling and floor, and 3″ between each box.
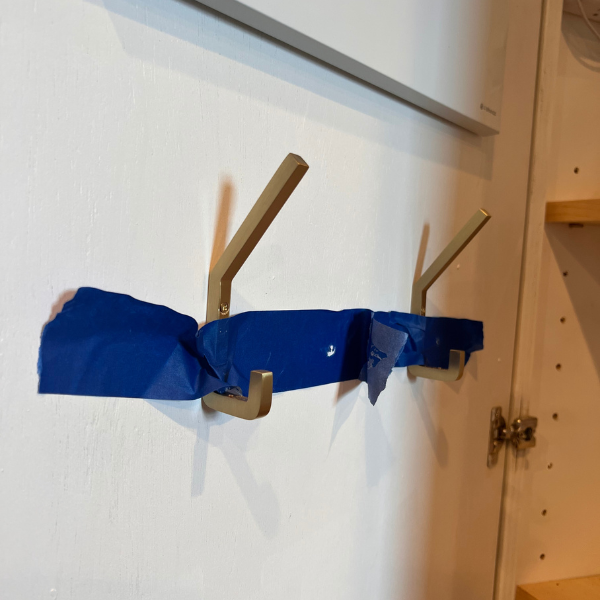
Then I take each wall and look at the spacing and scale of the boxes to start my planning. I also think about where artwork, and lighting etc will go. I wanted my biggest open wall here to have a larger box in the middle for artwork, and two smaller boxes on the sides for sconces.

My best advice when planning is to put pencil to paper, write out the dimensions of the room, and then just start drawing different layouts. I also like to mark out boxes with painters tape on the wall so that I can really get a good visual of spacing.
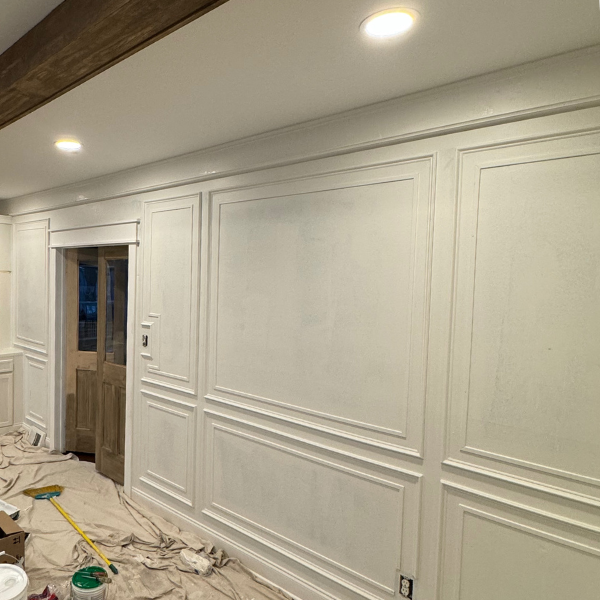
Making upper and lower boxes also helps draw the eye upward and make the room feel bigger. I like to do the upper boxes on the top 2/3 of the room, and lower boxes on the bottom 1/3.
Planning my spacing
For this room, I measured the height of the room. I had 90″ from the top of my baseboard to the bottom of my crown moulding. So, the upper boxes would go in the top 60″ and the lower boxes in the bottom 30″. So to determine the height of my boxes, I took 60″-6″(for 3″ spacing) and got 54″ boxes in height. Then for the lowers I did 30″-3″ (for the spacing to the baseboard) and have 27″ boxes. This was my spacing all around the room. The the width I based on how many boxes I wanted, each wall was different based on the wall space but I followed the same calculations.
Cutting the trim
Planning everything out is one of the harder parts, now comes the fun! Basically, you are going to cut 4 pieces of base cap trim with 45° angles on each side.
I like to cut a template piece and then just use that to make all my cuts of the same size. So, for vertical pieces I needed 54″ for all vertical upper boxes. I cut one, then used that to measure and mark all of the rest of the 54″ pieces I needed and bulk cut them on the miter saw. I did the same for horizontal pieces. Measuring this way by templating a piece helps small discrepancies from occurring with transferring measuring tape to trim.
Once all of your pieces are cut, it’s time to attach them to the wall. I like to to this with a nail gun in case I need to remove pieces, but you could use liquid nails (glue) instead. That just feels too permanent to me, I really hate drywall repair.
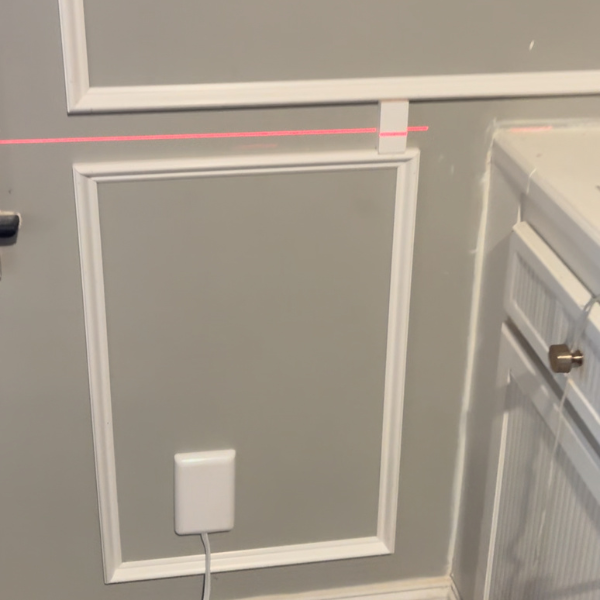
Make a 3″ spacer block out of scrap wood to easily measure all of your spacing. I like to work top down, so place my first piece 3″ from the edge of the wall and 3″ from the top of the wall and nail it into place, checking that it’s level. Once the top piece is in, I can place the side pieces of the box, ensuring they are level, and finish it off with the bottom.
Use the spacer block to place the next box 3″ over and repeat. Then keep going until all of your boxes are installed!
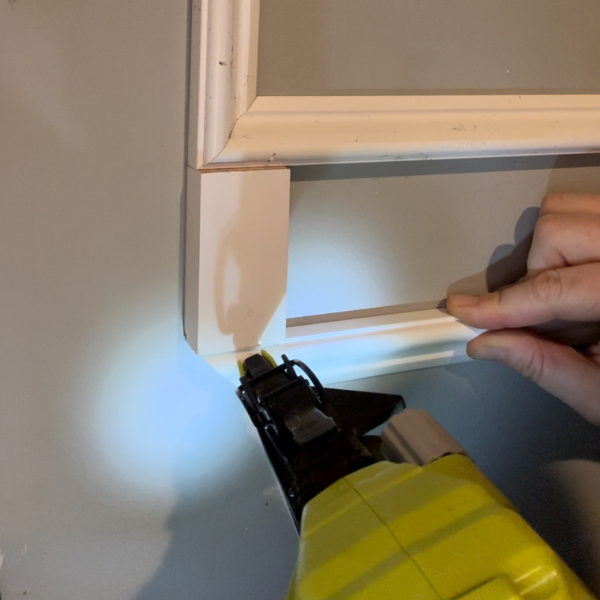
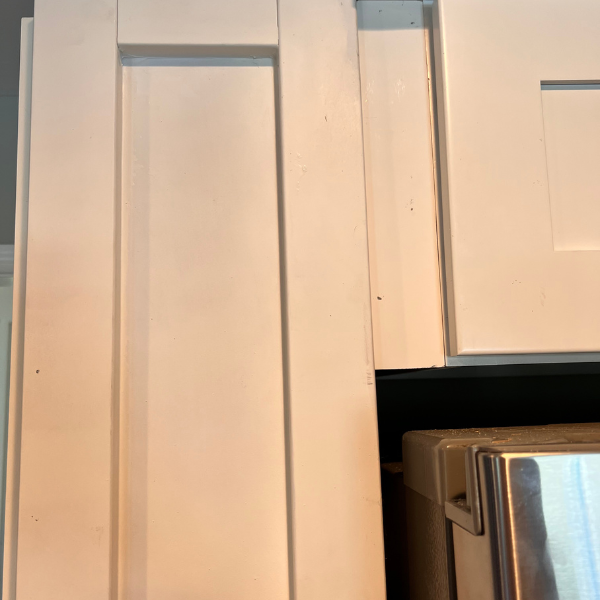
Add the interior box
I used the thicker, more decorative, base cap trim for the outer box. I wanted to add dimension with something smaller for the inside box and chose screen moulding. Initially I tried the 3″ spacing inside the box as well, but the scale looked off. So, I switched it to 2″ on the inside and it looked much better.
So I cut a 2″ spacer block and all of my pieces of trim and repeated the same steps as above. Because the screen moulding is smaller and easy to cut with miter snips, I used those here, again my templating one piece of trim them transferring the measurement and bulk cutting.

Finish the boxes
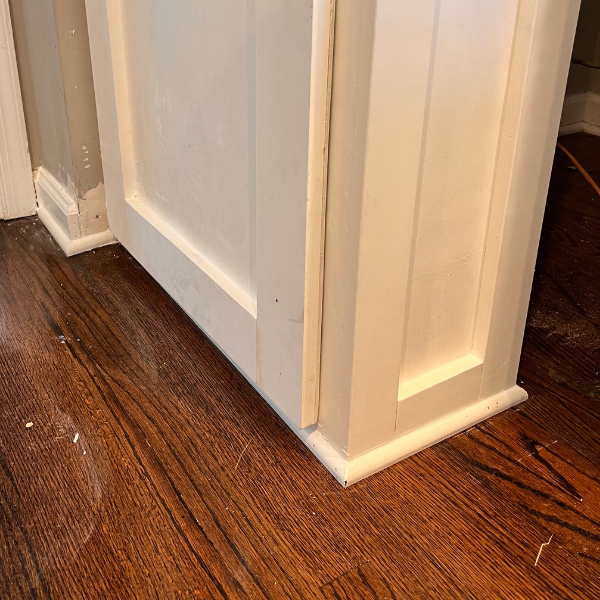
Once the boxes are up, use wood filler to fill in nail holes or corner seams, and then caulk where the trim meets the wall. This will seal everything up and fill in any gaps that remain.
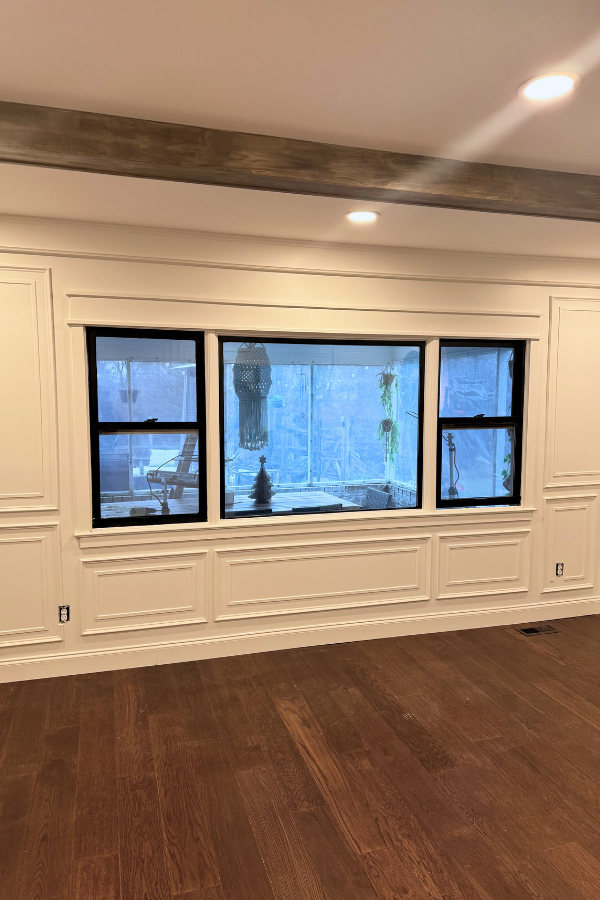
Once this is complete, you can add a coat of paint to make a uniform look between wall and trim and voila! Your double box moulding is complete and you have another DIY under your belt!

Follow me on Instagram
Follow along on Instagram to see all of the behind the scenes, explanations, and mistakes!