This faux brick wall is made with joint compound and wall paneling, and when you’re done with it, it looks like real german schmear.
If you missed my plan for the One Room Challenge Game Room Makeover, head there to see what this wall is becoming a part of! I’m thrilled with how this faux brick wall turned out, plus, it’s a cost effective stone wall.
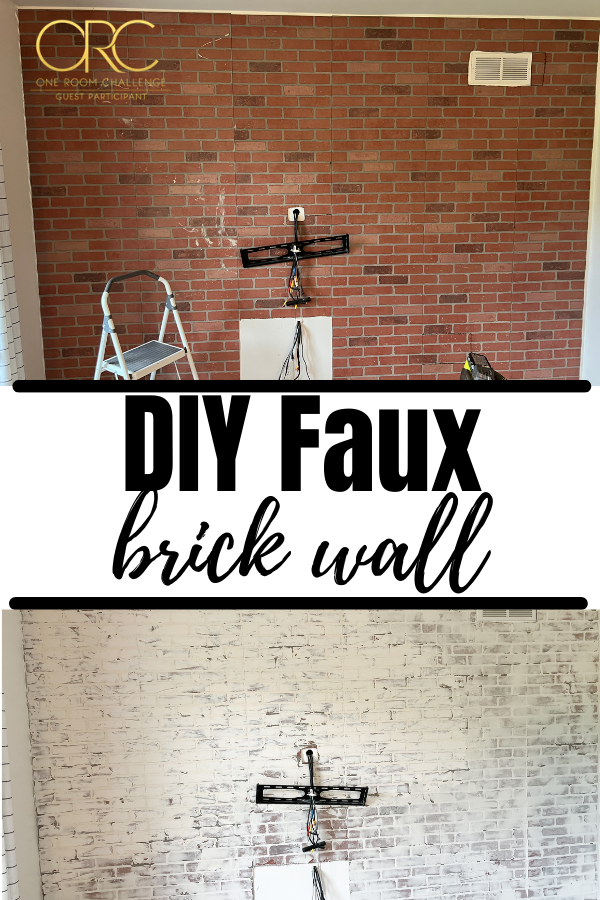
Faux Brick Wall Made from Paneling
When we think of wall paneling, the old dark wood panel walls from the 80’s come to mind. But, wall paneling done right can become beautiful feature walls! Don’t believe me? Check it out.
If you read the post linked above, you know that I’m participating in the Fall One Room Challenge hosted by Better Homes and Gardens. I’m working on building a wall to wall console for video game storage and use, this faux brick wall, and some DIY shelving to make an awesome game room for my kids.
I can’t wait to see it all come together, and this feature wall was the first step! Let me break it down for you so that you can see how a blank white wall can become a white ‘brick’ wall.
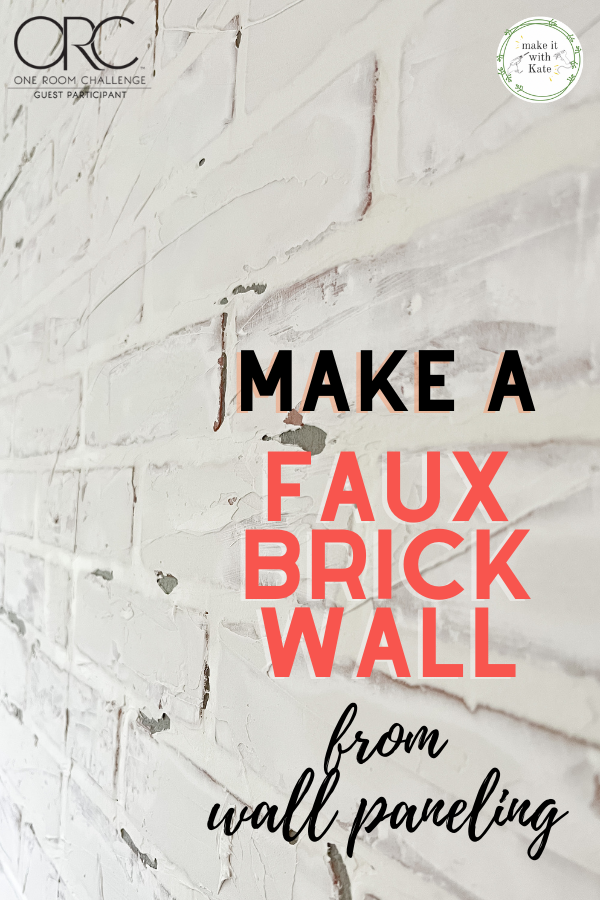
What you need to make the faux brick wall:
- brick wall panels (they come in 4’x8′ sheets, so get what you need to fit your space)
- liquid nails or other construction adhesive
- brad nailer (optional – you could use a hammer and nails but a pneumatic nails sinks the nails in and they become invisible)
- circular saw or jigsaw to cut the paneling to size or cut out outlet holes etc.
- joint compound
- plastic taping knife
- 120 grit sanding block
- white paint
- water
- foam paint roller
How to make the faux brick wall
A brick wall panel is a chipboard panel with an acrylic coating that looks like real brick. To me, it has the shape of brick but is missing the texture and imperfection of real brick.
So, in this tutorial you will see how to layer joint compound over the brick paneling to get the texture of real brick, and the result is beautiful!
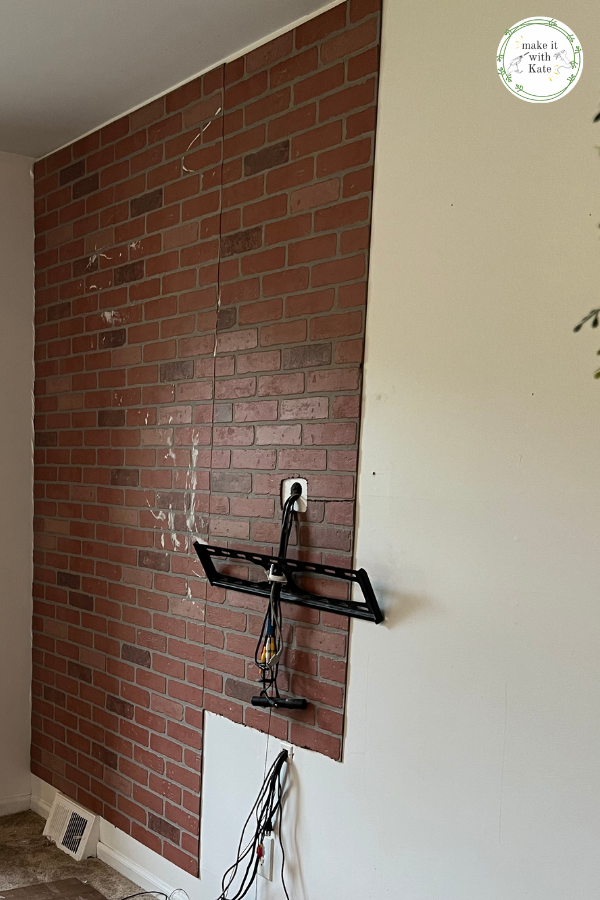
Step 1. Cut the brick panels to size with a circular saw or table saw.
Step 2. Measure and cut out any outlets, wall vents or other holes that you need to access on the wall behind the paneling. Do this by marking the cutout, beginning a jigsaw hole with a drill, and using a jigsaw to cut out the shape needed.
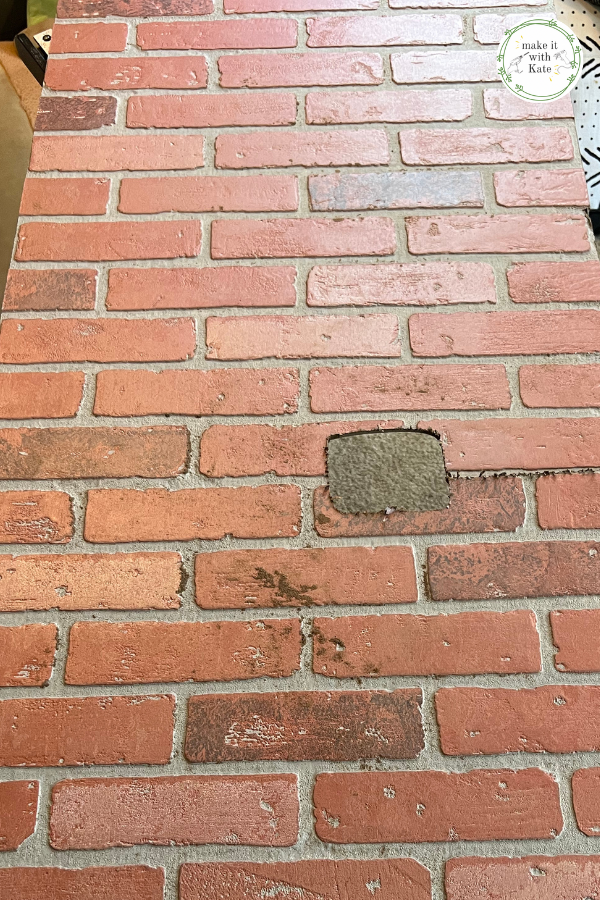
Step 3. Attach the brick wall panels to the wall with liquid nails and then secured with nails (a brad nailer makes this super easy).
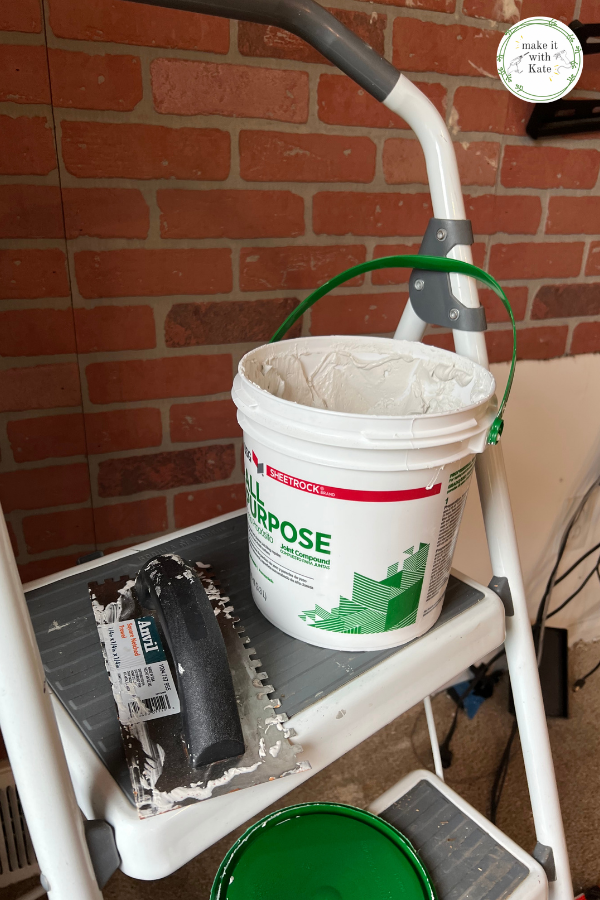
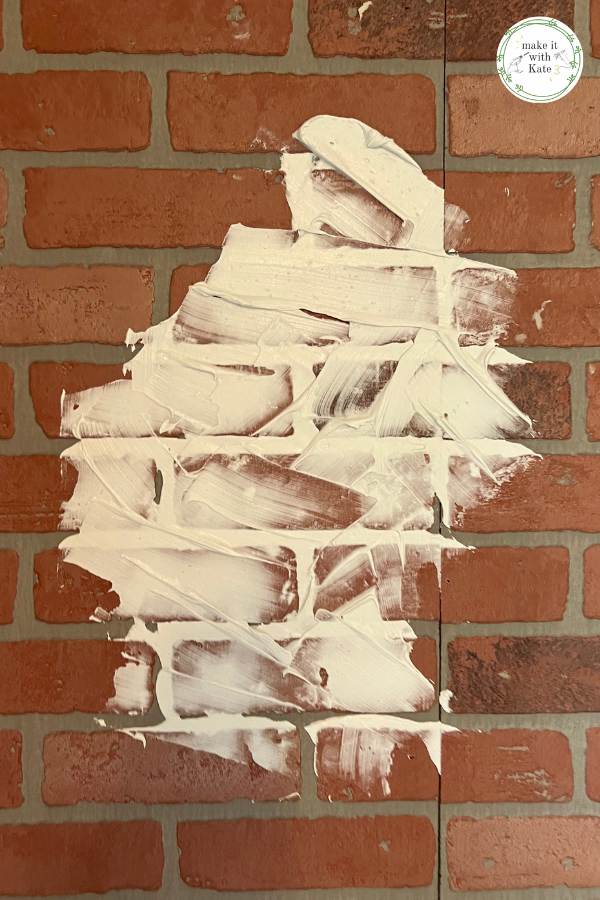
Step 4. Use joint compound and a plastic taping knife to spread joint compound over the brick wall panel.
This is where you get the faux brick look, there isn’t a ‘right’ or ‘perfect’ way to do this, basically just keep spreading until you get the look and texture that you like.
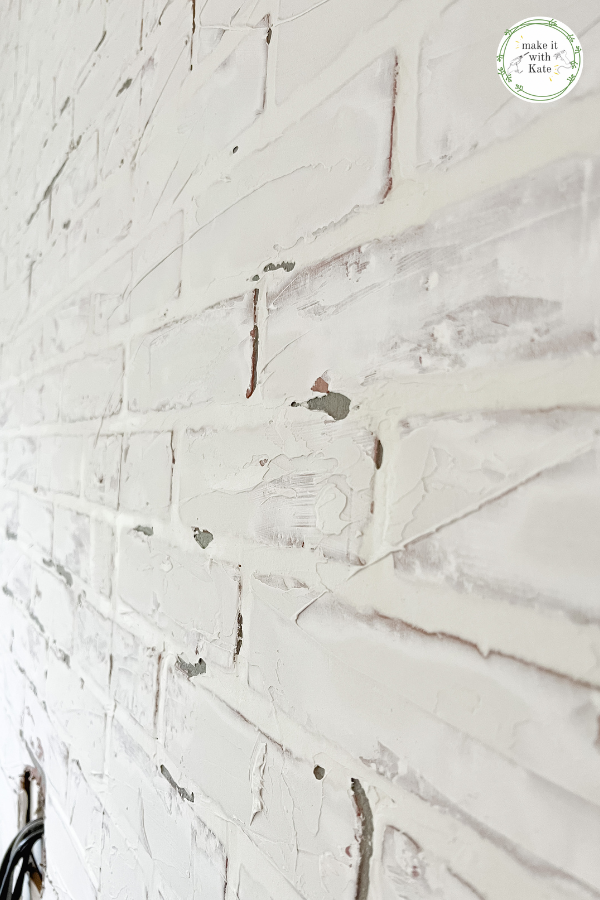
Step 5. Let dry for 24 hours, then sand with a 120 sanding block to take off any rough spots or large bumps.

Step 6. Whitewash the brick by making a wash of 1 part white paint and 1 part water and apply with a foam roller.
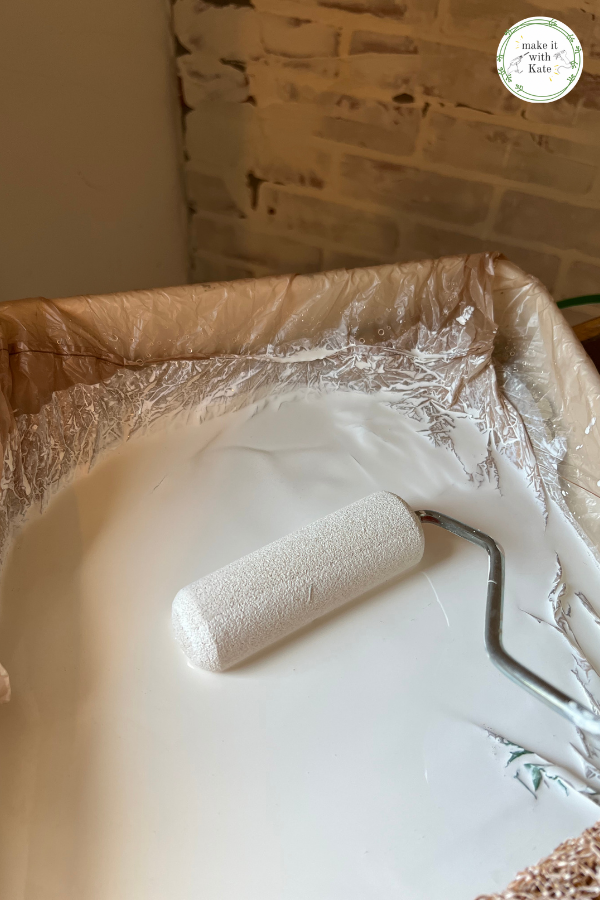
That’s it!
Tape a step back and enjoy your faux brick wall! It has the beautiful texture and color of real brick with german schmear, for much cheaper.
How much did this joint compound brick wall cost?
Alright so here is the budget breakdown for this ‘brick wall’.
Before I get to the budget, I’ll give you the dimensions so you can get an idea of how much space this budget covered.
My wall was 138″ wide and 104″ tall. This is roughly 12′ x 8′. Because I’m doing built ins on the bottom half of the wall I didn’t need to add more brick to go all the way to the floor, the 8′ was enough.
Budget breakdown:
- (3) 4’x 8′ brick wall panels – $120
- liquid nails – $7
- joint compound – $16
I had the rest of the materials such as tools and paint on hand so didn’t need to purchase any of that.
Which brings the total for my faux brick wall to $143.
Just for reference, there are some amazing interior brick resources that you can use such as Brick Webb, which are thin pieces of real brick. They run around $11.50 per square foot (not including grout etc.), so for my wall that would have been $1,104 in brick alone (vs. $120).
Now, if I had the budget I would go with the Brick Webb, I’m not at all saying that it isn’t worth it, but for this project and a room that my kids use that I found old pizza crust from who knows when in, the faux brick wall is just fine 🙂
I hope this gives you the courage to try and make a faux brick wall in your home!

Check out the other posts in this One Room Challenge game room makeover
- Week 1: Game Room Makeover Plans and Mood Board
- Week 2: Make a Faux Brick Wall (current post)
- Week 3: DIY Built in Gaming Console from Stock Cabinets
- Week 4: DIY Faux Marble Countertop with Epoxy
- Week 5: DIY Picture Frame Shelves
- Week 6: DIY Neon LED Sign
- Week 7: DIY Couch with Stool Seating
- Week 8: DIY Indoor Climbing Wall
- Final Game Room Reveal
