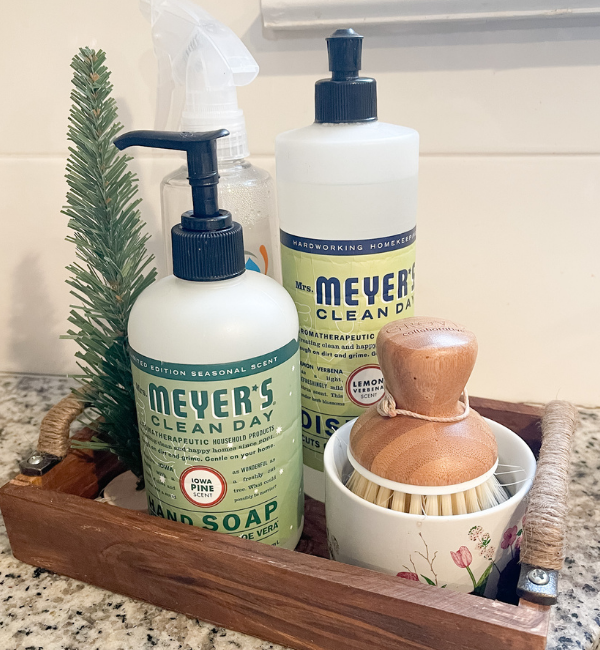
I love using wooden trays for containing loose items in my kitchen such as salt and pepper, or soap dispensers. Did you know there is so much you can do to turn unfinished wood from craft stores into beautiful decor pieces?
Check out how we made this DIY small serving tray from an unfinished rectangle plaque or wood from Michaels. What a great DIY home decor project for beginners!
Related: 3 DIY Farmhouse Trays to Make
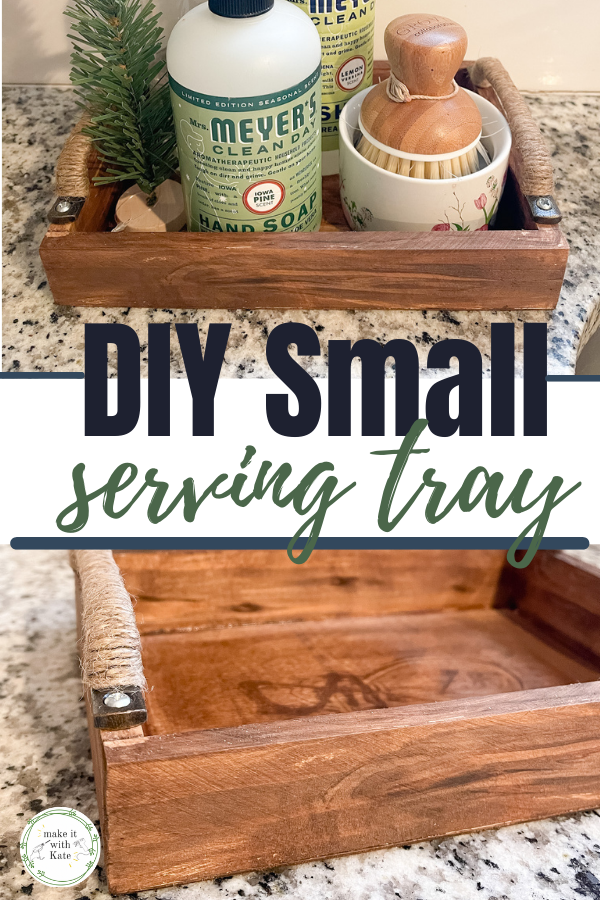
DIY Small Serving Tray
This small rectangle tray was the first DIY tray I made, and I couldn’t believe just how easily I turned this $3 wooden piece into a lovely little tray for my soaps in the kitchen.
Stain and hardware can go a long way in making an inexpensive piece of wood look really great. This project doesn’t require any cutting or power tools!
What you need to make the small serving tray:
You can find wooden pieces like this at craft stores such as Michaels or Hobby Lobby. If you have any stain in your craft supplies, this will be a very budget-friendly piece of home decor that you will love.
- rectangle wooden plaque ($3 at Michaels with 40% off coupon)
- Rustoleum Early American wood stain
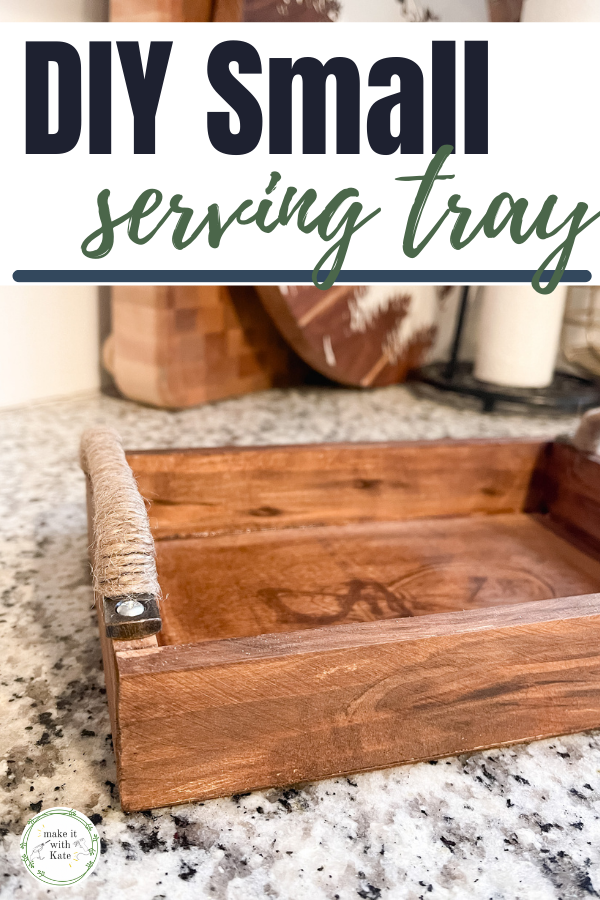
- 2 jute wrapped drawer pulls ($6.50 for both from Hobby Lobby using one 40% off coupon)
- Modpodge acrylic sealer spray
Because I had the sealer and the stain in my craft supplies already, this DIY serving tray cost me under $10 to make, and the bulk of that is hardware.

How to make the DIY serving tray
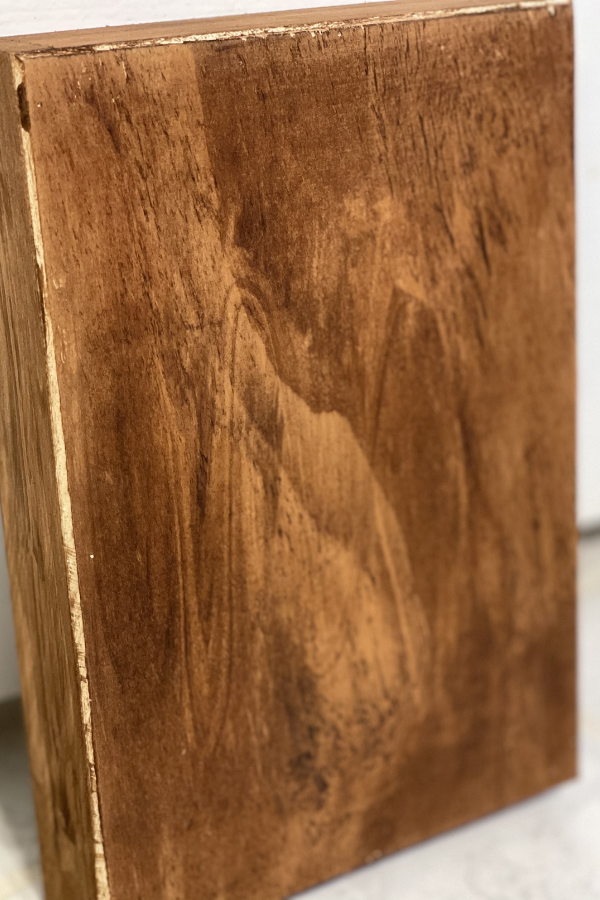
Begin by staining the wood plaque and let dry.
Apply the stain with a foam brush, and wipe with an old rag or old t-shirt.
Go along with the grain of the wood when rubbing in, and work quickly before the stain dries.
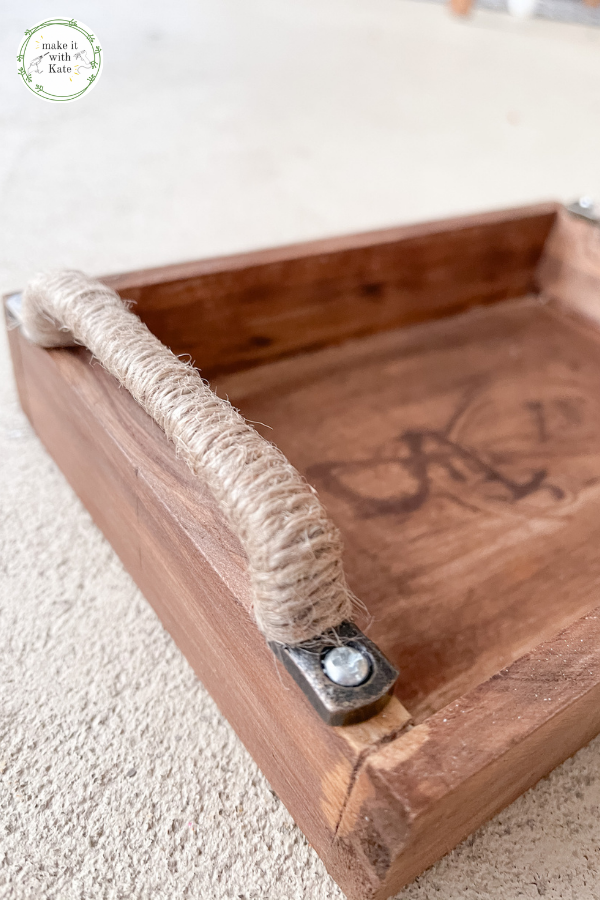
Once the tray is dry, attach the hardware as handles on each side.
Spray with acrylic sealer spray or other polyurethane sealer if there is a risk of the tray getting wet. If you want to be able to wipe it down often, this is an essential step.
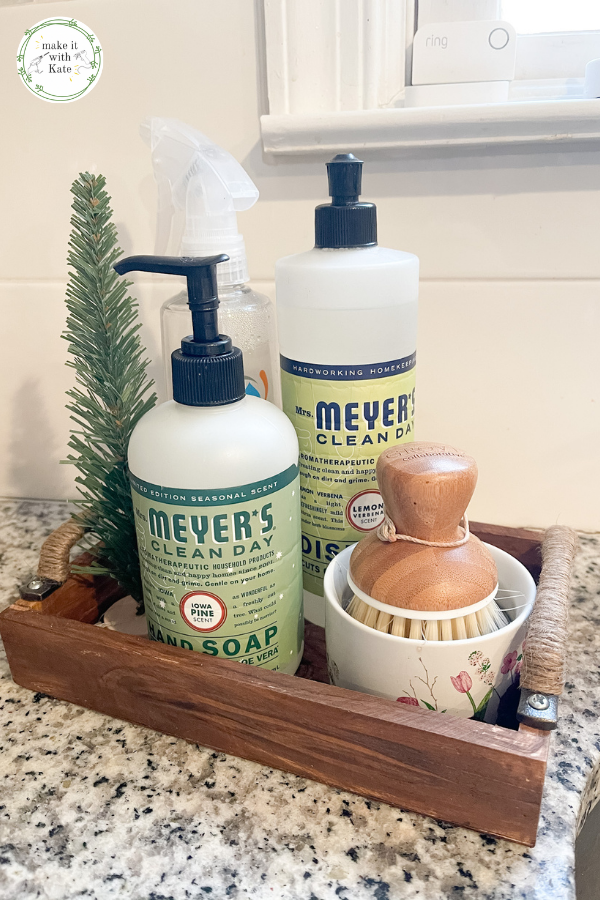
And that’s it! What a simple little DIY serving tray!
We have actually used this in a few different places in the kitchen. It has held soap dispensers, coffee pods and splenda packets, and has been a hot chocolate bar!


[…] you like this DIY farmhouse tray, check out our DIY mini serving tray and DIY tiered tray tutorials as […]