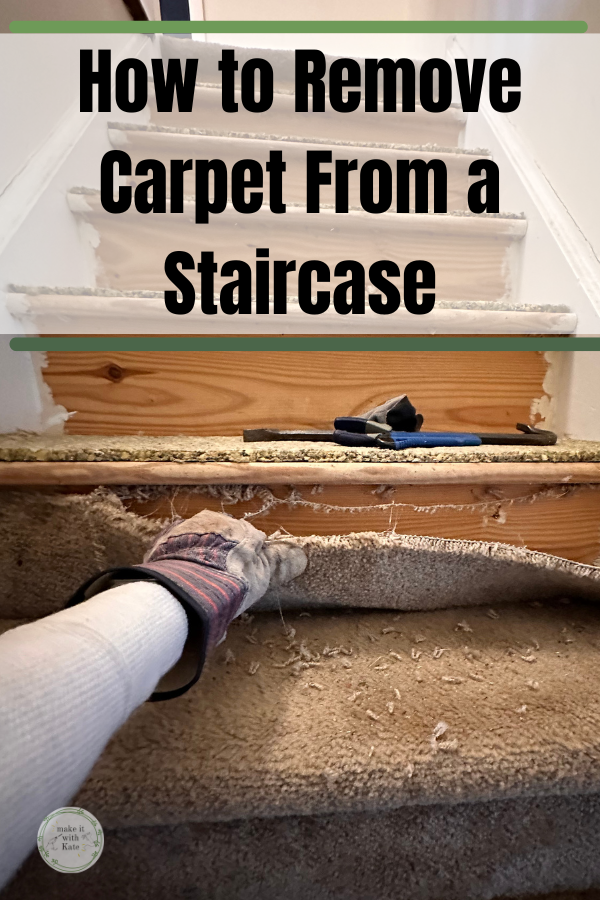
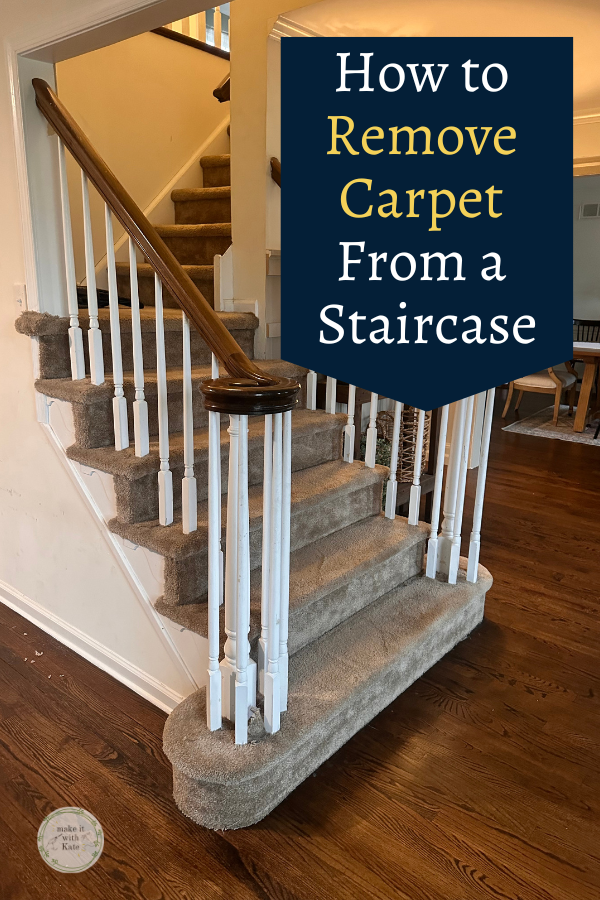
This tutorial will walk you through the tools and the process you need for how to remove carpet from stairs.
The first step of this staircase makeover was to get all of the carpet off of these stairs. I actually went in to this process not knowing exactly what my plan was going to be, but I knew that I wanted the carpet gone and that I wanted a DIY wooden looking finish at the end. So, how to remove carpet from stairs…it’s easier than you think!
How to remove carpet from stairs
Carpet removal from stairs can seem like a daunting task. There were a couple of things that I didn’t know to expect, such as how removal around the balusters would be and what all of the trim areas would look like once the carpet was removed.
The removal around the balusters was incredibly easy, that wasn’t an issue at all. The trim areas were the biggest challenge of this project but caulk and wood trim (and flexible vinyl trim) are almost always able to fix those areas and in this case it worked out just fine.

Related Post: DIY Mini Fridge Cabinet: Corner Coffee and Wine Bar
What’s under carpet on stairs?
Before carpet removal it’s important to know what kind of flooring is under the carpet. It’s pretty easy to take a peek under carpet on the stairs by pulling on a corner at the riser with a pair of pliers. Take a look at what kind of flooring is under the carpet and then just push the carpet back into place.
In my case, there was a pine staircase underneath the carpet which had some pros and cons.

The pros of having a pine staircase was that the treads were risers with the bullnose overhang and the wood was in pretty good shape. A pine staircase like this is a great candidate for a painted staircase. However, I wanted the look of a wood stain for this staircase which is difficult with pine.
Pine wood is soft and porous making it a less than ideal wood for a staircase. A more durable choice would be oak wood treads but pine is manageable, and you’ll see in the end how I was able to make this pine staircase look like stained wood.
What you need to remove carpet from stairs
A few tools and safety measures will make this an easier process:
- needle nose pliers
- crowbar/pry bar
- staple remover tool
- gloves
- face mask
- safety goggles
- utility blade
*A face mask, safety goggles and gloves are highly recommended with this project.
Pull the carpet from the stairs


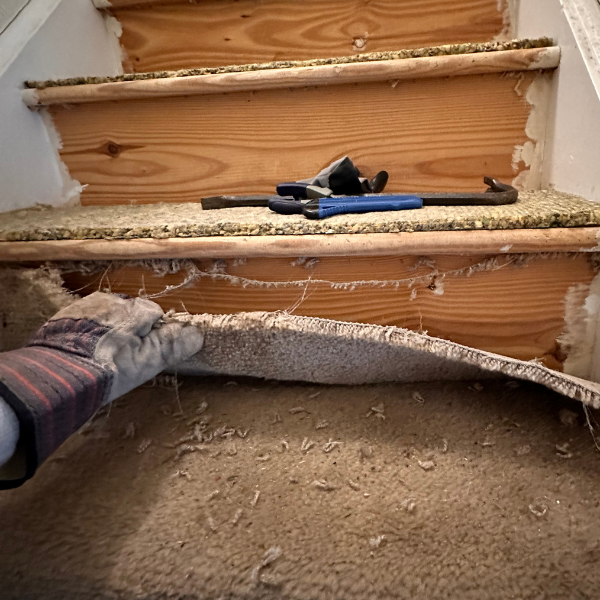
Begin at the top of the staircase and use pliers to start pulling the carpet at the top of the riser. The carpet should begin to come off quite easily. Continue pulling and ripping the carpet off using a utility knife or razor blade on any parts that get stuck.

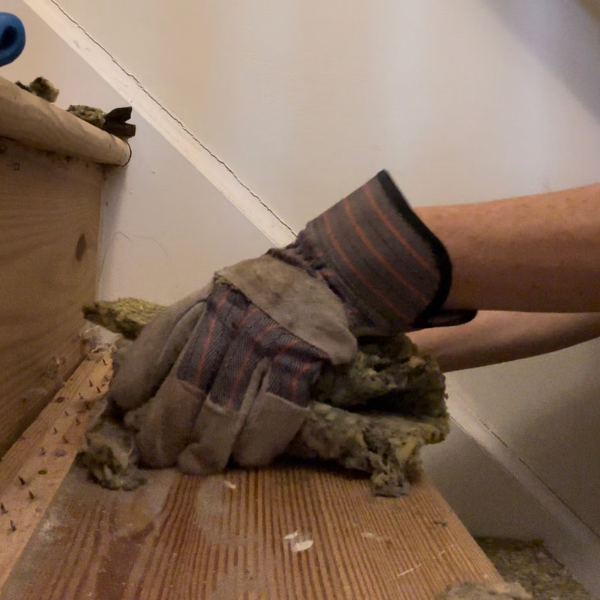
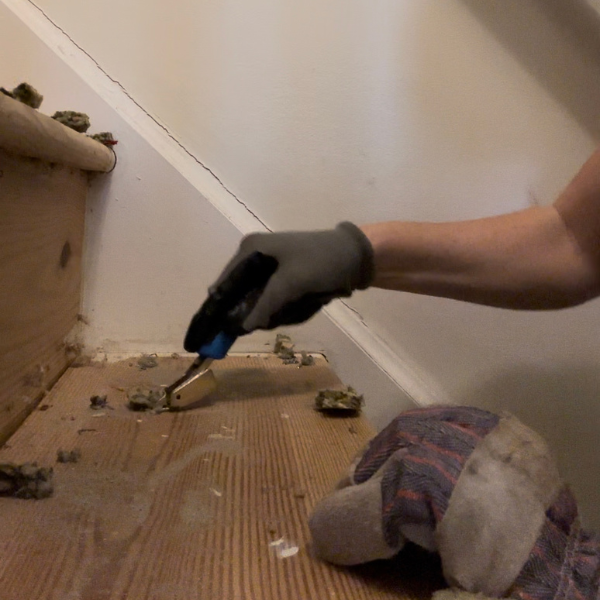
Once all of the carpet is removed, the grunt work begins. On each tread under the carpet will be a piece of carpet foam stapled onto the tread. Using gloves, peel the carpet foam off of the treads.
After the foam is removed there will be a carpet tack strip and the top of each tread. The easy way to remove this is by using a pry bar and pulling these off.
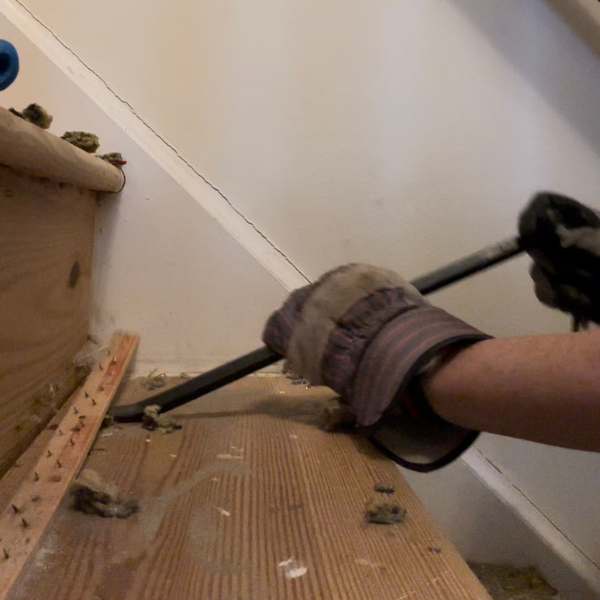
Once the carpet and the foam is removed, there will be staples galore to remove. In my opinion, this is the absolute worst part of this entire project, but, after a little bit of grunt work the carpet will be gone and the stairs will be ready for refinishing.
Prepare the staircase for refinishing
Now that the staircase is completely bare, it’s time to get to the next step of this staircase makeover, painting and staining pine wood stairs!
Read Next:
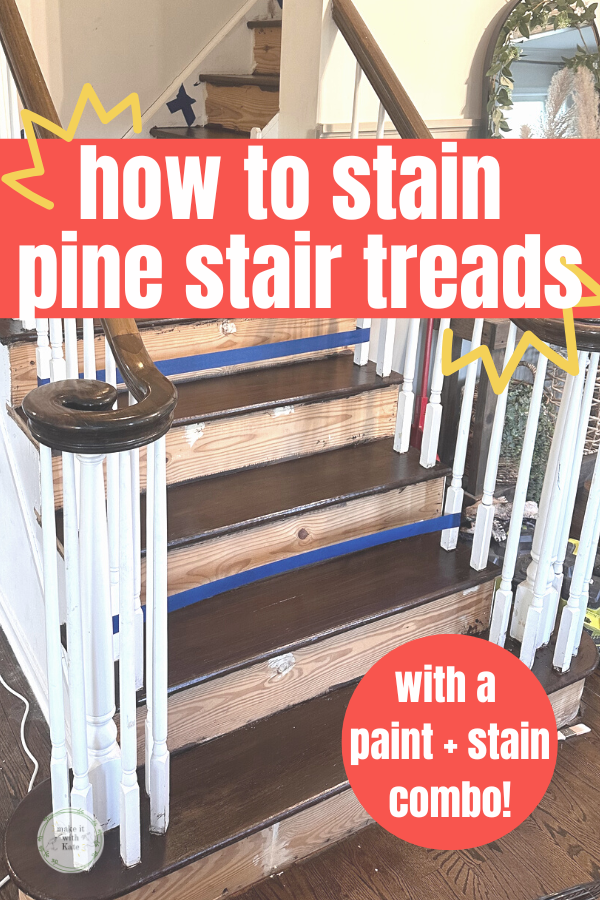
Painting and Staining Pine Stair Treads
Staining pine stair treads can be tricky, this paint + stain combo will show you how you can make pine stairs beautiful on a budget.


[…] Read First: How to Remove Carpet from Stairs […]