• Skip to primary navigation
  • Skip to main content
  • Skip to primary sidebar
  • Skip to footer
  • Home
  • About
  • Work with Me

Make it with Kate

  • Home
  • DIY Woodworking
    • Building Projects
      • DIY Mudroom Build
      • DIY Corner Coffee Bar Build: Wine Storage, Floating Shelves, Cabinets and more!
      • DIY Living Room Projects: Built-ins, Wall Treatment, Beams, and More!
      • Staircase Makeover: Carpet to Wood Stairs
      • Fall One Room Challenge 2021: Game Room Makeover
  • DIY Home Decor
    • Furniture Flips
    • Dollar Tree Crafts
    • Small Wooden DIYs
      • 3 DIY Farmhouse Trays to Make
    • Wall Decor
  • Fall One Room Challenge
  • Seasonal
  • Holiday
  • Instagram

DIY Wall Sconce from a Table Lamp

January 10, 2021DIY Home Decor, Wall Decor

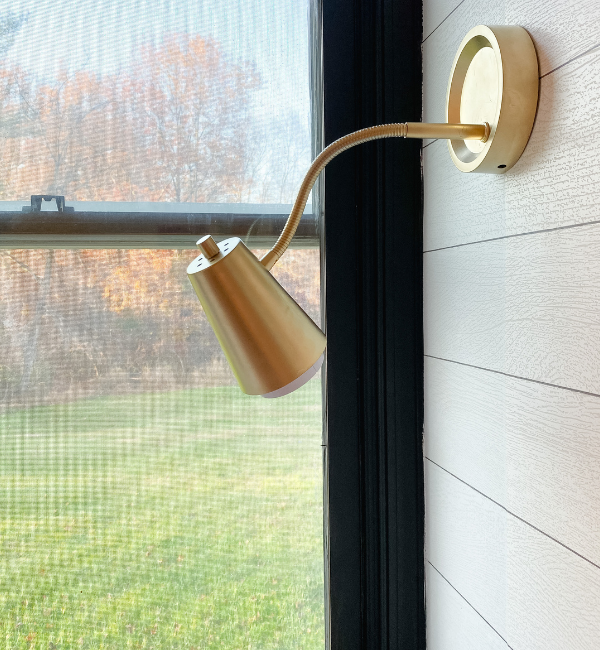
A DIY wall sconce can be a great way to get some bang for your buck when decorating a space. After building the DIY built-in shelving, the side of the unit was begging for a wall sconce. Here is a great way to turn a basic desk lamp into a gorgeous wall sconce.

What a fun and beautiful DIY Home Project to work on that will be functional too!

This DIY wall sconce is made from an inexpensive plastic table lamp. You won't believe how beautiful this looks on the wall! #diydecor #homedecor #budgetdecor #diy #playroom #wallsconce #lighting

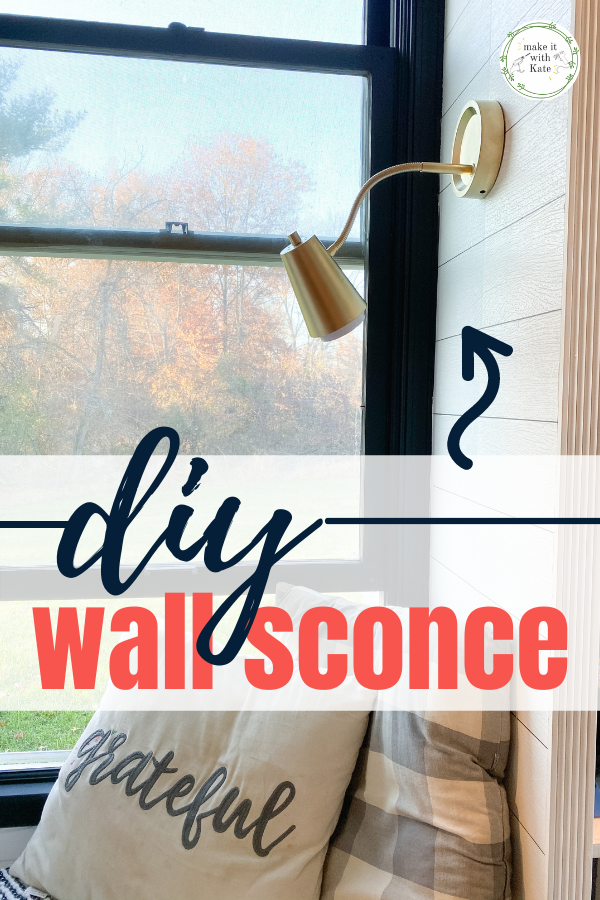
Make a DIY Wall Sconce from a Table Lamp

When I get an idea in my head, I like to achieve it. After updating our playroom by adding shelving and a reading nook under the window seat, I got the idea of a cute wall sconce overhead to use for reading.

In looking for one that fit the image in my head and that didn’t require any electrical wiring I was blown away at the prices I saw. I knew there had to be a way to make a DIY wall sconce from something much less expensive.

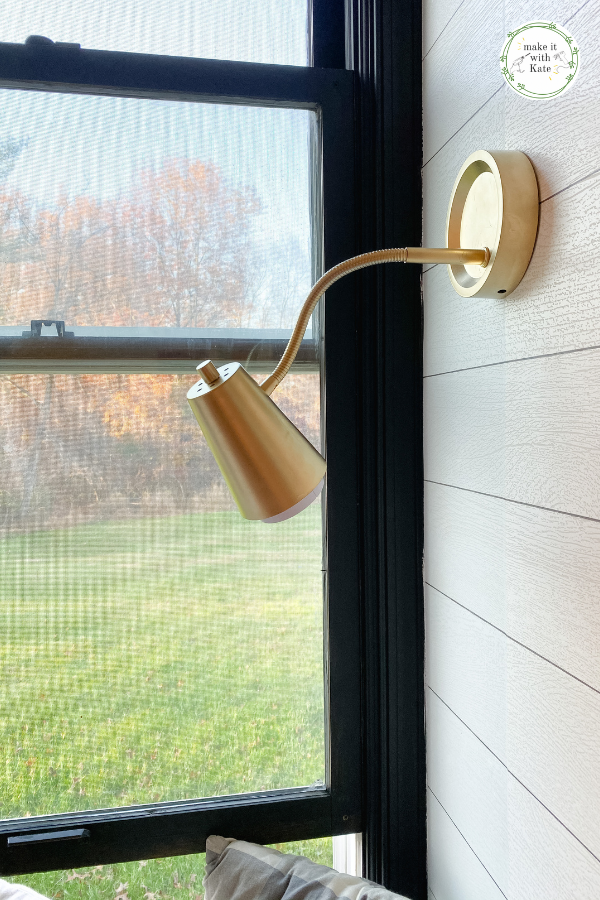
I just love the way this project turned out, and as a bonus, its touch activated and easy for the kids to use.

This DIY wall sconce is made from an inexpensive plastic table lamp. You won't believe how beautiful this looks on the wall! #diydecor #homedecor #budgetdecor #diy #playroom #wallsconce #lighting

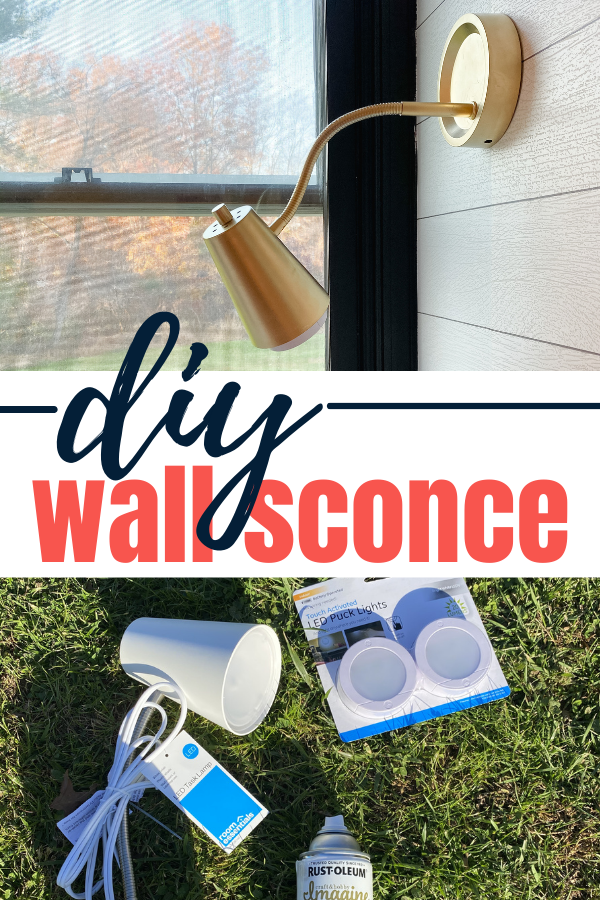
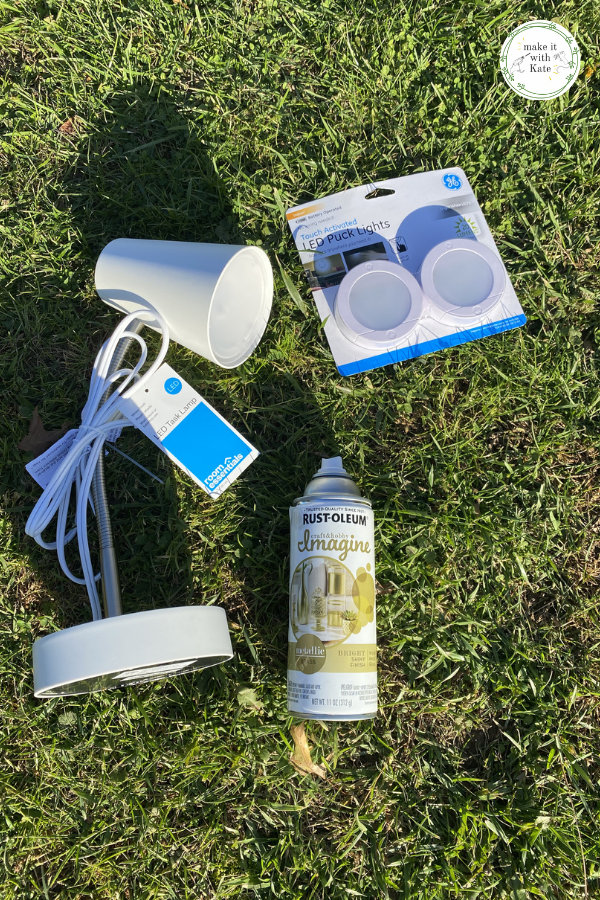
What you need to make the wall sconce:

  • plastic desk lamp like this one from Target ($7)
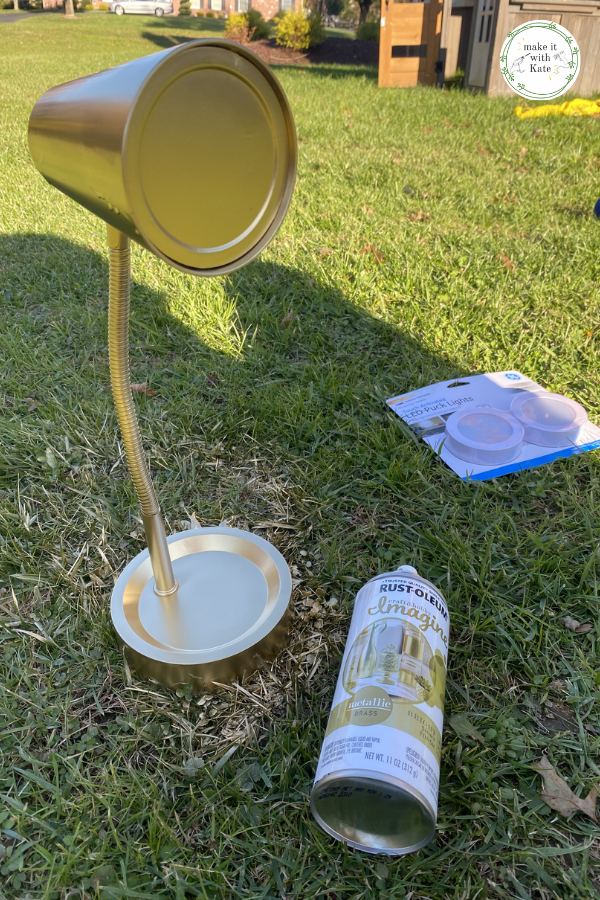
  • Rustoleum metallic gold spray paint
  • Puck light
  • command strip
  • wire cutters
table lamp, gold spray paint and puck light

How to turn this table lamp into a wall sconce

Cut the wire off of the base of the lamp with the wire cutters.

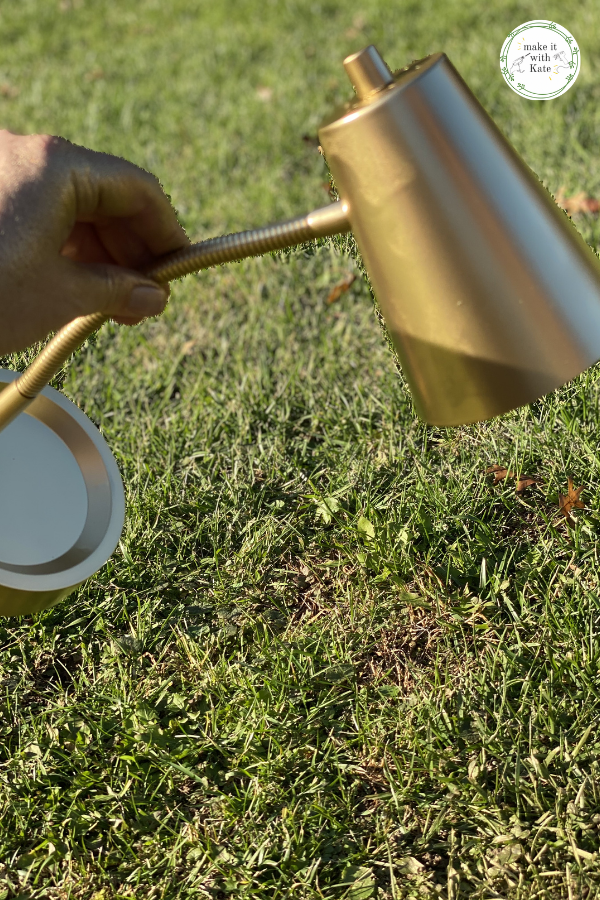
Spray paint the entire lamp with the metallic gold spray paint and let dry.

This wall sconce is made from an inexpensive plastic table lamp. You won't believe how beautiful this looks on the wall! #diydecor #homedecor #budgetdecor #diy #playroom #wallsconce #lighting

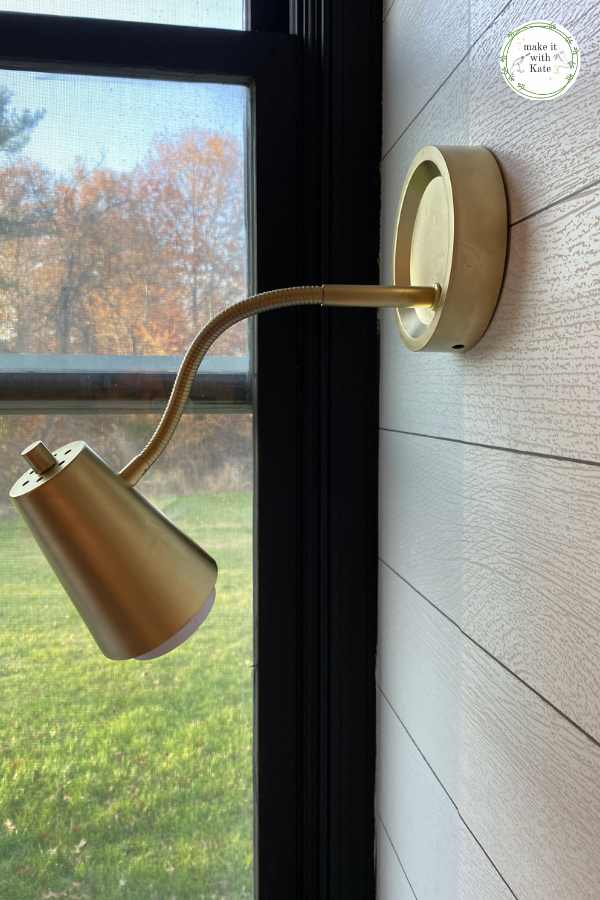
Attach the puck light to the face of the lamp with a command strip. Make sure the way you attach the puck light doesn’t interfere with the ability to open the puck light to change the batteries.

My puck light stuck out just a bit but it didn’t take anything away from the aesthetic at all.

The bottom of the Target lamp has a space to hang the lamp on the wall. Drill a screw into the wall and hang the lamp!

This DIY wall sconce is made from an inexpensive plastic table lamp. You won't believe how beautiful this looks on the wall! #diydecor #homedecor #budgetdecor #diy #playroom #wallsconce #lighting

The puck light is touch activated and so easy to use but can feel less than secure when turning it on and off. If you don’t feel like the lamp is completely secure hanging on just the screw when touching it, reinforce it by placing a command strip on the base attached to the wall as well.

What a beautiful DIY wall sconce! This whole project cost me $12 (the cost of the lamp and the puck light) as I had the other materials on hand. Even with purchasing the spray paint it’s still a wall sconce for under $20.

This DIY wall sconce is made from an inexpensive plastic table lamp. You won't believe how beautiful this looks on the wall! #diydecor #homedecor #budgetdecor #diy #playroom #wallsconce #lighting

See how to make the DIY built-in shelving that this lamp is attached to.

This DIY wall sconce is made from an inexpensive plastic table lamp. You won't believe how beautiful this looks on the wall! #diydecor #homedecor #budgetdecor #diy #playroom #wallsconce #lighting

Related Posts:

  • DIY Living Room Projects: Built-ins, Wall Treatment, Beams, and More!
    DIY Living Room Projects: Built-ins, Wall Treatment, Beams,…
Previous Post: « DIY Tiered Tray for Home Decor
Next Post: DIY Closet Shelves: Hall Closet Organization on a Budget »

Reader Interactions

Leave a Reply Cancel reply

Your email address will not be published. Required fields are marked *

Primary Sidebar

Search for what you need

Welcome!

Find inspiration for DIY home projects and crafts on a budget! You can usually find me with either a hot glue gun or a can of spray paint in hand 🙂

Get social:

  • Instagram

Recent Posts

  • Double Picture Frame Moulding DIY
  • 7 Easy DIY Fall Centerpieces
  • Fall House Decoration to Add Warmth
  • DIY Stair Runner with Corner Turn
  • DIY Stair Risers on a Budget

makeitwithkate

🪚 Transforming builder grade into modern colonial
🔨 DIY builds and decor
🪑 Furniture flips

Make it with Kate | DIY Blog
These motorized roller shades from @smartwingshome These motorized roller shades from @smartwingshome are the final missing piece to this living room makeover! I just love how easy they are to use with the remote or as part of my home automation. The color is the perfect neutral and the linen provides great light-filtering. These are the SmartWings Motorized Light Filtering Roller Shades 70% Blackout Linen, color Caramel.
🌟🌟 L I V I N G  R O O M  R E V E A L 🌟🌟 what’s new? Wall treatment, door and window trim, stained beams, updated doors, lighting and paint! DIY is too much fun 🥰 do you have a favorite part? ➡️➡️ swipe to see some progress/before pics! #diyhome #livingroomdecor #moderntraditional #diydecor
🌟The living room I bought versus the one I crea 🌟The living room I bought versus the one I created. 🌟 The number one thing I’ve learned in DIY, is to follow and know the trends, but ultimately find your own style and create what you love, and what you are your family are comfortable in. #diy #diyhome #livingroom #moderntraditional
Here are 5 tips for styling your shelves! 👇

1️⃣ Balance: vary shapes, sizes, and height to create visual interest

2️⃣ Color Coordination: You can group similar colors together or use gradients of a color palette. An easy way to do this is to stick with either warm or cool tones.

3️⃣ Layering: Place larger items at the back and smaller items in front to create depth and visual intrigue, or small items on top of large. 

4️⃣ Negative Space: Leave some empty space to allow the eye to rest and to highlight the items you’ve chosen to display.

5️⃣ Personal Touches: Incorporate items personal to you such as photos, artwork, or keepsakes to make the shelves feel more personal and reflective of your style and interests.
I’m loving how fresh this living room feels now! I’m loving how fresh this living room feels now! #diyhome #moderntraditional #livingroom #diydesign
These doors are DONE! This was a labor of love but These doors are DONE! This was a labor of love but I am happy with how they turned out! The reeded film over the plexiglass keeps the playroom mess out of sight, but the room feels a bit more open this way. More details in highlights! #diyhome I used @retiqueliquidwood to cover the chalk paint without any sanding!
Taking these doors from painted and scratched to w Taking these doors from painted and scratched to wood-grained French doors with @retiqueliquidwood - they are almost done, stay tuned for the end result! I think they will be good! #diydoors
I’m making progress in this living room! Next st I’m making progress in this living room! Next step is to take these beat up, painted doors and make them look like new French doors! I cut large holes in the middle of them and am going to make a plexiglass insert. Here’s hoping!
Let’s take these beams from painted black to a b Let’s take these beams from painted black to a barn wood look. Check out this fun and easy process! What do you think?!
Picture frame moulding in the living room phase 1! Picture frame moulding in the living room phase 1! I updated the door and window trim to a craftsman style, the added double box moulding to the walls, and board and batten to the breakfast bar. Stay tuned to watch this get finished! It’s gonna be good!
I’m switching out the trim work in my living roo I’m switching out the trim work in my living room to add Craftsman moulding to the doorway and window! This is part of a living room refresh, stay tuned for box moulding and updated doors and beams next! #craftsmantrim #craftsmanmoulding #doortrim #diy #doityourself
Sometimes, you just have to go for it. 🔨 🪚🪛
Load More... Follow on Instagram
Copyright © 2025 · Make it with Kate · Hearten Made ⟡
Cleantalk Pixel