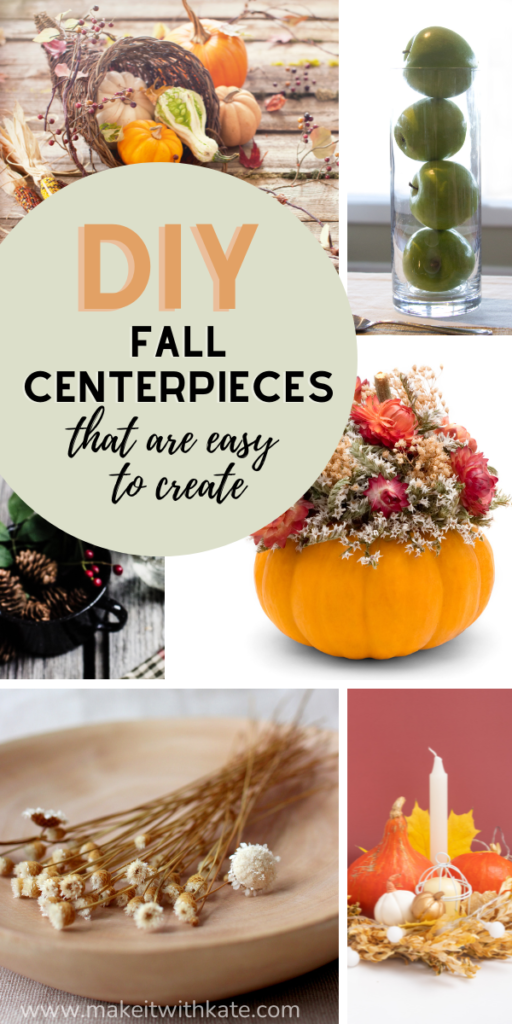


Fall is such a fun season to decorate for. The Fall inspires such a cozy warmth when it comes to decorating and it makes me want to cuddle up by the fire with a cup of tea. Here are some fun and easy DIY fall centerpieces to decorate for the season around your home.

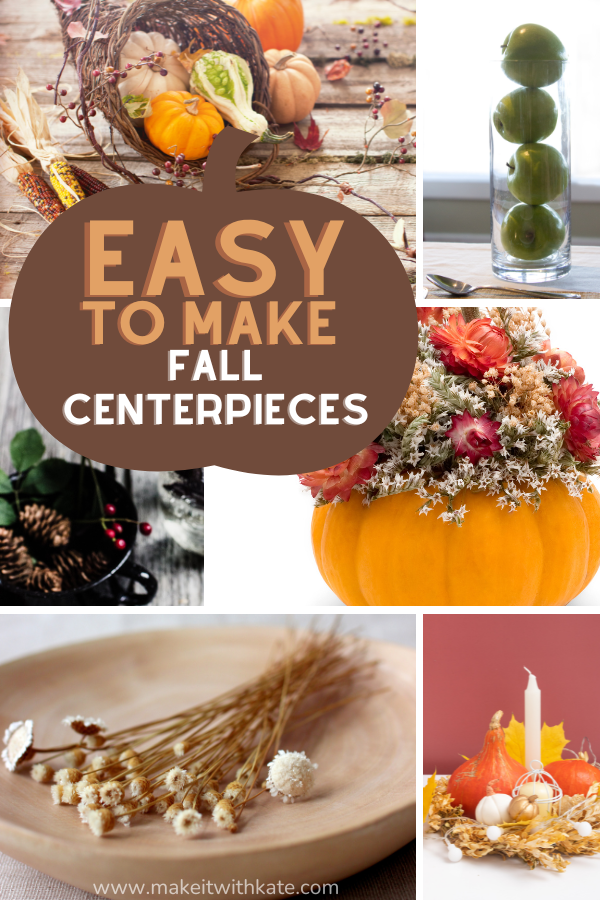
Easy DIY Fall Centerpieces
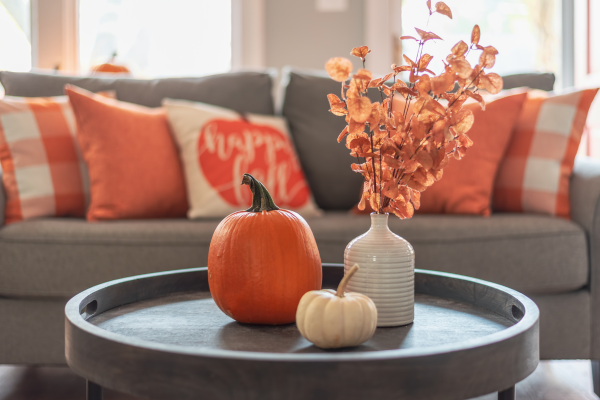
A beautiful fall table is the focal point of a room, and fall centerpieces create a warm and welcoming ambience. Centerpieces are not just for dining room tables either. Fall centerpieces can be placed on a fireplace mantel, end tables, on a buffet, or any other area you want to enhance with brilliant colors, shapes, and textures of autumn.
Fall centerpieces purchased in stores can be quite pricey, but it is easy to make impressive centerpieces that look like they were purchased from a store.
Apples and Cranberries in a Vase
If you want a beautiful but easy fall centerpiece, invest in a tall glass cylinder and fill it with layers of artificial cranberries, pomegranates, and tasty looking apples of your choice. For the apples, you can choose real or faux apples.
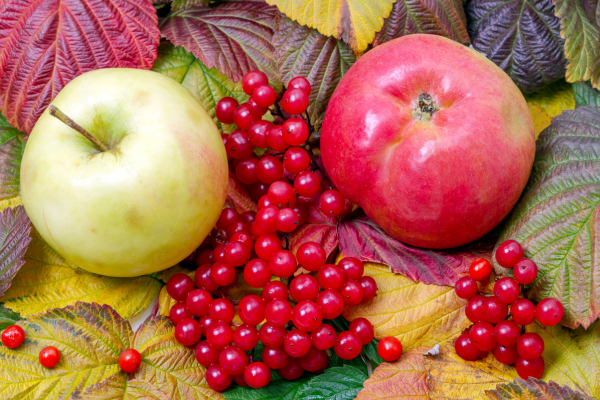
Begin with a layer of artificial cranberries not he bottom, then top with the apples. Next add a layer of artificial pomegranate seeds, and top them with another handful of cranberries. Continue layering until the cylinder is full. This looks elegant but is really simple! What an easy way to dress up any table or mantel in your home.
Related: Faux Birch Vase Made from a Plastic Jar
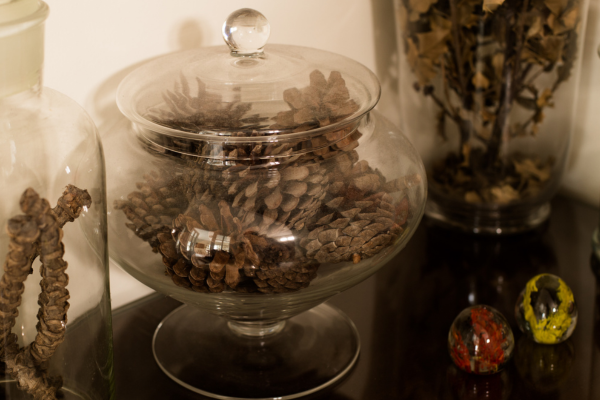
Pinecones and Acorns in a Jar
The scent of pinecones is a reminder of fall, and what better way to welcome autumn than by bringing aromatic pinecones into your home. Partially fill a glass cylinder with small pinecones and dried acorns.
This is one of the easiest centerpieces you can create, but it’s one of the loveliest. Surround the jar with a pine garland wreath for added interest and appeal, and turn this easy centerpiece into a display of natural autumn beauty.
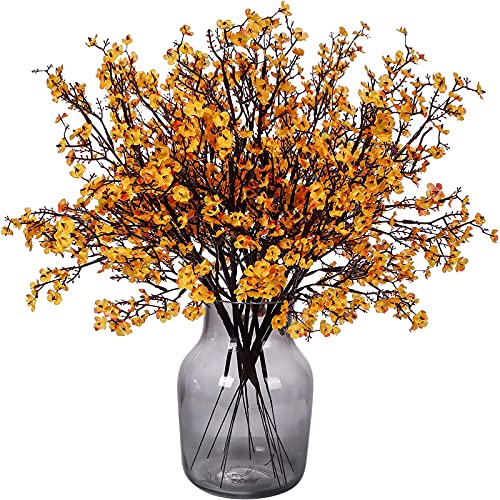
Dried Flowers in Bowls
Dried flower heads in fall colors are gorgeous, and you can make beautiful but easy centerpieces using dried strawflowers of various colors. Dry your own flowers by hanging them upside down in a dark location for a few weeks, or create your centerpieces the easy way, and buy dried flowers from Amazon. Alternatively, you can opt for silk flowers of your choice.
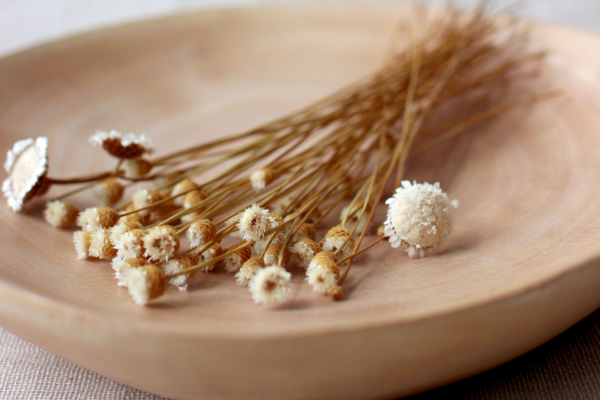
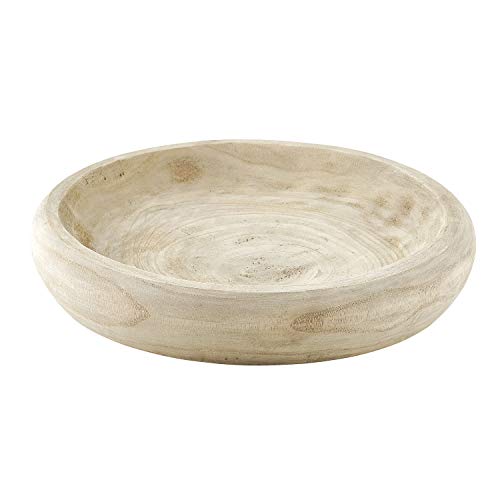
Remove the heads, and place them in a wooden bowl. Wooden bowls come in various sizes, and are great for holding vase filler or potpourri. You can find these bowls online or in stores. They are perfect for creating easy fall centerpieces.
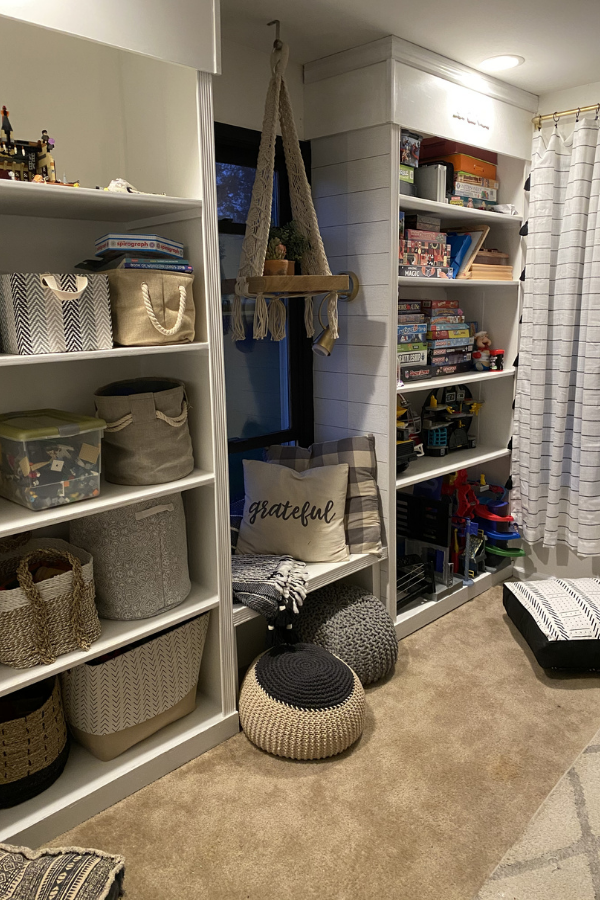
This is one of my favorite types of decor to put on my built in bookshelves in the Fall.
A Beautiful Horn of Plenty
We have all noticed beautiful fall centerpieces that included a cornucopia overflowing with fall vegetables and fruits, and a store-bought cornucopia or horn of plenty can be quite costly but not nearly as impressive. You can create a beautiful horn of plenty by assembling inexpensive items purchased online or from your local craft store.
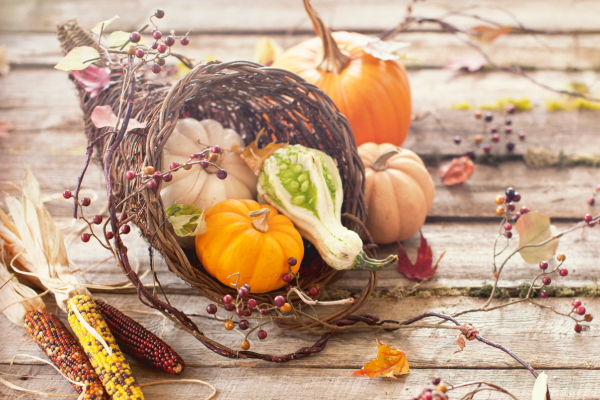
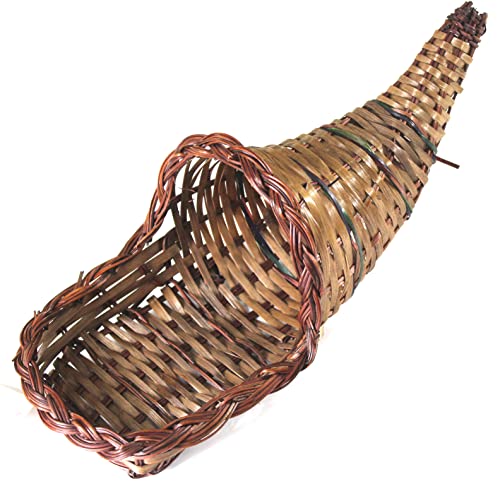
Purchase a woven cornucopia made of natural vine, and fill it with artificial grapes, apples, pears, small pumpkins, and squash. Further embellish this beautiful centerpiece by tucking in a few artificial oak leaves. This is one of the most beautiful and iconic centerpieces you can add to your fall table.
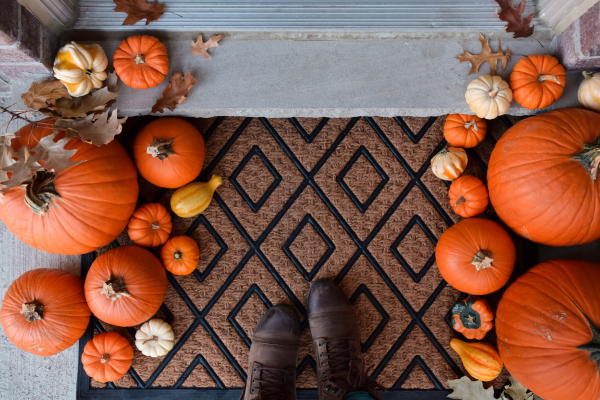
Natural Beauty
When searching for perfect autumn-inspired table centerpiece items, look no further than your backyard. Gather a few handfuls of colorful fall oak and maple leaves and a few acorns.
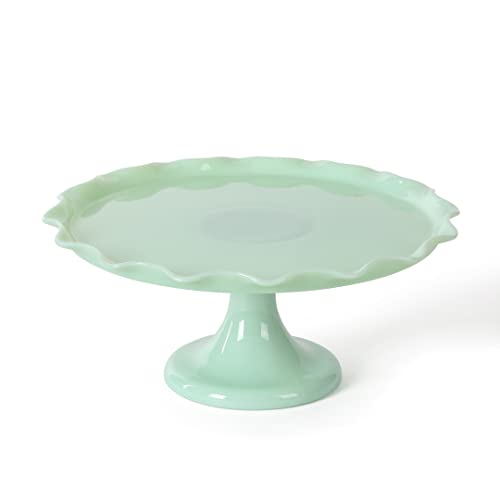
For a mix of casual and elegant design elements, place a vintage crystal cake stand in the center of the table; set a rust-orange or gold-hued tablecloth or runner under the stand to set the stage for the decor. Place a layer of fall leaves on top of the cake stand and stack a mix of mini orange and white pumpkins on top. Disperse the acorns throughout the pumpkin arrangement or display them around the perimeter of the cake stand.
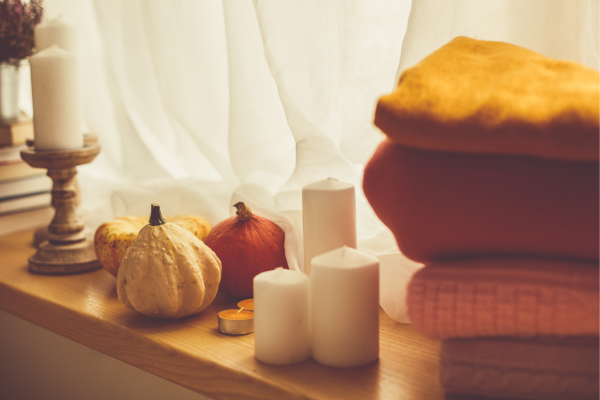
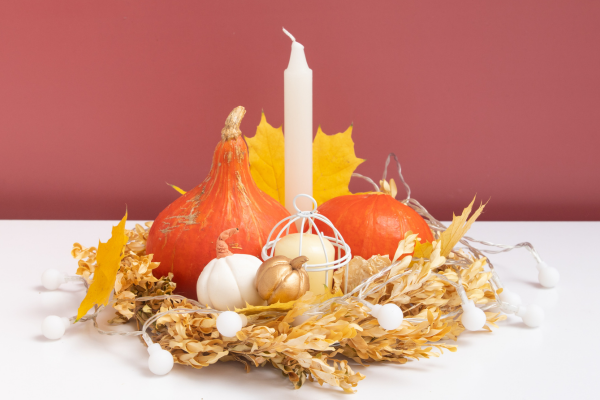
Candlestick DIY Fall Centerpiece
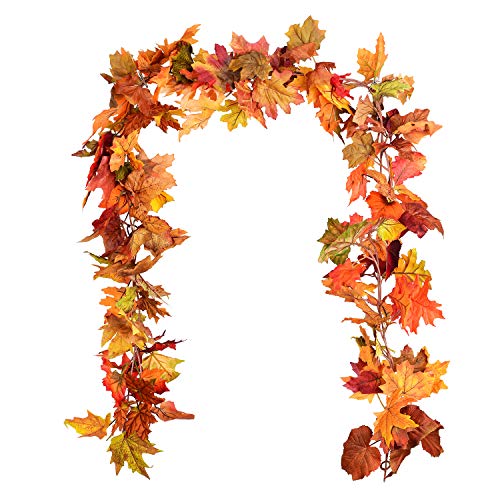
Spice up basic candlesticks with a harvest-hued decor pieces. Buy two small grapevine wreaths from a craft store or online floral retailer. Wrap wire-enhanced faux fall leaves, red berry sprigs, nuts and red orange and yellow flowers onto the wreaths.
If you prefer to use fresh leaves and flowers, attach a small piece of craft wire to the items and attach them to the wreath. Set the decorated wreaths on top of the candlesticks, leaving space for the candles.
Slip festive gold, red or orange taper candles into the holders and arrange the sticks in the center of the table.
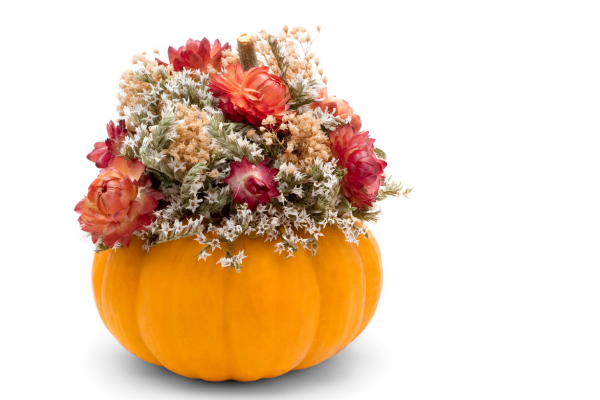
Festive Flowers in a Pumpkin
For a casually elegant centerpiece with plenty of farmhouse appeal, add some flowers to a fresh pumpkin. Soak a piece of floral foam, cut to fit, in cool water and place it in a hollowed out pumpkin.
Place stems of autumn flowers, such as deep red and orange roses, mums and sunflowers, into the foam to create an explosion of color. If you want to design a long-lasting decor piece, use silk blooms and a carveable foam pumpkin instead.
Enjoy your DIY Fall Centerpieces
Whether you are creating a table centerpiece for Halloween, Thanksgiving or the entire fall season, design decor that will add warmth and vibrancy to your home. Call on the season’s natural elements, such as fiery leaves, golden hay and bright orange pumpkins, when creating your centerpiece. Combine elegant vintage items with rustic pieces to design inspired decor.
Supplies to Make these DIY Fall Centerpieces Easy
*These are Amazon affiliate links. This site will receive a small commission made from purchases.
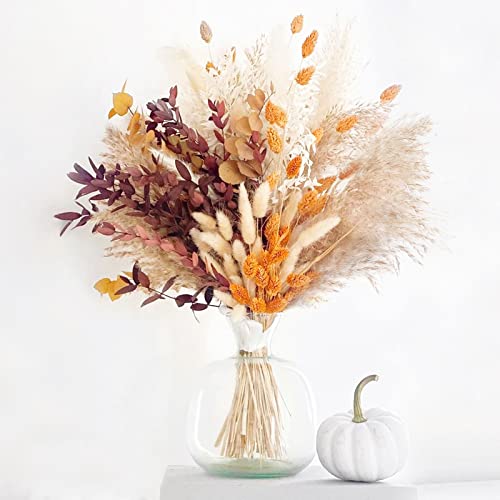
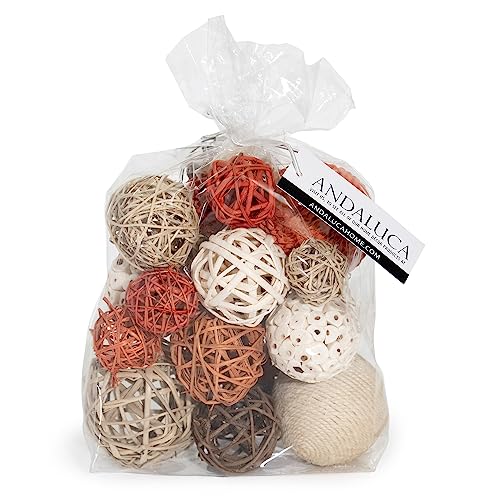
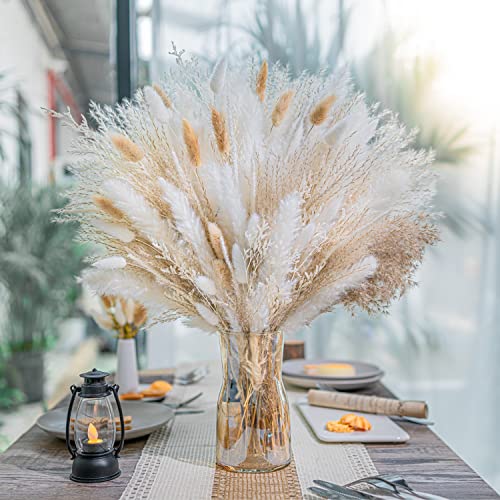
Fall Vase Filler95 PCS Natural Pampas Grass
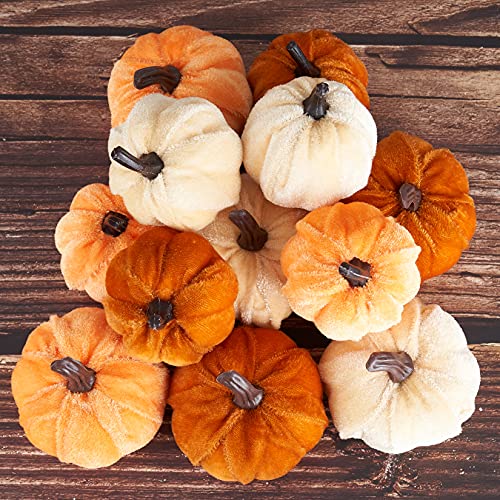
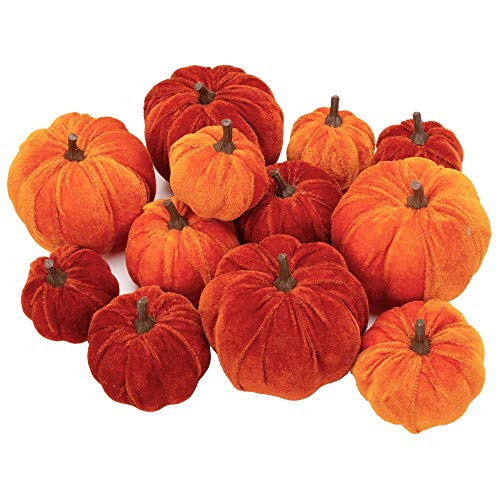
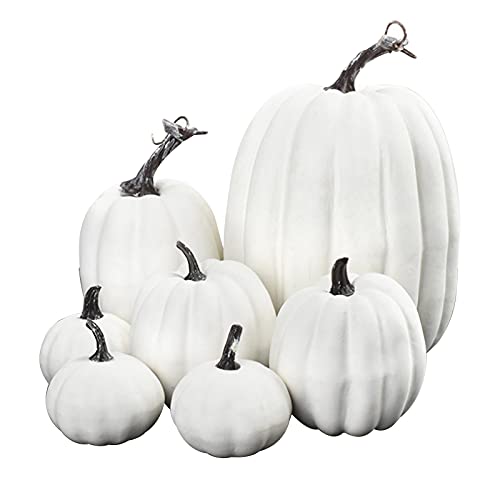
Artificial Pumpkins Home Decoration Set
Santa Barbara Design Studio Wood Serving Bowl
Cylinder Clear Glass Vase
Martha Stewart Vintage Cake Stand
16” long wicker cornucopia basket
36 Pcs Taper Candles Unscented Tall Dripless Candlesticks
7Pcs Artificial Pumpkins


Pin these to your Fall Decor Board