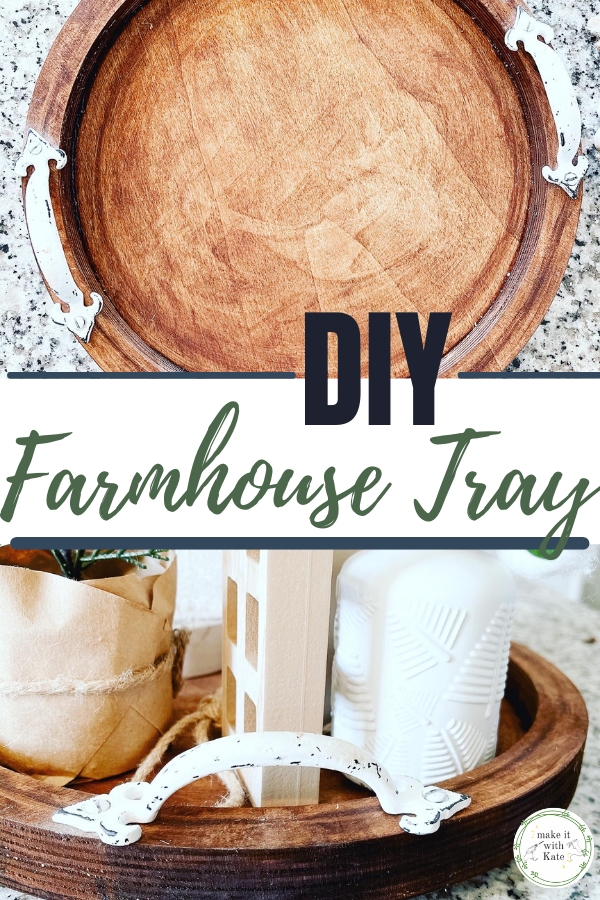
I love the look of styled trays in home decor. This round DIY farmhouse tray is made from just a few craft store materials and is absolutely gorgeous. Plus, it’s a great beginner woodworking project.
Add this one to your list of DIY Home Decor projects to complete!
Related: 3 DIY Farmhouse Trays to Make
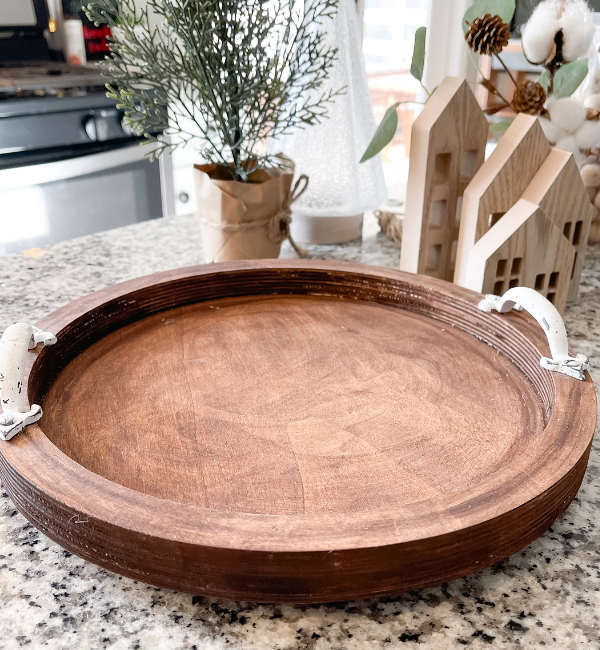
Round DIY Farmhouse Tray
This farmhouse tray is a single wooden round that is stained to create a tray with the addition of feet and hardware.
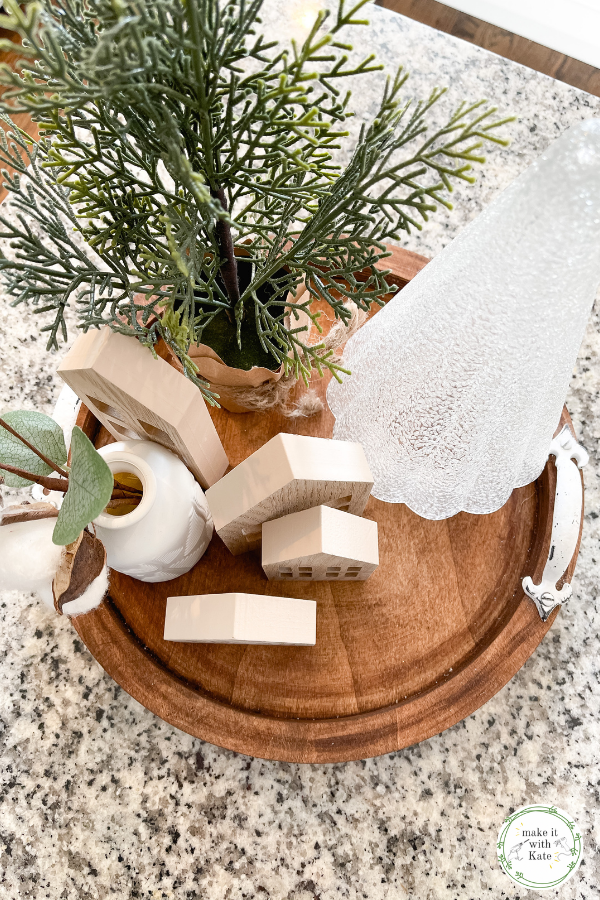
It is currently displayed on our kitchen island and I love the extra pop it gives our kitchen. The perfect place to display small seasonal or holiday decor without feeling cluttered.

What you need to make the DIY Farmhouse Tray
I got most of my supplies for this farmhouse tray at Hobby Lobby. With the use of coupons and their sales, this tray cost me less around $15 to make (a large portion of that was hardware cost).
I had the stain already on hand from various other projects that I have done as well as the hot glue, which saved on project cost for me.
You can find items similar to these at other craft stores or on Amazon, but I’ll link what I used here along with the price breakdown.
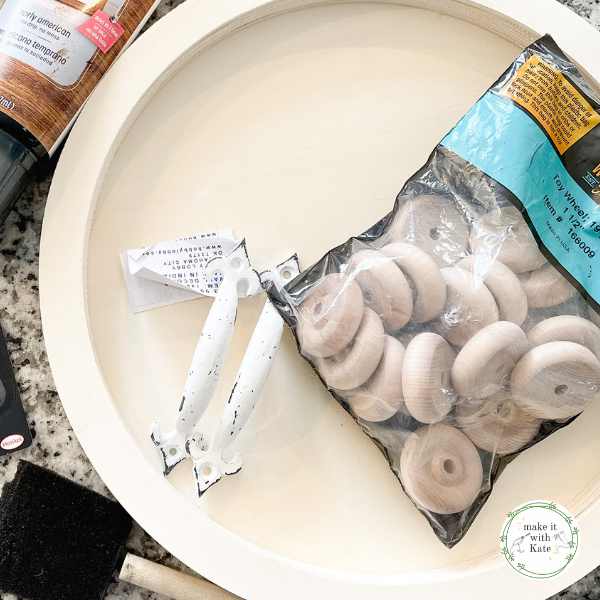
Supplies:
- Round Wood Sign/Tray (Hobby Lobby $12.99 – 50% off sale = $6.50)
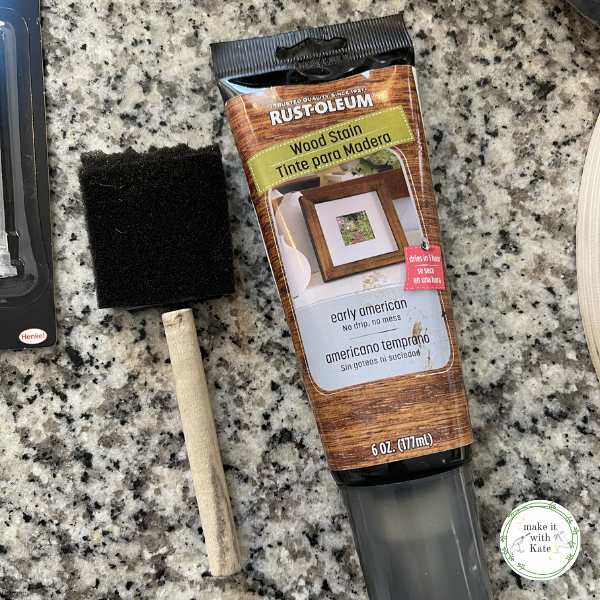
- Rustoleum Wood Stain, Early American
- Wood toy wheels (Hobby Lobby – $2.50 – will have a lot left over for other projects!)
- 2 Metal Drawer Pulls (Hobby Lobby – $3.99 each – 40% off coupon for one)
- Hot glue gun
- old rag (for stain)
- ModPodge acrylic sealer spray
My total cost = $15.50
Finding a more budget friendly alternative to the hardware will definitely cut down on project cost, I just love the way these make my tray look though!


How to Make the Round DIY Farmhouse Tray
Because we purchased an unfinished round tray in the perfect size for this project, we don’t need to make any saw cuts. This is a great beginner wooden project to make!
The most involved this project gets tool-wise is attaching the hardware with a drill or a screwdriver.
Attach the wooden toy wheels to the bottom of the tray with hot glue. Other glue such as E600 will work for this as well, but I like how quickly I can work with hot glue.
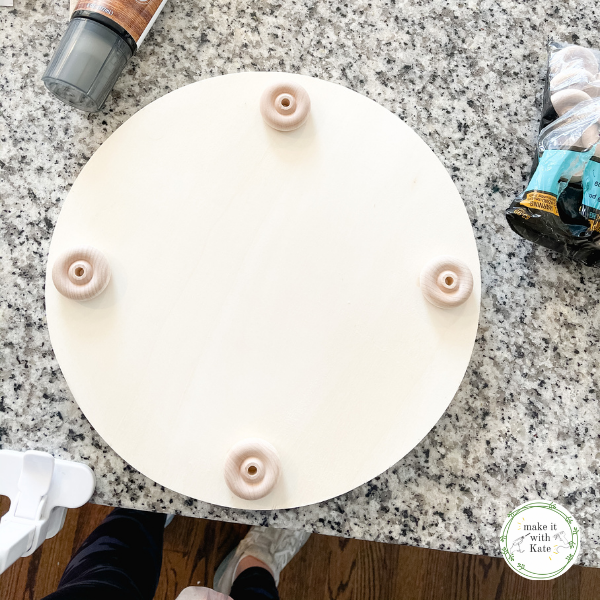
Once the feet are secured to the tray, stain the entire project.

Wood staining tips:
- use a foam brush to apply the stain, then immediately wipe with an old rag or t-shirt
- apply the stain with the grain of the wood
- work quickly to buff the stain with the rag before it dries
Allow the stained tray to dry, then add the hardware to the sides of the tray to act as handles.

Spray the entire project with acrylic sealer or other polyurethane sealer to keep your tray protected.
Your tray is now complete! Begin styling it and displaying all of your beautiful home decor.
If you like this DIY farmhouse tray, check out our DIY mini serving tray and DIY tiered tray tutorials as well!


[…] you like this, check out our round DIY farmhouse single tray (it’s gorgeous) and our tiered tray as […]