Making shelving doesn’t have to be complicated. A DIY picture frame shelf is a narrow ledge that you can place on the wall to display picture frames or canvases. Grab some basic supplies from the hardware store or your scrap wood pile and whip these up quickly.
What a fun and easy DIY woodworking project this is and its perfect for this game room makeover.
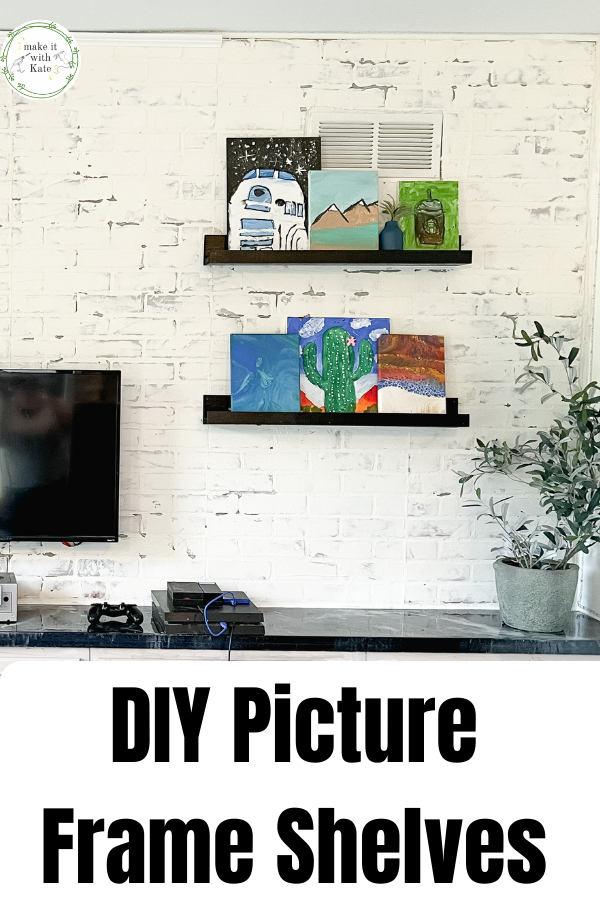
Make a DIY Picture Frame Shelf
This is a great beginner DIY project if you want to dip your toes into woodworking. This project will teach you how to measure and cut wood, use a nail gun, and sand and stain, but it’s so easy it’s the perfect intro project for learning all of these.
What you need to make a DIY Photo Ledge
- 1×4 common board
- 1×3 common board
- 1×2 common board
- miter saw (or hand saw/circular saw/jigsaw)
- brad nailer
- 120 grit and 220 grit sandpaper
- stain or paint
How to make a picture frame shelf
Decide how long you want your shelf to be and cut your common boards to length.
I like to stack them on on top of another and make one solid cut with a miter saw through the three boards to ensure that they are the same length. This avoids small variation in length when measuring and cutting each one individually (and it saves time).
If you don’t have a miter saw you have a few options:
- use a jig saw to make the cuts
- use a circular saw to make the cuts
- use a hand saw to cut
- ask Home Depot or Lowe’s to cut your boards to length when you purchase the common board
You don’t need a miter saw to do this project! If you have one, it’s a great tool to add to your arsenal but definitely not necessary.
Once your boards are cut to length, you are going to assemble them with the 1×4 vertically, the 1×3 laying at the bottom of the 1×4 jutting out, and the 1×2 as a face frame vertically on the front of the 1×3.
That sounds complicated, but look at the photos for reference and it will make sense.

Once you have these in place, simply use a brad nailer to attach the pieces together. I like to use a brad nailer because they make projects so easy and quick. However, you can alternatively use wood glue to join the boards and clamp them while the glue dries.
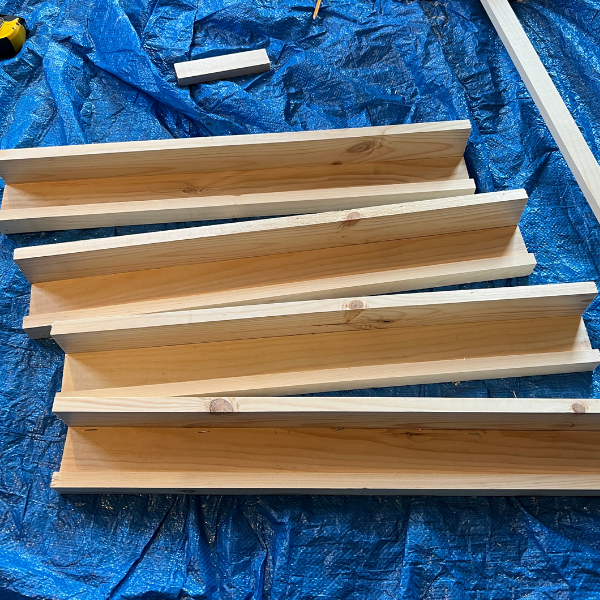
Sand all of the boards and cut edges with coarse sandpaper, either 80 or 120 grit. Then sand again with a finer grit like 220.
Once the piece is sanded, either paint or stain to match your decor. I typically stain my shelving, but for this game room makeover I specifically wanted black shelves.
That’s it! It’s such an easy build, and it’s actually something my 10 year old likes to make so it’s a great project for kids wanting to learn woodworking as well. Just don’t forget the safety gear like glasses 🙂
Attach them to the wall by drilling a screw through the face of the 1×4 up against the wall into a stud.
More DIY Shelves to try

Fall One Room Challenge
These DIY picture frame shelves were part of my game room makeover for the Fall One Room Challenge. So far I have taken a blank wall and turned it into this!

See all the posts leading up to this week below:
- Week 1: Game Room Makeover Plans and Mood Board
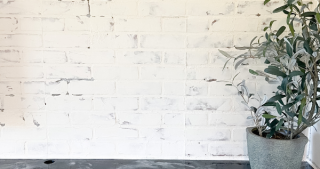
- Week 2: Make a Faux Brick Wall
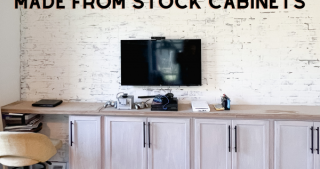
- Week 3: DIY Built in Gaming Console from Stock Cabinets
- Week 4: DIY Faux Marble Countertop with Epoxy
- Week 5: DIY Picture Frame Shelves (current post)
- Week 6: DIY Neon LED Light Sign
- Week 7: DIY Couch with Stool Seating
- Week 8: DIY Indoor Climbing Wall
- Final Game Room Reveal




“Everything is very open with a clear explanation of the challenges. It was definitely informative. Your website is extremely helpful. Thank you for sharing!}” visit the following site
I must thank you for the efforts you’ve put in penning this site.
I’m hoping to view the same high-grade content by you
in the future as well. In truth, your creative writing abilities has inspired
me to get my very own blog now 😉
🎁 Congratulations Superlotto in honor of its 25th anniversary gives you free lottery ticket 6/45! Fill out a ticket: https://cutt.us/e859H 🎁