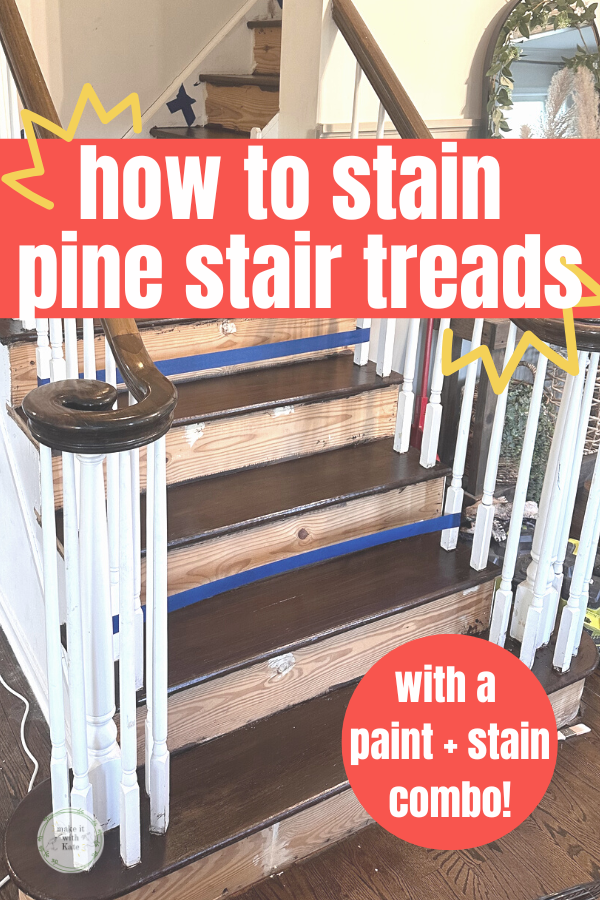
Staining pine stair treads can be tricky, this paint + stain combo will show you how you can make pine stairs beautiful on a budget.
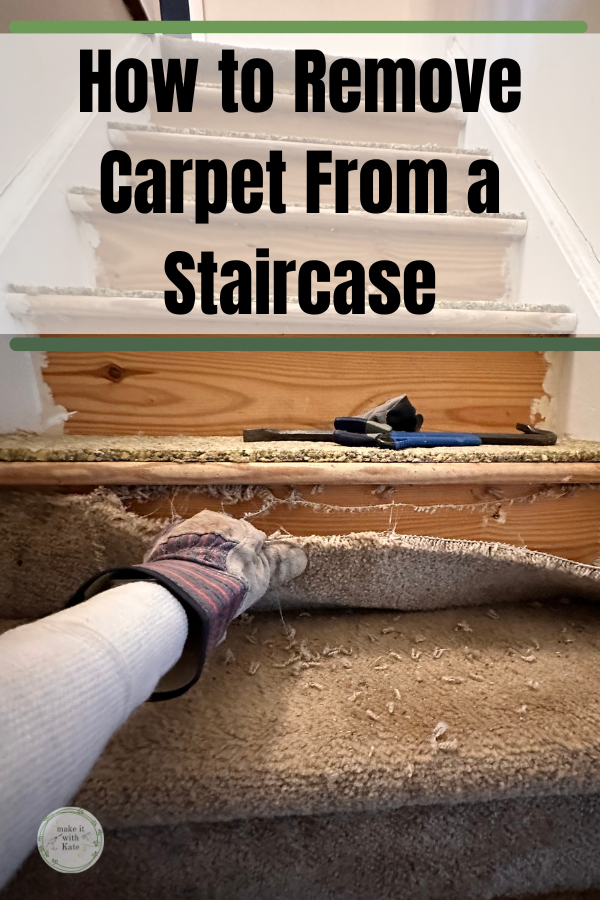
The second step of this staircase makeover is staining pine stair treads. If you’ve successfully removed the carpet from your staircase and uncovered a pine staircase, you might feel discouraged as pine can be hard to work with when staining. This tutorial will give you an easy way to get the wood stain look you want even on a pine stair tread.
Read First: How to Remove Carpet from Stairs
How to Prep a Pine Staircase for Staining
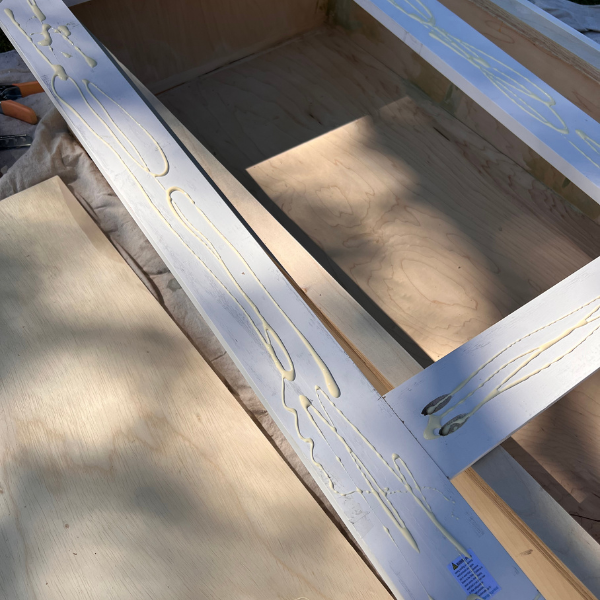
The first step to staining a pine staircase is prep. This is such an important one though quite annoying.
Do this by filling in any cracks or dents or staple holes with wood filler. Be sure to buy one that is paintable and stainable as you don’t want to wood filler to show through your work when finished.
Once all of the holes have been filled, get to work with the sander. Sanding this pine down is going to be essential to getting a nice, smooth finish on your stair treads.
When sanding, begin with a coarse grit sandpaper like 60 or 80 grit. Then, work up to 120 grit, and finally to 180 or 220 grit. This will take some time to go through the three levels of sanding but after each time you will see how nice and smooth the pine is. This will help with an even application of your paint and stain, and will also make the treads nice to walk on.


What you need for staining pine stair treads:
I add an extra step which is painting my staircase prior to adding the stain. This isn’t a necessary step but it’s how I completed my staircase so I’ll walk you through that process and explain why.
Paint the Pine Staircase Before Staining
- orbital sander or sandpaper blocks (80, 120 and 180)
- wood filler
- Benjamin Moore paint in ‘Brown Tar’
- Varathane Gel Stain in ‘Dark Walnut’
- Stain brush
- Rag
- Paintbrush
- face mask
- fan
- gloves

Pine is a soft and porous wood that pulls very orange when stained. Before going with the paint and stain method, I tried a pre-stain wood conditioner with the gel stain over the top.
Even after two coats with this method, the wood still pulled very orange and didn’t have the exact walnut color that I was attempting to create.

In order to get rid of the orange undertone, I first painted all of the treads in ‘brown tar’ by Benjamin Moore. Did you know you can use gel stain over paint like this? Only gel stain which is oil based will work over the paint, a water-based stain won’t have the same outcome.
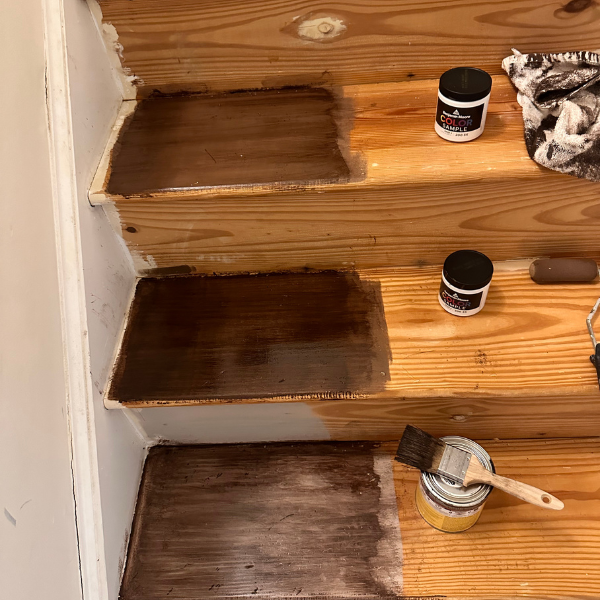
Staining Pine Stair Treads
Once the pine stair treads are painted they are ready for gel stain.
*Gel stain has very strong fumes and is not good to breathe in. Use a face mask and properly ventilate the space, in addition to using fans.

Apply the gel stain across the stair tread in an even motion with the wood grain, creating lines with the brush. This will help mimic the look of the wood grain over the paint.
Let the stain sit for 5-10 minutes, then wipe with a rag in the direction of the brush strokes.

Gel stain takes quite a while to dry, let the tread dry completely overnight until it is no longer tacky, then decide if you want to do another coat or not. I only used one coat of gel stain as I was happy with the outcome of the color.
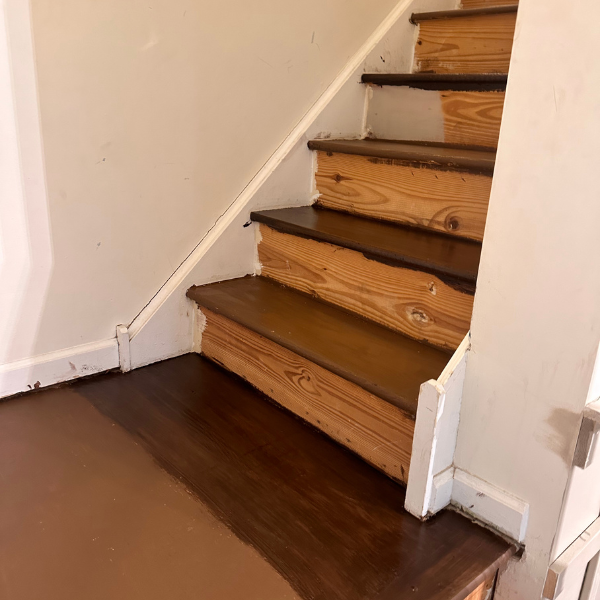
TIP: if doing this method on a staircase that you are currently using, do every other tread on the first day, this way you can still walk on the other unfinished treads. Once dry, do the remaining treads so that you can walk only on the dried treads. With three kids in my house this method worked well and I used blue painters tape on the wall next to the wet treads so they knew where to walk on which days.
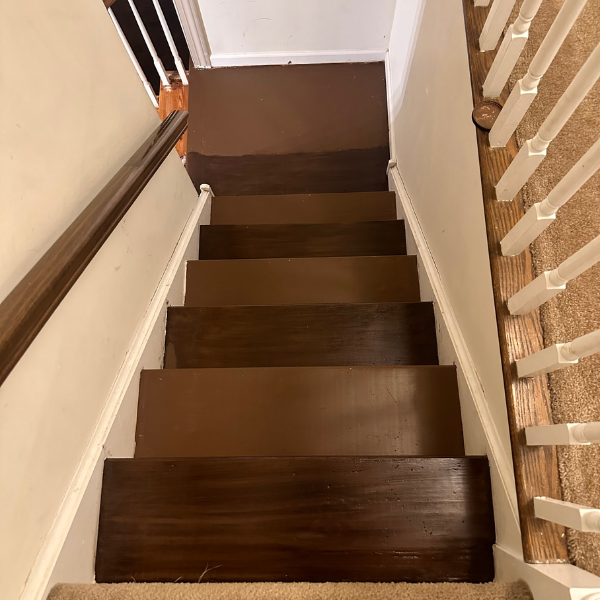
Once all of the stairs have dried the treads are done! If you need to touch up any spots, do so with a small paintbrush and the same method as above.

Next, your staircase makeover is ready for DIY risers!