Installing a tile backsplash is a great way to make your space look upgraded. Check out the tips on making this beginner friendly.
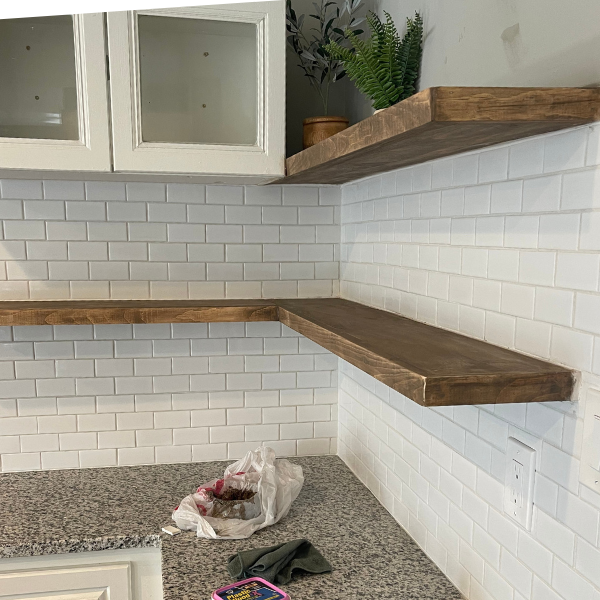
The base of the DIY corner coffee baris complete with the blind corner cabinet and mini fridge cabinet builds complete. I opted to get a granite that matched the rest of my kitchen as a countertop, and now it’s time for installing a tile backsplash. This is turning into such a fun DIY Woodworking project.
I’ll admit that installing a tile backsplash intimidated me. I set out to make this as straightforward as possible without buying a whole collection of new tools.
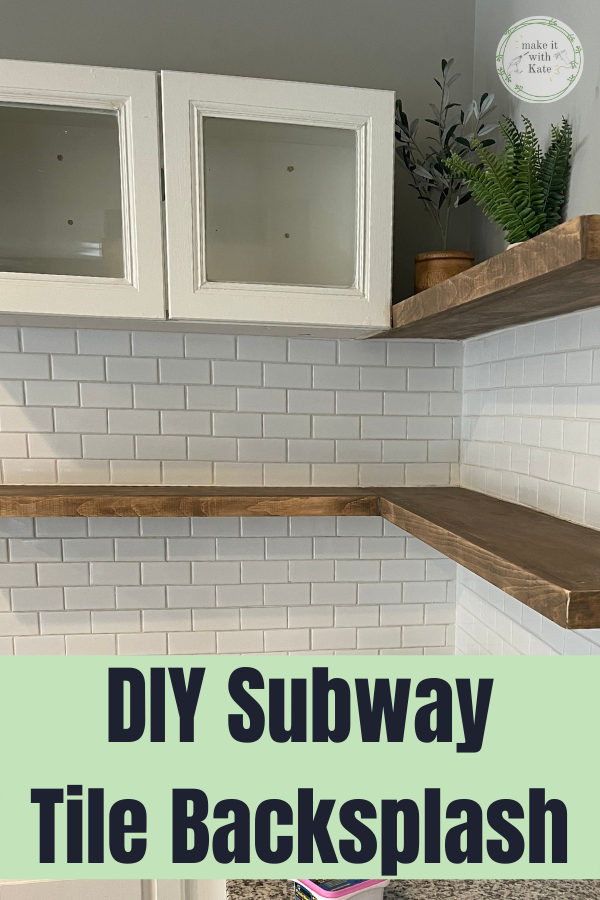
If this is your first time tiling a backsplash, choose a tile that doesn’t require an intricate layout or tricky cuts. Taking this into consideration, I decided to go with a basic subway tile that came on a mesh sheet.
This provided me with an easy to follow pattern that was mostly set with the spacing of the tiles per square foot. Additionally, they only required straight cuts which I could use a tile cutter for instead of a wet saw.
Lastly, grout color matters! White grout on white tile will hide a lot of imperfections in spacing or jagged cuts, whereas using a gray grout will show these imperfections more.
So, white subway tile + white grout = easy!
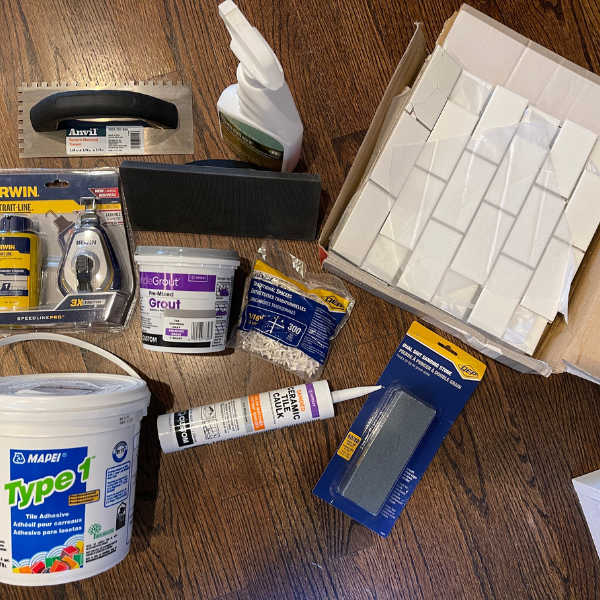
What you need to install a subway tile backsplash
Pre-mixed mortar or mastic
Notched trowel
White subway tile on mesh sheet
spacers that match the spacing on the mesh sheet
tile cutter
white grout
grout spreader
sponge
sanded caulk
How to tile the subway backsplash
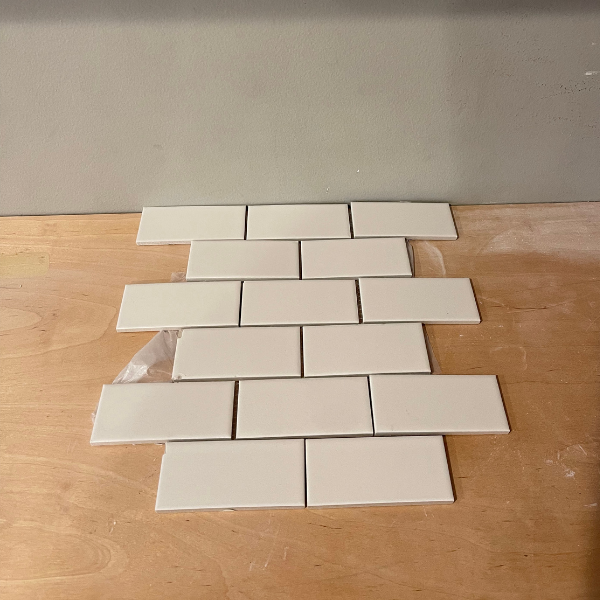
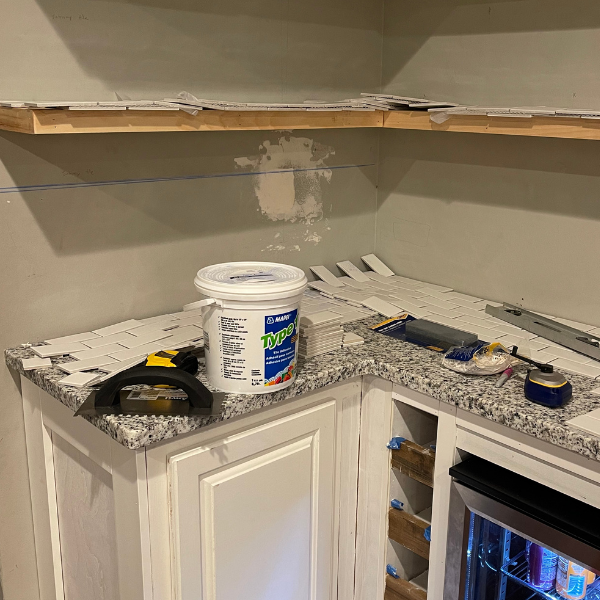
Prior to placing the tile on the wall, do a dry layout on the counter below the backsplash. This will ensure that the spacing will look good, as far as where tile cuts till be etc.
I like to start in the middle and work out, that way the end cuts end up looking similar and the line of sight in the middle of the backsplash looks good. This can also help make sure you have enough tile to fit your space.
Add the mastic to the wall
I like to use pre-mixed mortar or mastic. Mortar can be used with almost all tiles, glass and stone tiles need mortar. Mastic is designed for use with ceramic tiles and works for some porcelain tiles. Because I was using ceramic tiles, I could use mortar or mastic. My stores had mastic available so that is what I used for this project.
Work in small sections because mastic will begin to dry so small sections will keep you from having to scrape off mastic that is beginning to dry.
Use a notched trowel to spread the mortar on the wall in the section you will be working in. The notches will allow for grooves in the mortar on the wall which will help the tile adhere better.
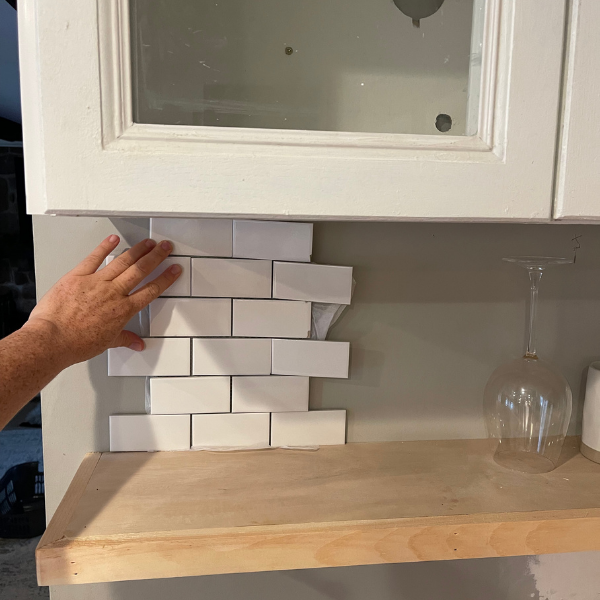
Place the tile on the wall
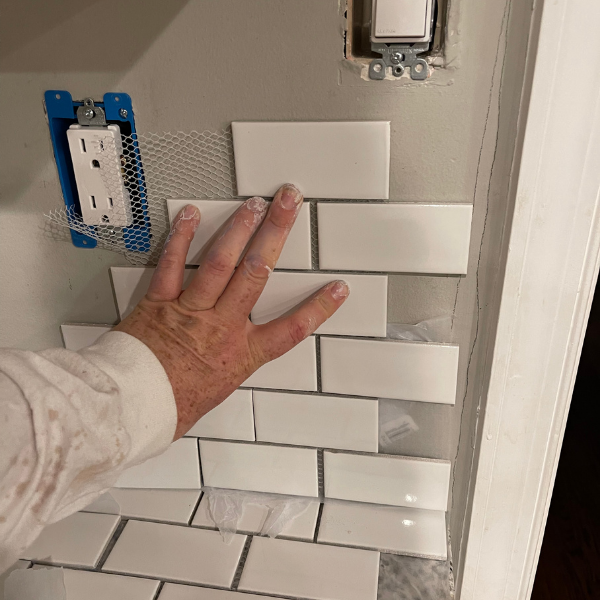
The tile in mesh sheets make this part easy. Grab a sheet of tile and place it on the wet mastic and triple check that the tile is level.
Because the tile should not be flush against the countertop, use spacers at the bottom of the tiles between the counter and the first tow of tile.
Continue to place sheets of tile across the backsplash. At the end of the row at the edge or the corner, tiles will need to be cut. I kept a sheet of mesh tile to the side for my cuts. The tiles peel off of the mesh sheets easily so that they can be cut and placed individually.
To cut a piece of tile, use an inexpensive tile cutter for straight cuts. Measure and mark the tile where you want to cut it, then score and snap with the cutter.
Place the individual cut tiles on the wall where need until all of the gaps are closed in. Use spacers where needed with cut tiles to keep them in place.
If you have outlets or light switches on the backsplash, cuts will need to be made around these areas as well.
Grout the backsplash
The mortar or mastic will take minimum 24 hours to dry. I like to give it a minimum of 48 hours to dry before grouting.
After the dry time is complete, remove the spacers and ensure that the tiles are set and not moving around.
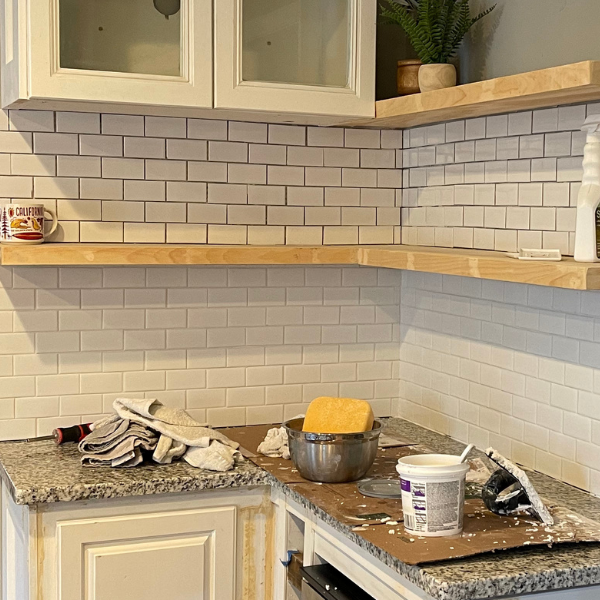
Spread the grout on the tile using a grout float, ensuring the grout is being pressed in all of the crevices between the tile. Once spread, wipe with a large wet sponge.
This is a messy process, but the sponge will get most of the grout off of the tile easily. The sponge and bowl of water will need to be cleaned often.
Continue adding grout until all of the crevices are filled and let dry!
Add sanded caulk along the edges of the backsplash and in the groove between the tile and the countertop.
Once dry, seal the grout with a grout sealer and wipe the tiles down with watered down vinegar to remove the grout haze.
Reacp how to make installing a tile backsplash beginner friendly
Use a tile on a mesh sheet with clean lines/cuts
Use premixed mortar/mastic and premixed grout
Use a light grout color to easily hide imperfections
“Everything is very open with a clear explanation of the challenges. It was definitely informative. Your website is extremely helpful. Thank you for sharing!}” visit the following site


“Everything is very open with a clear explanation of the challenges. It was definitely informative. Your website is extremely helpful. Thank you for sharing!}” visit the following site
Вы непременно профессионалы вашего дела. В наши дни это безмерно имеет большое значение.
🎁 Congratulations Superlotto in honor of its 25th anniversary gives you free lottery ticket 6/45! Fill out a ticket: https://cutt.us/al6uA 🎁
❤️ You have unread messages from Denise (2)! Click Here: http://inx.lv/Dob1?h=b8a4e566f5f8ba3f8a9627a3271b5f6d- ❤️
❤️ You have unread messages from Alana (2)! Click Here: http://inx.lv/DBbu ❤️
❤️ Suzanne liked you! Click Here: https://clck.ru/asnA8 ❤️
❤️ Rachel is interested in your profile! Click Here: https://clck.ru/asnA8 ❤️
❤️ Carol is interested in your profile! Click Here: https://clck.ru/asnA8 ❤️
❤️ You have unread messages from Sue (2)! Click Here: http://inx.lv/DBbu ❤️
❤️ Cristal liked you! Click Here: http://inx.lv/DBbu ❤️
❤️ Sarah liked you! Click Here: http://inx.lv/DBbu ❤️
❤️ Priscilla liked you! Click Here: https://clck.ru/asnA8 ❤️
❤️ Annette want to meet you! Click Here: http://inx.lv/DBbu ❤️
❤️ Cheryl want to meet you! Click Here: http://inx.lv/DBbu ❤️
Вы непременно лучшие из лучших эксперты своего дела
Hi Man,How Are You Doing
Какая конкретно прекрасная заметка! Пребольшое спасибо!