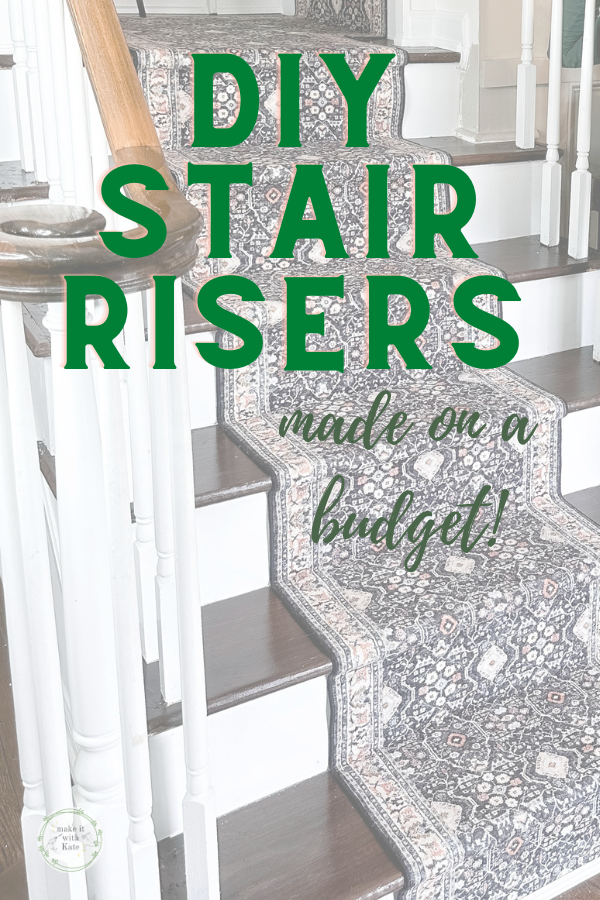
These DIY stair risers made out of 1/8″ hardboard are a great budget-friendly option for a staircase makeover going from carpet to wood.
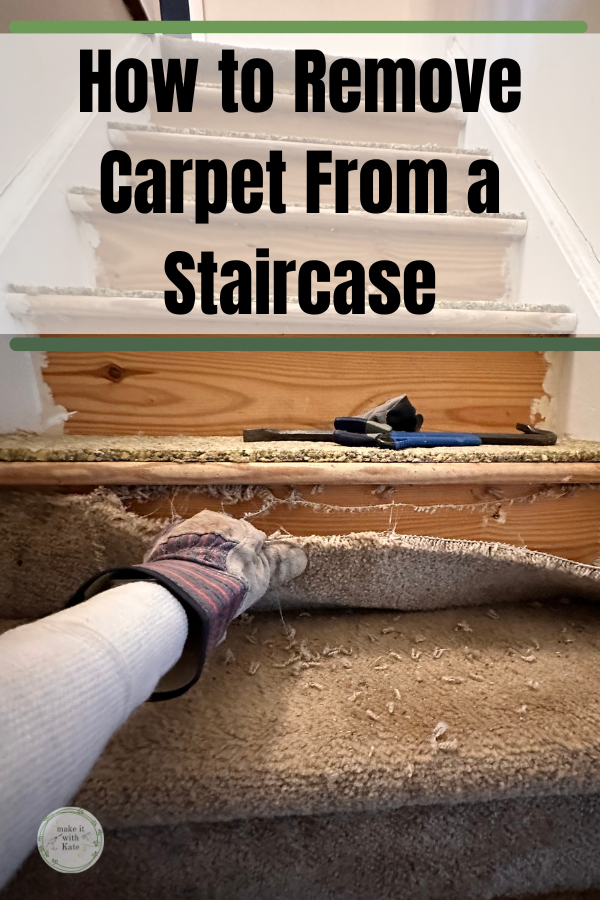
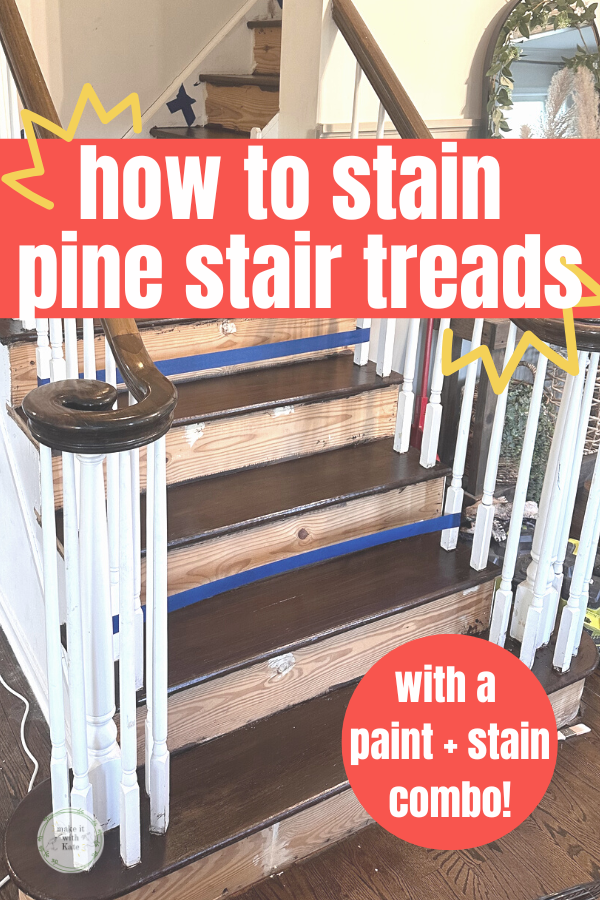
DIY stair risers is the third major step of this staircase makeover. I have removed the carpet from the stairs, stained the stair treads and am now making new risers to attach to the current pine staircase. While painting the existing risers white is an option, I wanted a clean non-wood grain look for the risers.
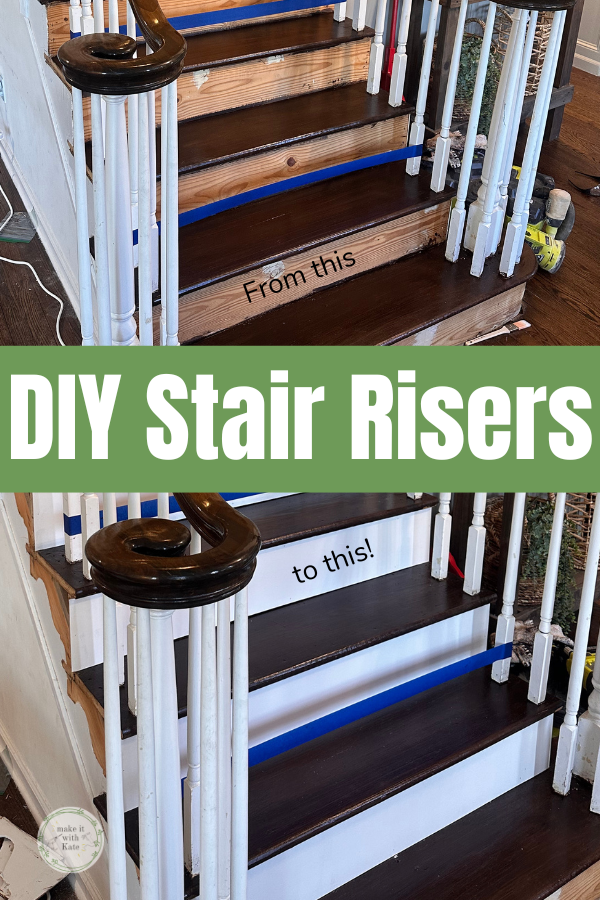
How to Make DIY Stair Risers
This entire staircase redesign has been a budget-friendly project so I wanted to keep these risers basic. If I was re-doing the entire staircase with new wood I would choose oak for the treads and the risers.
But, in keeping with the low budget, I made these risers out of hardboard. Hardboard is made of high density fiberboard and is an engineered wood project. I purchased these 2’x4′ hardboard panels for around $6 each making this a much cheaper alternative to oak.
The risers in this case are primarily decorative and won’t be walked on, and are covering a real wood so the hardboard is a fine choice here.
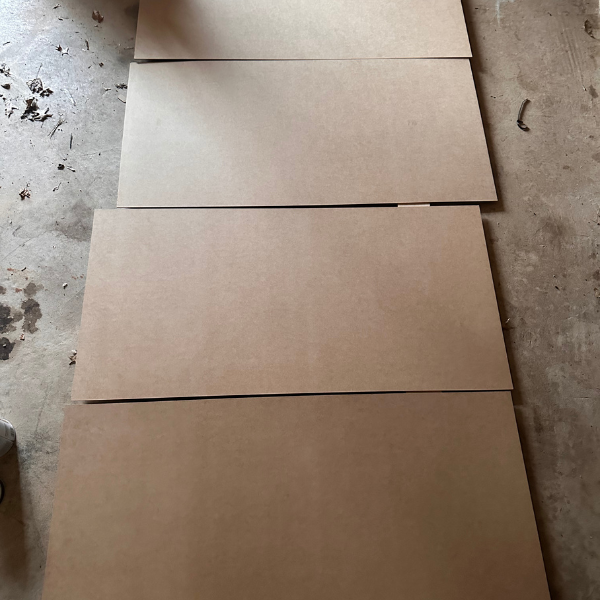
What you need to make the hardboard stair risers:
- 1/8″ hardboard
- primer
- white paint (advanced or scuff proof)
- paint rollers or brushes
- circular saw or table saw
- liquid nails or nail gun
- caulk
Make the Stair Risers
Once your existing risers have been measured you will know how many hardboard panels to purchase, this amount will depend on the width of your stairs and the number of risers. I used (4) 2’x4′ panels for this project to make 11 stair risers.
Because hardboard is a dark color, this needs to be primed prior to paint. I find it easier to prime them before cutting the wood to size.
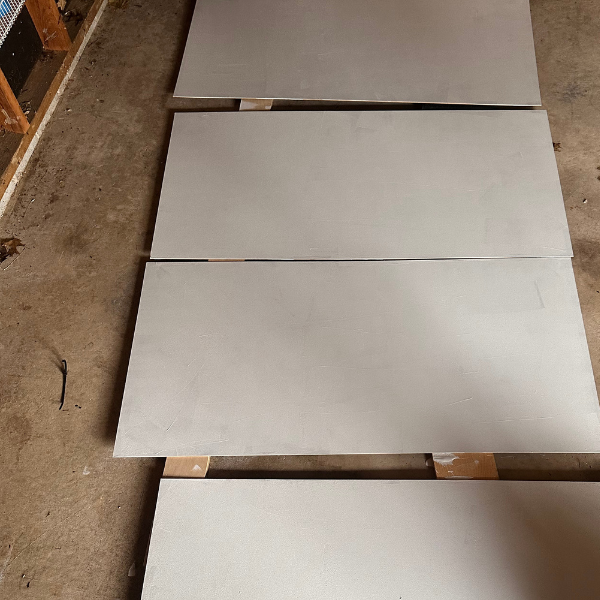
Once primed, cut your hardboard to the riser dimensions needed. I used a circular saw for this step however a table saw would be a great choice as well.
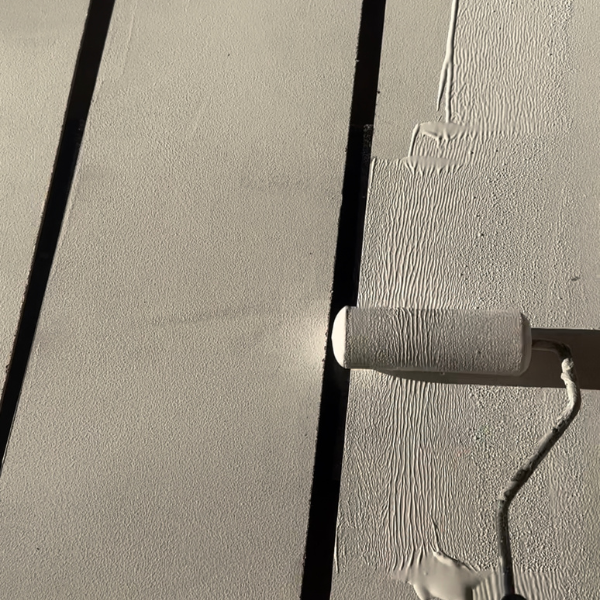
Once the pieces are primed and cut, you can paint them white. I like to use a foam roller for this and did two coats of white paint.
Attach the DIY Stair Risers
Your stair risers are made and now it’s time to attach them to the existing staircase. My stair treads have a bullnose overhang so the 1/8″ thickness didn’t take away from the overhang at all and fit nicely.
Ideally, the stair risers would be attached with liquid nails. My long term plan for this staircase is to add oak hardwood to the treads and risers when my budget allows. Removing these DIY stair risers after being glued on would be incredibly difficult and I didn’t want to create that challenge for myself.
To avoid this issue, I used a nail gun to attach the risers to the staircase and this option worked just fine. At this point you will just have nail holes that can be filled with wood filler and touched up with paint.
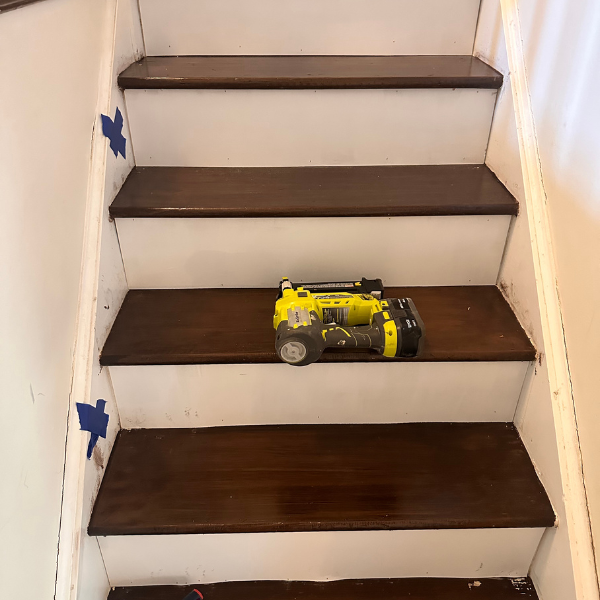
Once all of the stair risers are attached, caulk along all of the edges of the risers where they meet wood. Touch up any spots with paint and they should look great!

The cost of these risers (minus paint) was $24 for me. This was a worthwhile expense to get a nice clean look on the risers and I didn’t have to worry about any imperfections in the pine staircase risers that were existing.
Related Posts:
Check out the other posts in this series of a staircase makeover, going from carpet to wood.

