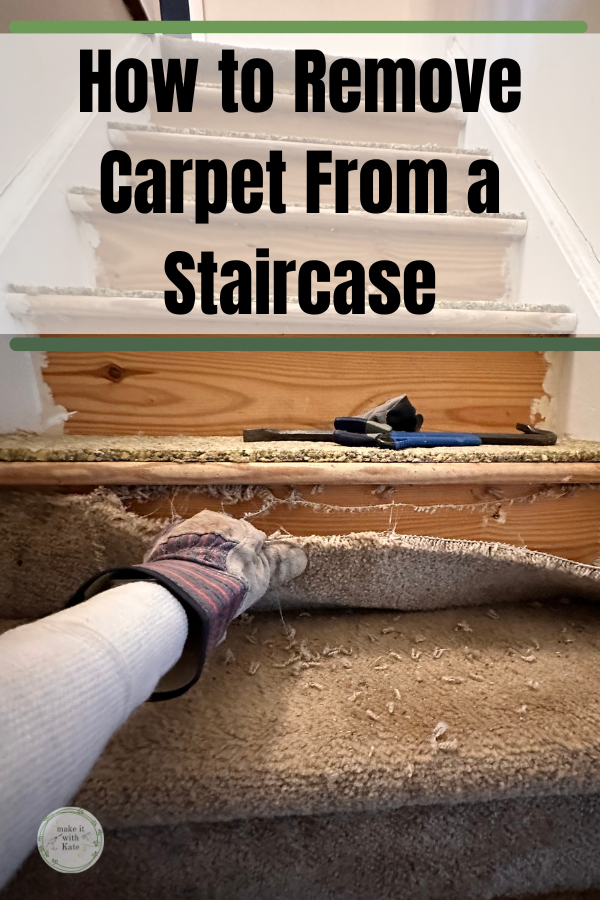
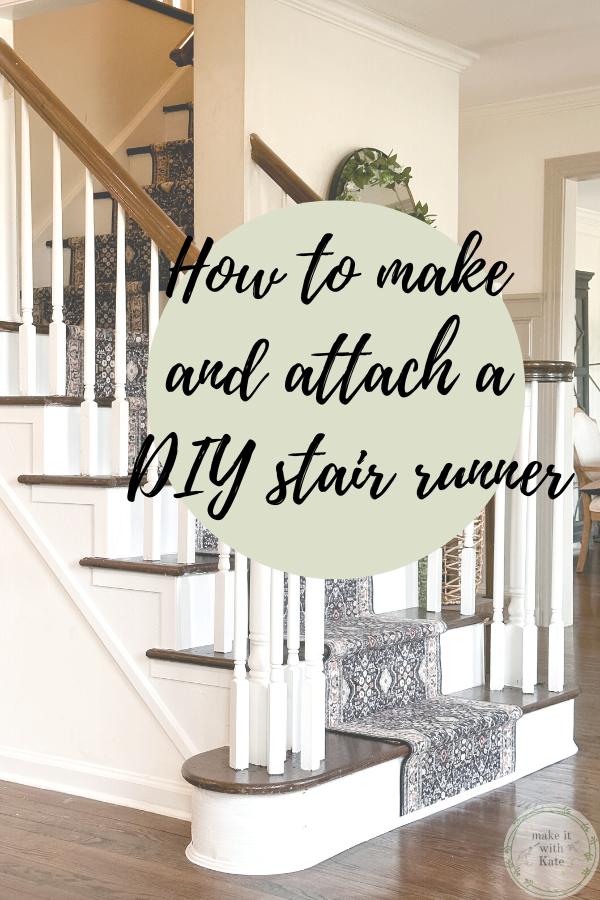
This DIY stair runner tutorial will explain how to take two runner rugs and join a cut diagonal seam to make a corner turn for a landing.
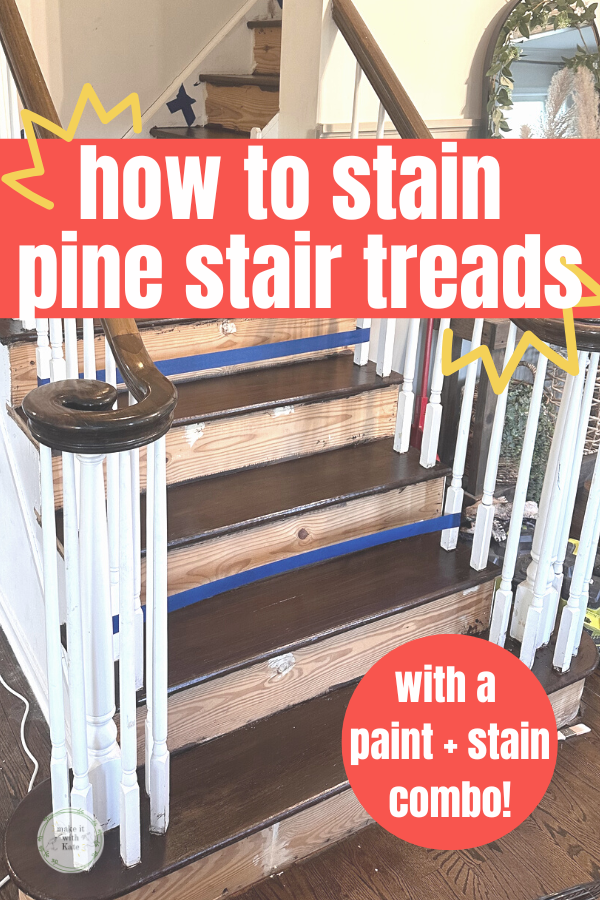
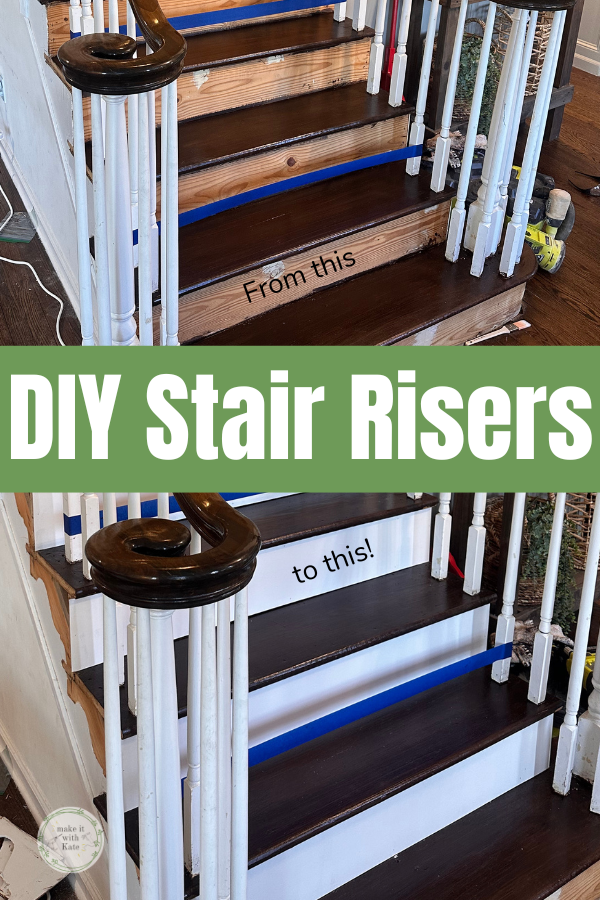
This staircase makeover is almost done! The last step in the process is adding a DIY stair runner to the now wooden steps. I call this a DIY runner because this tutorial will show you how to join two runners together to make a mitered corner for a staircase landing. This really gives this a nice finished effect.
How to create a DIY Stair Runner
My staircase has a right turn with a small landing in the middle of it. I knew that once I had removed the carpet from these stairs and stained the pine treads I would want a runner rug down the middle of the staircase.
The turn was proving to be a problem when shopping for a runner. I could have put two separate runners on each section of the stairs and then a standalone rug on the landing, but I thought one cohesive runner would look better, and it turned out to be really easy. Here’s how:
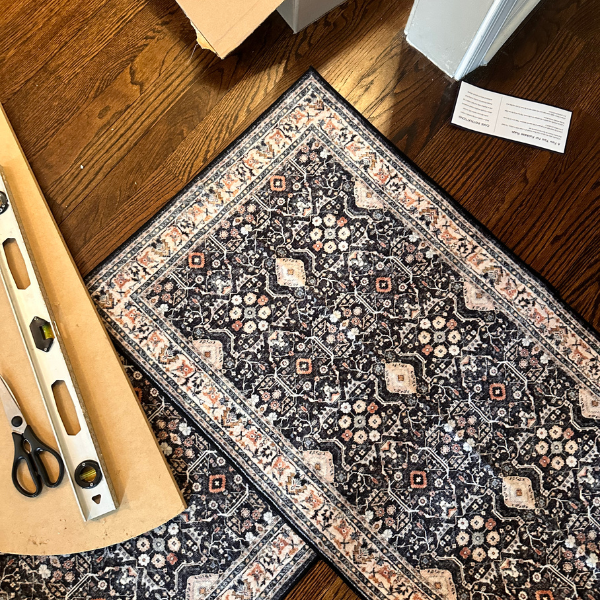
Purchase two runner rugs
Measure your staircase length and width, then find a runner that you like. This was difficult for me because given my staircase width which was only 36″ at the narrowest point, I didn’t want a runner wider than 2′ so that the wood would still show on the sides of the runner.
I ended up finding this runner from Amazon and it’s perfect. I wanted a flatweave rug for a low profile, and wanted it to be washable so that I could easily use my carpet spot cleaner on it without issue.

Once you have all of your measurements and your carpets ordered, it’s time to cut and join the two runners together to make an l-turn.
Cut and join the runners to make a turn
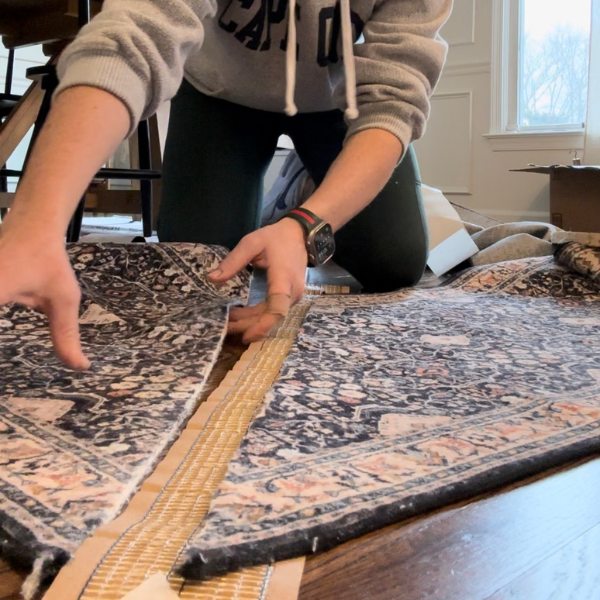
Overlap the runner ends to create a 90 degree turn, or an L turn.
Mark where the runners overlap one another at the inside corner of the turn.
Cut diagonally from that inside overlap point to the outside top corner of the rug.
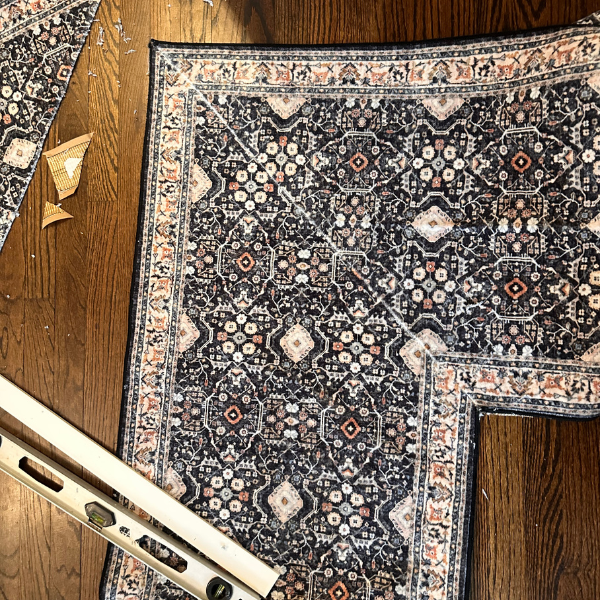
Now each runner will have a diagonal cut at the end, that when matched up create an L turn.
Using carpet joining tape, place a section of tape under the seam and press down so that the runners are now joined together. That’s it! Time to install your DIY stair runner onto your stairs now.
How to install carpet runner on stairs
Your DIY stair runner is ready to be attached to the staircase. I like to add carpet tape and a carpet pad under the runner on each tread.
I do this by cutting a runner pad to fit under the runner on each tread and then layering with carpet tape (this is different from the carpet joining tape we used to join the seams above).
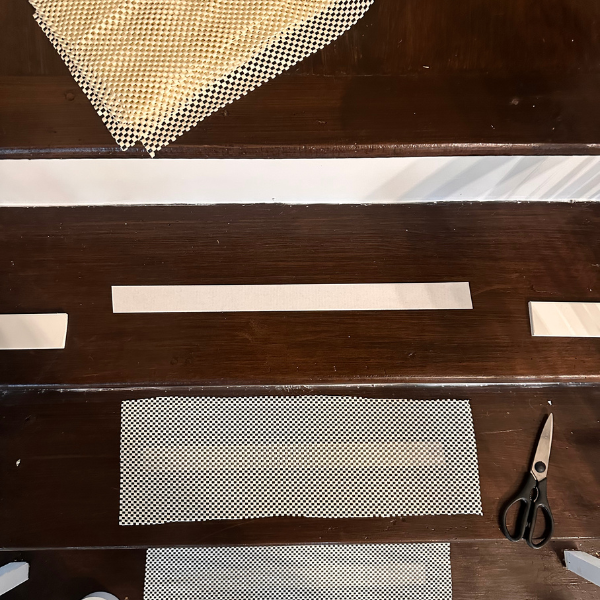
The layering on each tread goes:
carpet tape > rug pad > carpet tape > runner
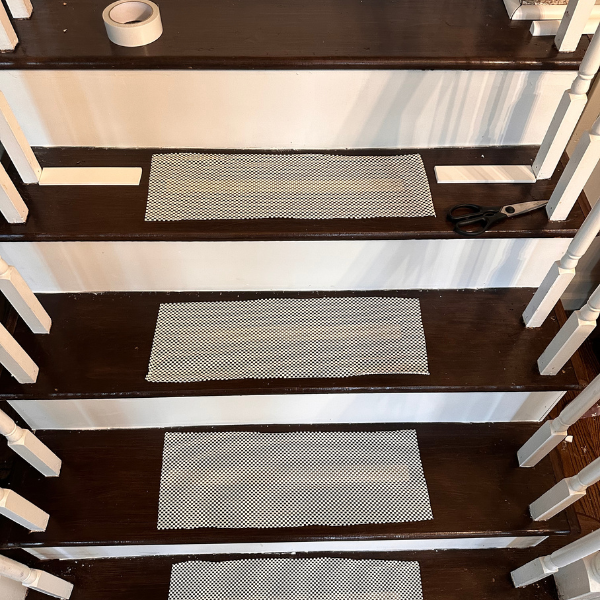
So, on each tread add a strip of carpet tape, then the section of rug pad, then another strip of carpet tape. Additionally I placed a strip of carpet tape on the riser above the tread as well.

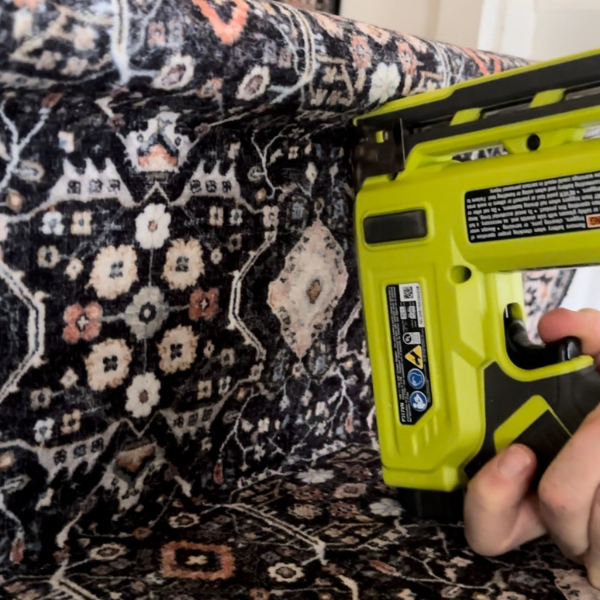
Use a staple gun to install the DIY stair runner
Place the runner on the stairs and do a ‘dry run’ to make sure that all looks good, lines up, and is long enough before you begin stapling.
Tip: make spacer blocks out of scrap wood to place on each side of the runner, this will ensure your placement stays the same and lined up on each tread.
I started with the landing to make sure that was square and where I wanted it to sit on the landing. Staple along the edges with a staple gun.
Continue working up or down, stapling the runner under the bullnose overhang of the stair tread, and then along the back of the stair tread.
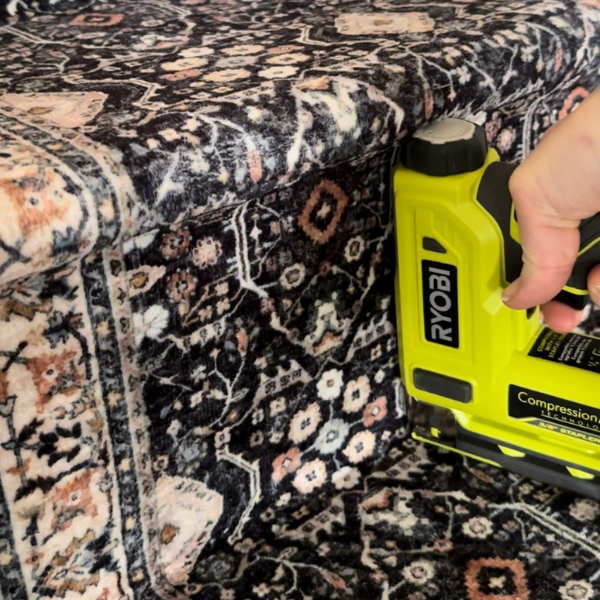
This placement of staples will ensure a nice secure fit of the runner, but there won’t be any staples right where foot traffic will be.
Continue stapling, pulling tight as you go. Once you get to the end of the staircase, simply cut the runner off at the end and staple in place. You can burn the end of the rug with a lighter to keep the ends from fraying.

Add any trim at the base of the staircase and your DIY stair runner with a turn is installed! This is a much more cost effective way to add a runner to a staircase with a turn than purchasing a custom stair runner.