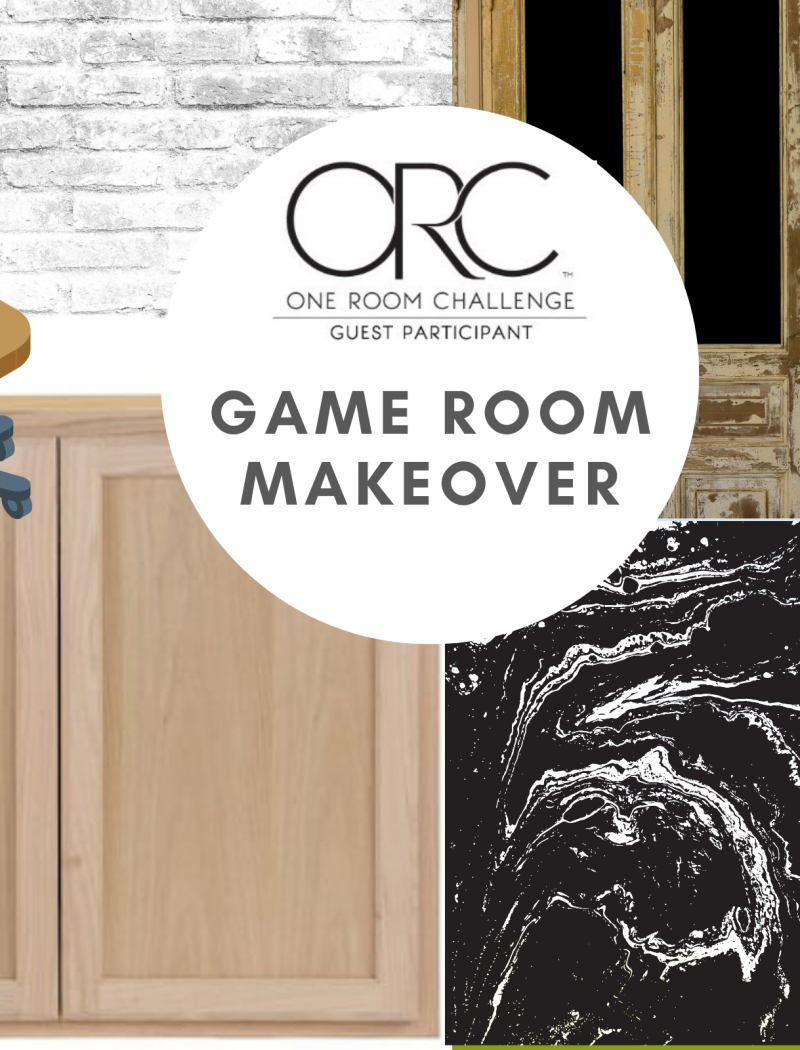
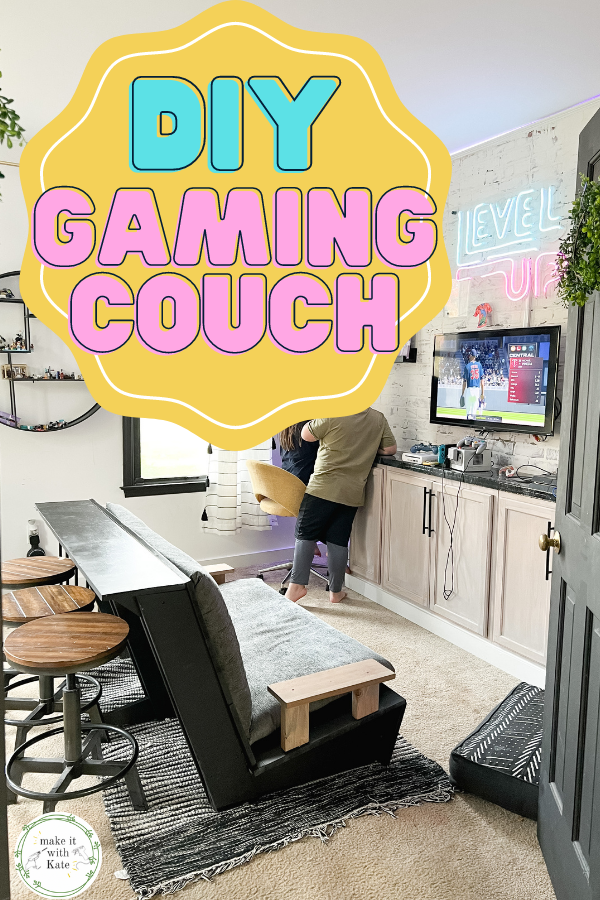

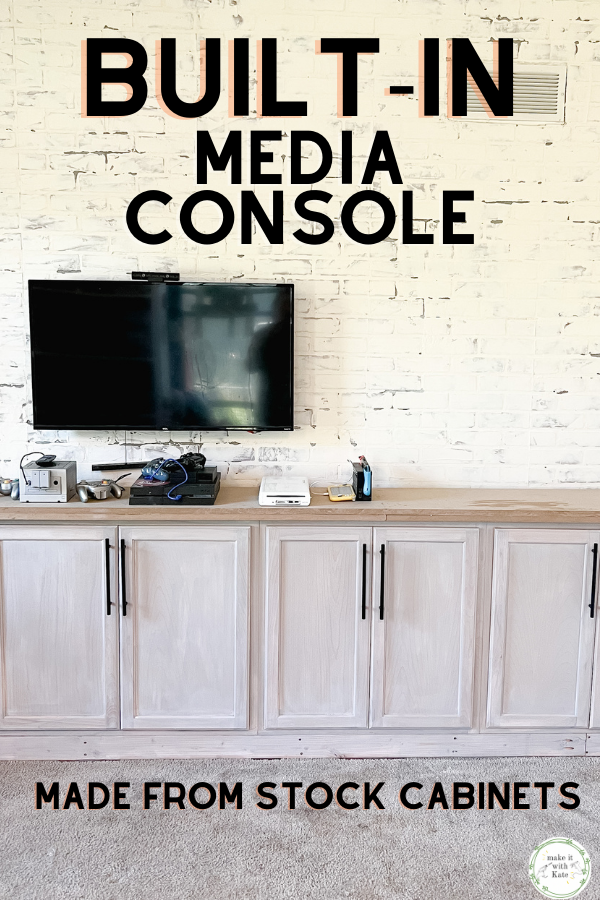
This built in gaming console from stock cabinets is a simple and straightforward build, great for beginners with an advanced look.
It’s week 3 of the Fall One Room Challenge! I made a bit more progress this week by making a built-in gaming console with stock cabinets. One of my very favorite DIY projects to do in my home is using stock cabinets for built ins.

*This post contains affiliate links.
Built-in Gaming Console from Stock Cabinets
Stock cabinets are unfinished kitchen cabinets that you can buy at bog box stores like Home Depot and Lowes. With the current prices of lumber, they can be cheaper than building the cabinet yourself and save a TON of time. Plus, this makes for a super beginner-friendly DIY home project
To read more about using stock cabinets, read this article >> Stock Cabinets for Built ins: What they are and where to get them
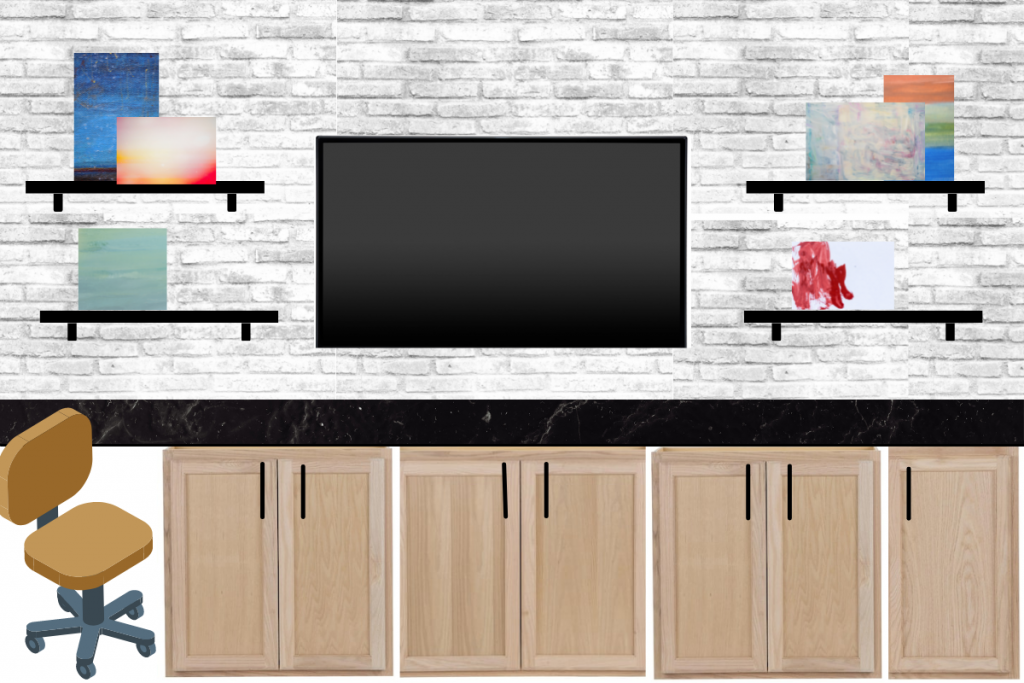
For this gaming console I used wall cabinets which are only 12″ deep vs 25″ or so. I wanted this shallow profile to make the room seem bigger, and also so that my kids didn’t throw things into the back of the cabinets where they will never be found.
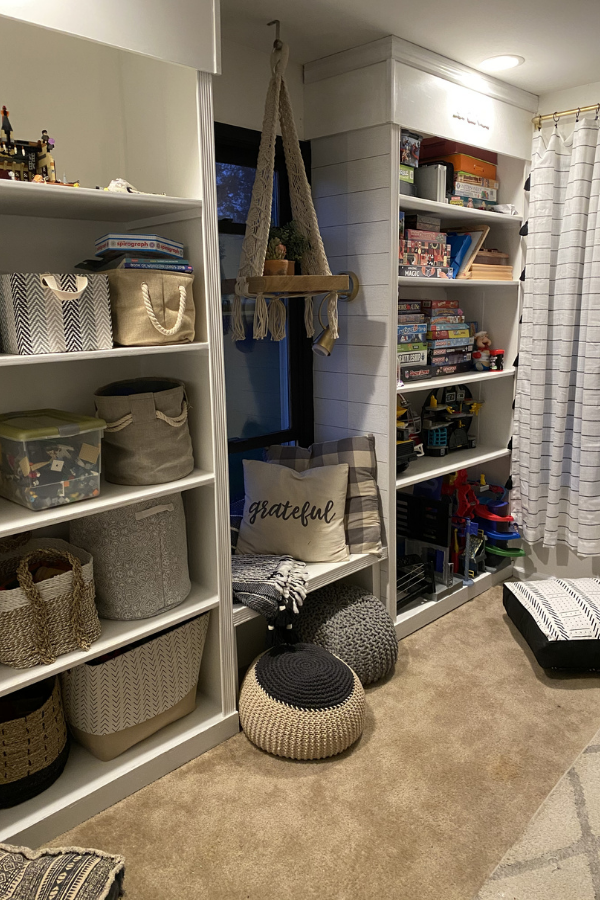
This game room makeover is moving right along!

What you need for the built in gaming console
- Stock cabinets (the amount and size will depend on your wall – I used 4 of them – (1) 36″, (2) 30″, (1) 15″ for a total length of 111″
- 2″x4″ studs – enough to make a rectangle base with braces for your length
- 2.5″ Construction screws
- MDF in the length of the countertop
- wood glue
- drill
- cabinet hardware
- baseboards
- jigsaw
- 2″ hole dozer
How to make the built in gaming console
Build a base for the cabinets
Because these built ins with stock cabinets use wall cabinets, you first need to build a base for them to sit on. This is built out of 2x4s and is a simple rectangular frame.
Measure the length of all of the cabinets together and cut two 2x4s to that length. If your total length is longer than the studs you have, use pocket holes to attach the 2x4s together to make the correct length.
Then cut the connecting pieces to length, minus the width of the other two 2x4s.
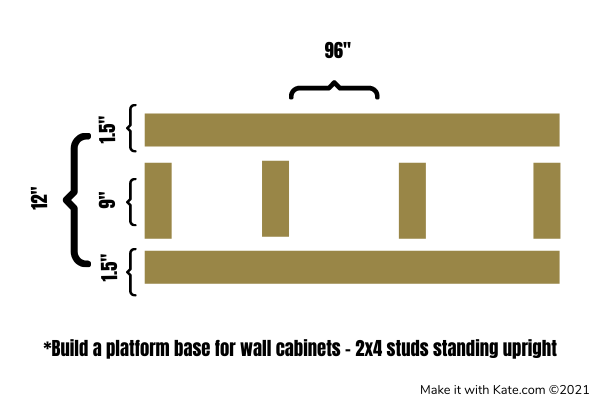
Ok that sounds really confusing, so here is a diagram to refer to and hopefully that will make more sense. This is an example but as it will depend on the length of your piece, but will work for the depth of standard (12″) wall cabinets.
*Note – as is the case with most lumber, a 2×4 isn’t actually 2″x4″, it’s really 1.5″ x 3.5″. I know…what the heck!?


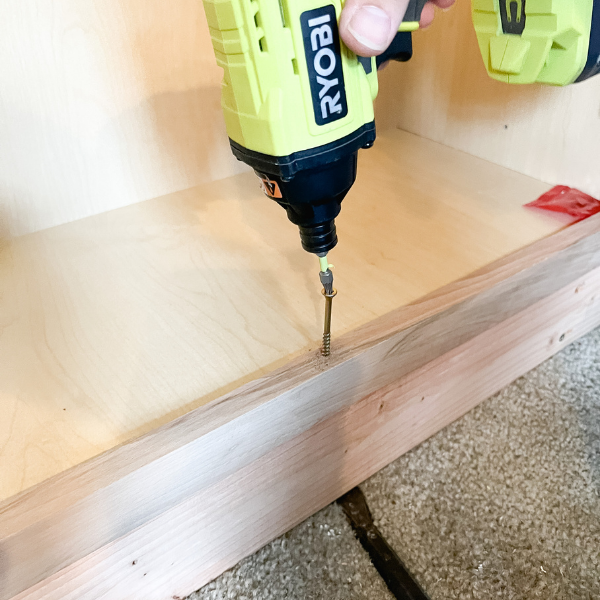
Attach these boards with construction screws and a drill. Don’t worry about seeing the screw head on the front of the base as this will be covered with baseboards. However, you do want the screw to be flush or slightly countersunk so that the baseboards attach flush.
Make the cut outs for electrical wiring
If you’re going to be using wiring through these cabinets, make these cuts before installing the cabinetry to the wall.
I needed access to the cords and the outlet coming through the wall behind one of my cabinets. Cut that portion out with a jigsaw (use a drill to make a hole in the wood to start the jigsaw).
Additionally, if you are going to want cords to hook into anything on top of the counter, make a hole with a 2″ hole dozer on the top of the cabinets. This will allow cords to come up through the top of the cabinetry and hook up to video game systems, phone chargers etc.
By making these cutouts, your cabinetry and countertop can sit flush against the walls.


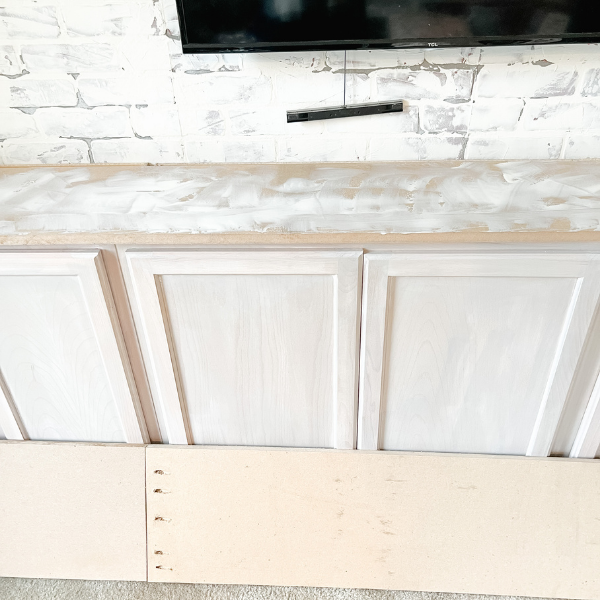
Attach the cabinets to the base and the wall
Place the stock wall cabinets on top of the base and attach to one another with a screw through the face frame on the inside. Once all of the cabinets are attached to each other by the face frame, screw the base into the wall studs through the back of the cabinets.
Additionally, screw the base of the cabinet to the platform that you’ve built. These should be super sturdy after this.
At this point, you will have a built-in gaming console!
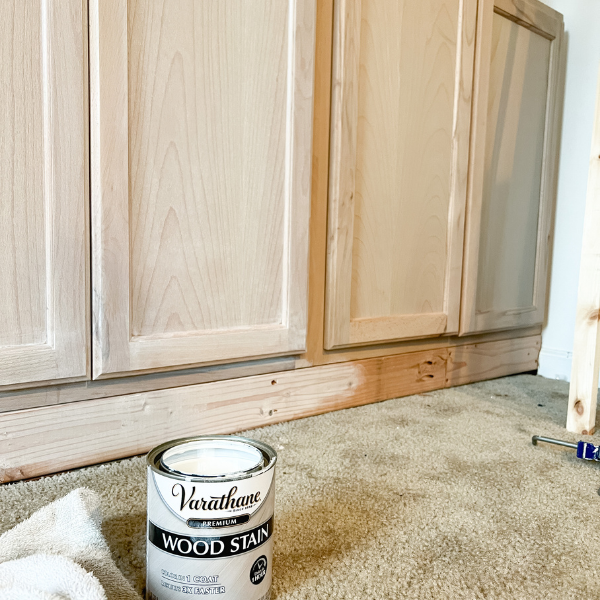
Stain the cabinets
For these cabinets I chose to use a mix of Varathane Antique White and Varathane Sunbleached stain. I used this method:
Apply Antique White stain with a rag and wipe off -> sand with 120 grit sandpaper -> second coat of antique white -> sand with 220 grit sandpaper -> apply Sunbleached stain -> sand with 220 again

You could paint these as an alternative!
Make the countertop
I’m using MDF board for the countertop because I’ll be doing a marbled epoxy top over it.
You can use MDF and paint it, or use plywood and paint or stain that for a countertop too.
The important thing to keep in mind with creating the countertop is that most boards are 3/4″ thick, and a typical countertop is thicker than then. So, by stacking two 3/4″ thick boards together you can get a nice sturdy and great looking countertop.
My MDF boards were only 8′ long and I needed a countertop almost 12′ long. So, I attach two MDF boards together with pocket holes to create the desired length for my space.

*I did stagger where the seams were on the top and the bottom board to keep it structurally sound.
Two create the thick boards, simple spread wood glue all over the bottom board, lay the top board on the glue and clamp the boards together to let dry for 24 hours.

Attach baseboards to the console
I haven’t done this step yet because I’m waiting for later in the One Room Challenge where I do trim around the room. Stay tuned for that update.
However, as a note for now, if you want to hide your platform, use baseboard around the bottom of the unit, or simply quarter round trim to make a nice transition to your floor.
If you are choosing to paint the unit instead of stain, caulk the seam between the platform and the cabinets then paint the entire thing and the platform will be seamless with the rest of the unit!
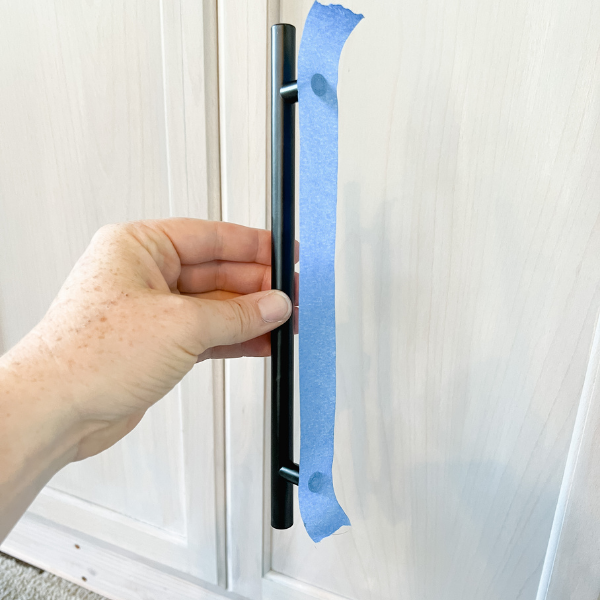
Add cabinet hardware
I used these cabinet pulls from Amazon, they are a really affordable option and easy to install.
Use painters tape to make a template of where the holes on your pull are located, then place the tape where you want the pull on the cabinet.
Drill the appropriate holes and attach the pulls. Hardware is a great way to make these really custom.
That’s it! It’s a straightforward process that really isn’t difficult!
Fall One Room Challenge Game Room Makeover
Don’t forget to check out the rest of the posts in this series!
- Week 1: Game Room Makeover Plans and Mood Board
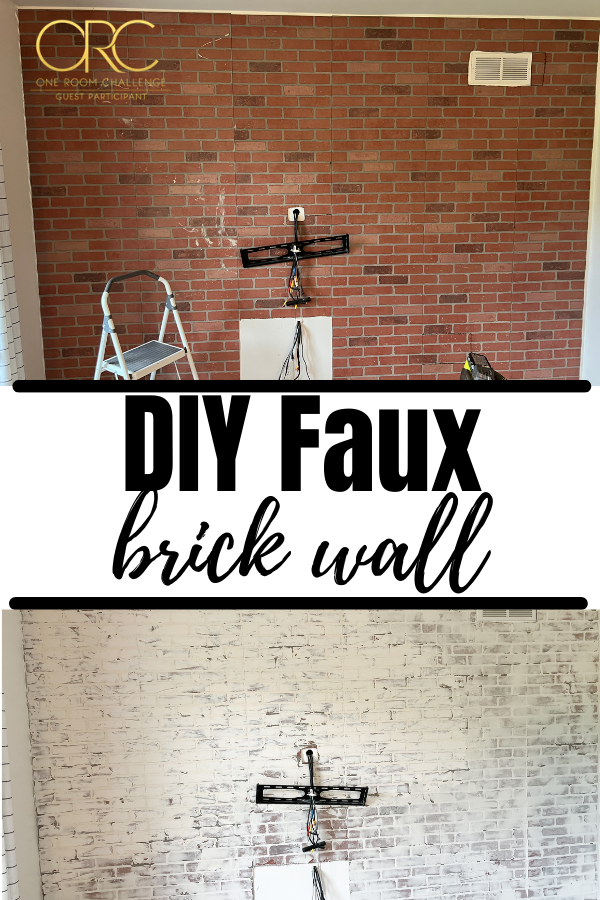
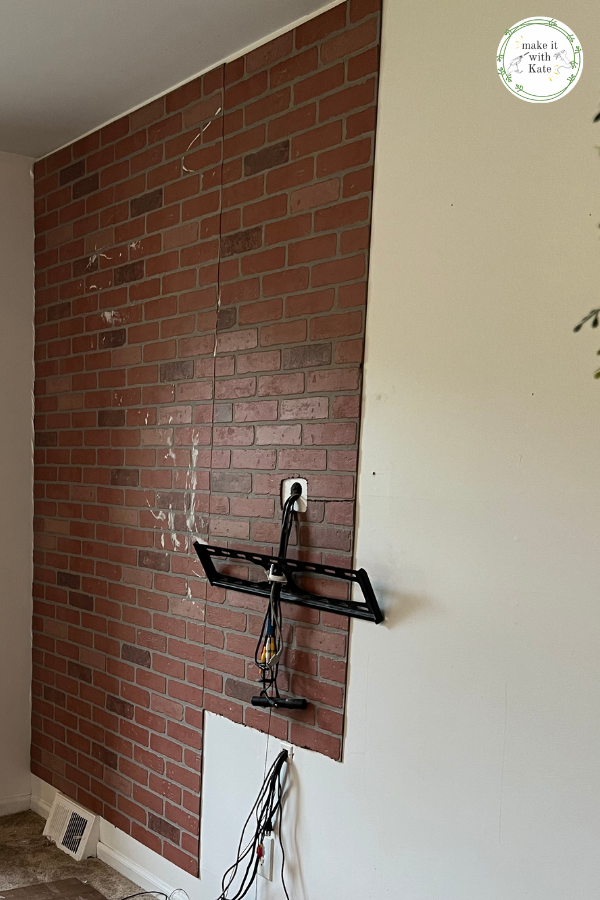
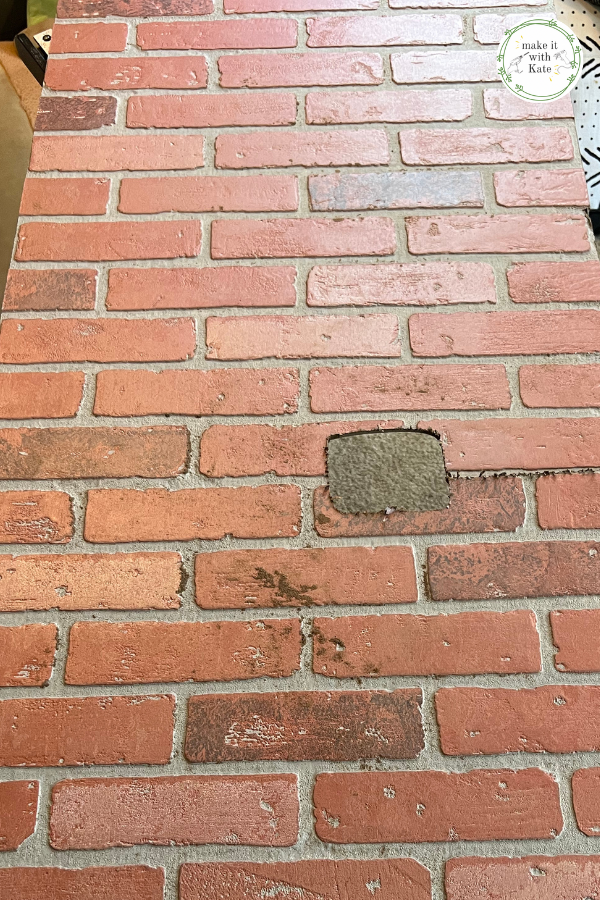
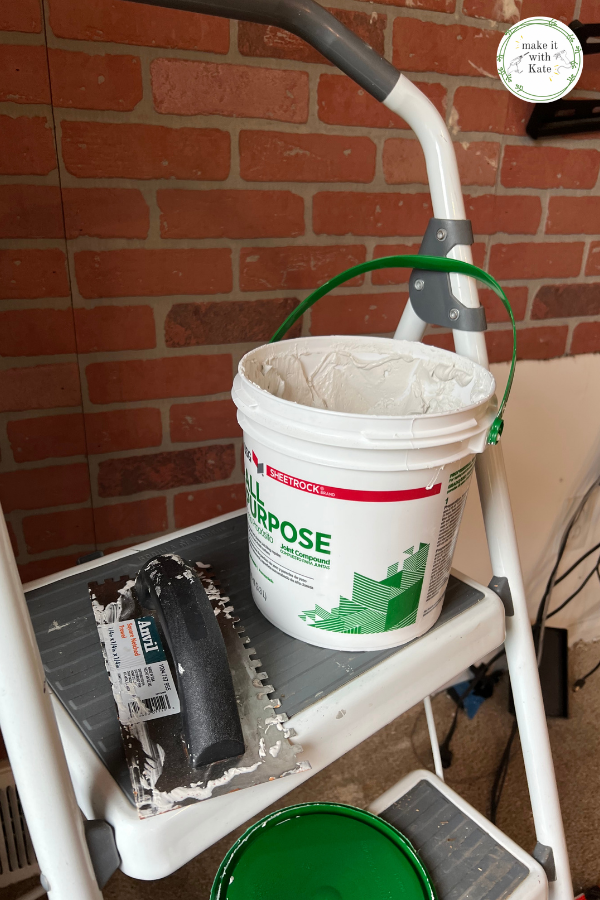
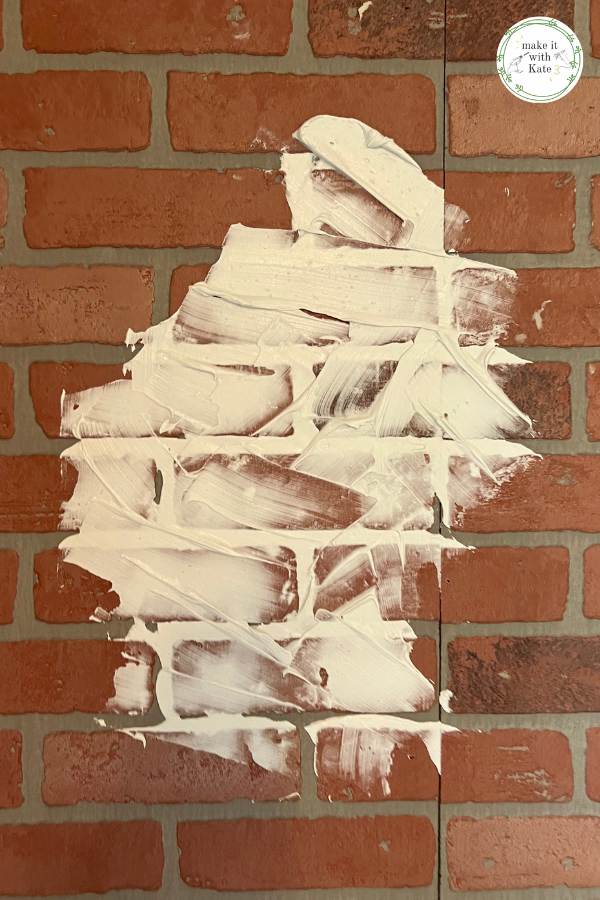
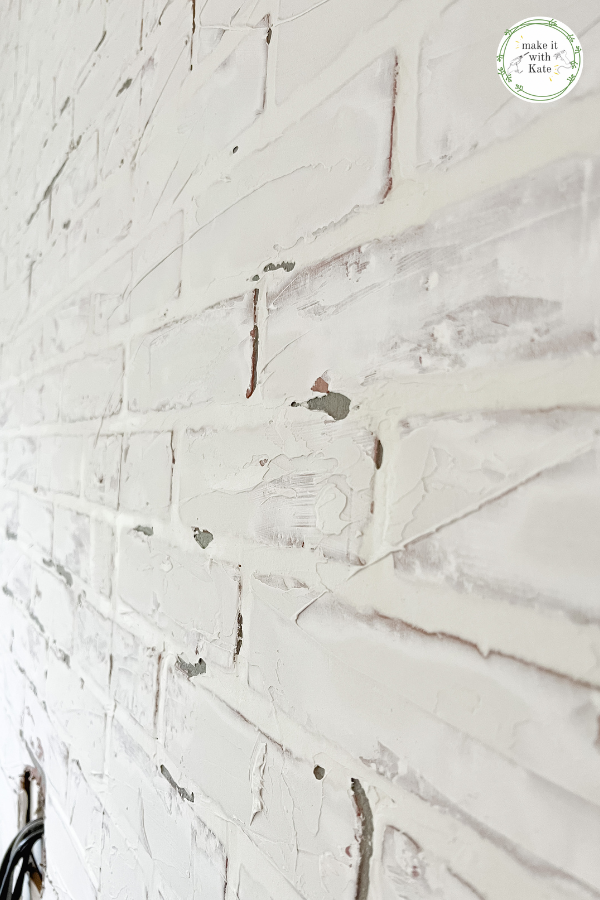
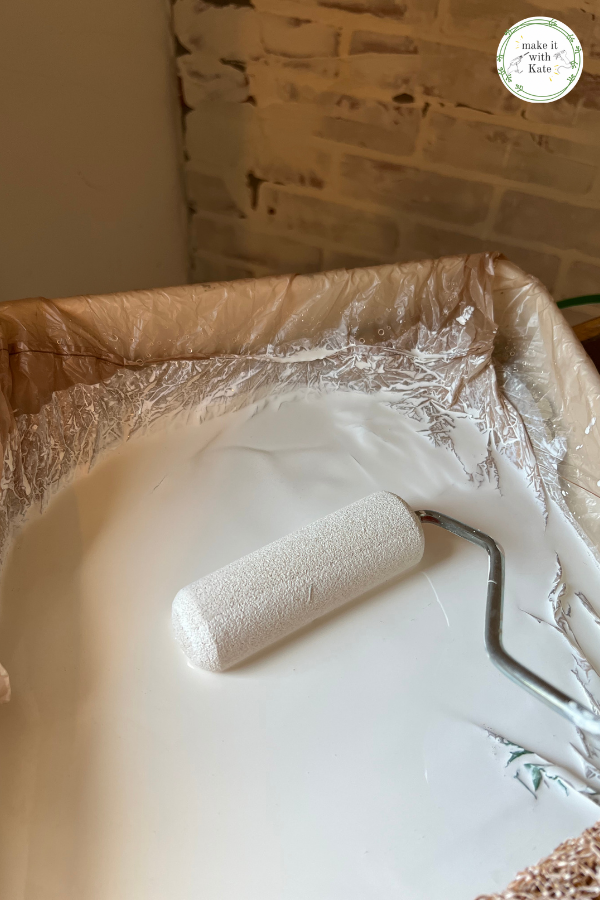
- Week 2: Make a Faux Brick Wall
- Week 3: DIY Built in Gaming Console from Stock Cabinets (current post)
- Week 4: DIY Faux Marble Countertop with Epoxy
- Week 5: DIY Picture Frame Shelves
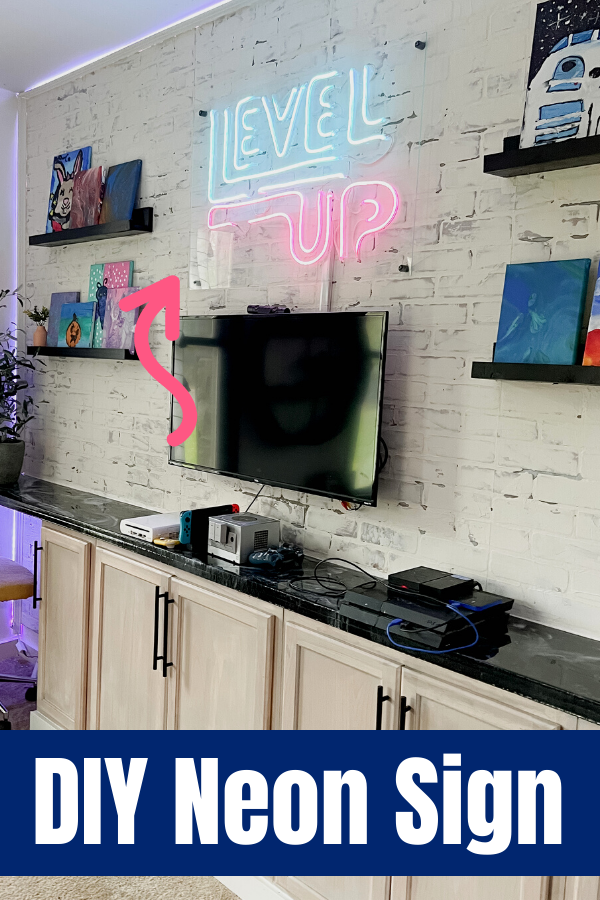
- Week 6: DIY Neon LED Sign
- Week 7: DIY Couch with Stool Seating
- Week 8: DIY Indoor Climbing Wall
- Final Game Room Reveal